Toddler Crochet Hat Pattern Free – Easy Cozy Beanie for Kids
Need a cute winter hat for a little one? This free toddler crochet hat pattern is a simple, cozy project that is perfect for beginners and experienced crocheters alike.
Made with worsted-weight yarn and a 5.5 mm crochet hook, this classic beanie comes together with basic crochet stitches and easy crown shaping. The stretchy ribbed brim gives the hat a comfortable fit, while the optional pom pom adds a fun finishing touch.
If you have been searching for an easy crochet hat for toddlers, this is a great pattern to keep in your project list. It works up without complicated techniques and can easily be customized with different yarn colors.
Free Toddler Crochet Hat Pattern
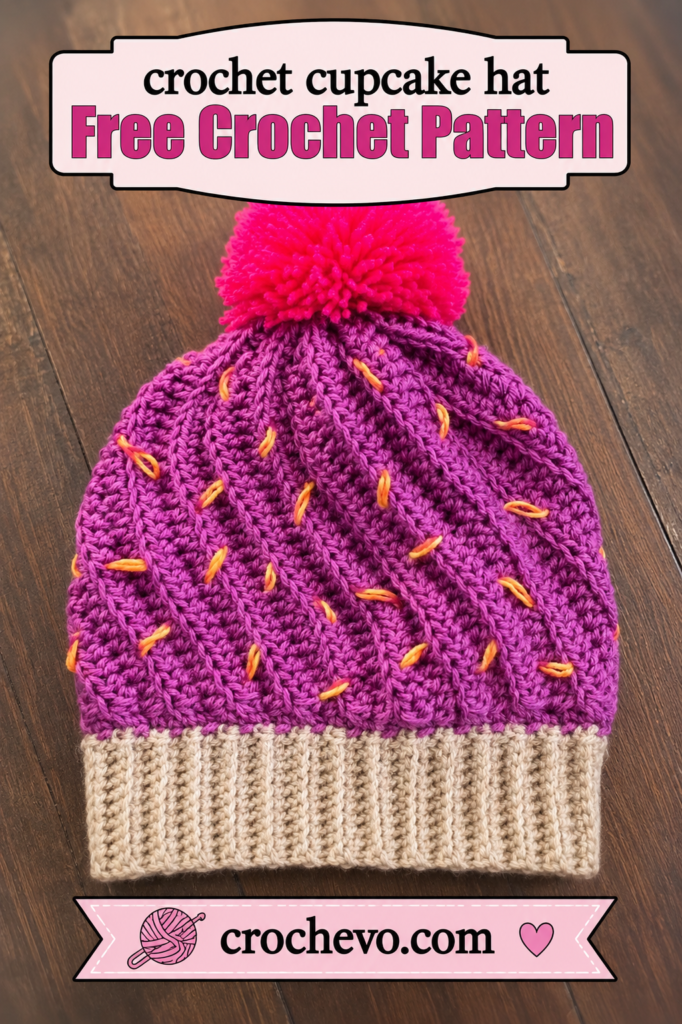
This children’s beanie is worked from the top down in joined rounds. The crown starts with a magic circle and gradually increases until it reaches the required width. After the increase section is finished, the sides are worked evenly to create the body of the hat.
The bottom edge is finished with a stretchy ribbed band made using single crochet through the back loop only.
Pattern Details
- Skill level: Beginner
- Hat type: Toddler and children’s beanie
- Construction: Top down
- Main stitch: Double crochet
- Brim: Single crochet through back loop
- Yarn: Worsted weight (#4)
- Hook: 5.5 mm (I-9)
- Head circumference: 19–20 inches (48–51 cm)
- Approximate height: 7.25 inches (18 cm)
- Pom pom: Optional
Why You’ll Enjoy This Crochet Hat
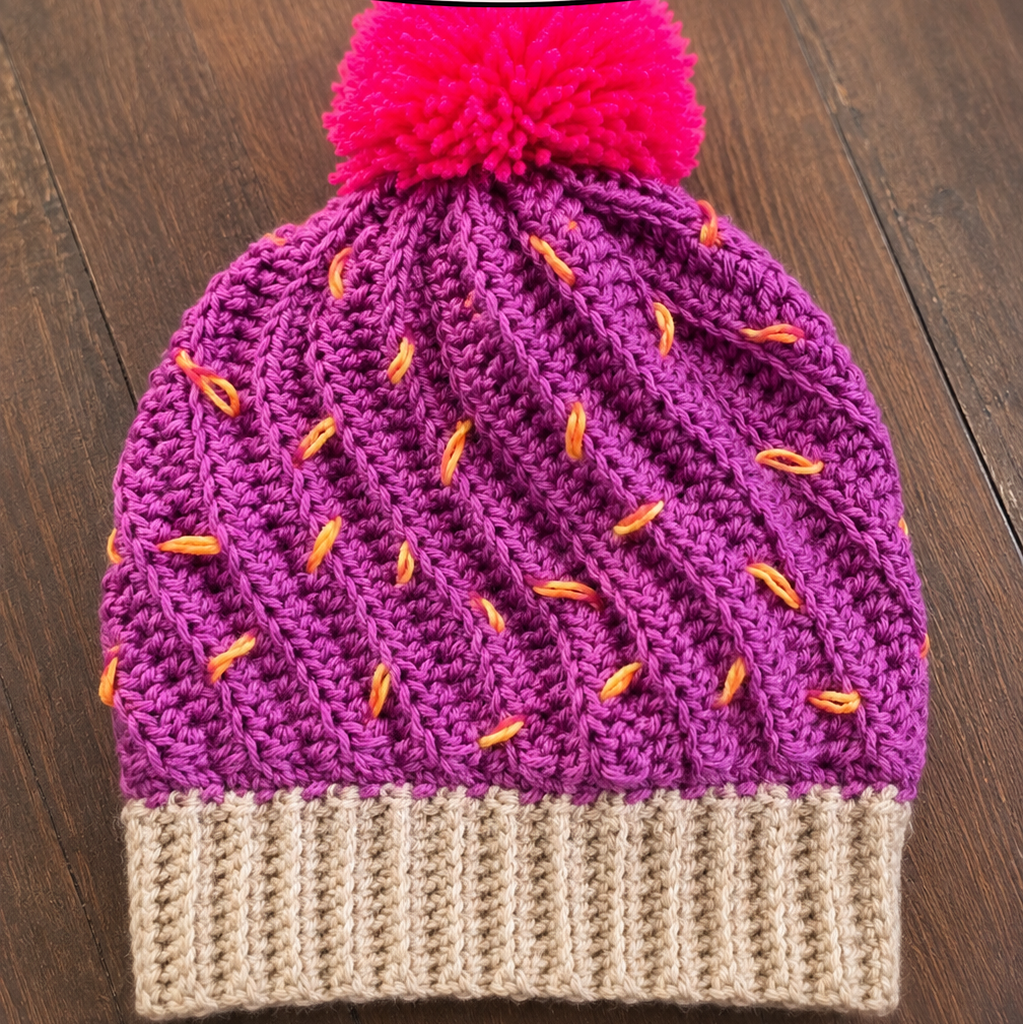
There is something especially satisfying about making a small crochet project that can be finished in a short amount of time.
This toddler beanie is:
Easy to follow. The pattern relies on familiar stitches and straightforward increases.
Warm and comfortable. Worsted-weight yarn creates a cozy fabric that is suitable for cooler weather.
Stretchy. The ribbed brim gives the lower edge flexibility for a comfortable fit.
Customizable. You can change the yarn color, add stripes, alter the height, or skip the pom pom.
Gift friendly. Handmade hats make thoughtful gifts for birthdays, holidays, baby showers, and winter occasions.
Before Crocheting Your Toddler Hat
Before you begin, take a moment to think about sizing.
A toddler’s age does not always tell you exactly what size hat they need. Children of the same age can have very different head circumferences.
If you can, measure the child’s head before starting.
How to Measure Head Circumference
Use a flexible measuring tape and place it around the widest part of the head.
Keep the tape level and comfortably snug without pulling it tight.
Write down the measurement and compare it with the finished circumference of the hat.
Since crochet fabric stretches, the finished hat can be slightly smaller than the head measurement and still provide a comfortable fit.
If you are making the hat as a surprise gift and cannot measure the child, use the finished measurements listed below as your guide.
Finished Toddler Hat Size
This crochet hat is designed for a head circumference of approximately:
19–20 inches (48–51 cm)
Approximate finished measurements:
- Crown diameter: 6.5 inches (17 cm)
- Circumference: 19–20 inches (48–51 cm)
- Height: 7.25 inches (18 cm)
Keep in mind that your finished measurements can vary depending on your yarn, hook, tension, and crochet style.
Crochet Gauge
Gauge is worth checking before you make the entire hat, especially when you are using a different yarn.
Work through the first four rounds and measure across the center.
Your piece should measure approximately:
3.75 inches (10 cm) across.
If your swatch is too small, try a larger crochet hook.
If it is too large, use a smaller hook.
Matching gauge will help you get much closer to the intended finished size.
Materials You’ll Need
Here is everything you need for this easy crochet toddler hat:
- 5.5 mm (I-9) crochet hook
- Worsted-weight yarn (#4)
- Yarn needle
- Scissors
- Stitch marker, optional
- Pom pom maker, optional
Choose a soft yarn that feels comfortable against the skin. For a children’s hat, washable yarn is also a convenient option.
Crochet Abbreviations
This pattern uses standard US crochet terms.
- ch – chain
- dc – double crochet
- sc – single crochet
- blo – back loop only
- sl st – slip stitch
- st – stitch
- sts – stitches
- rnd – round
- rnds – rounds
Pattern Notes
Before you begin crocheting, here are a few helpful details:
- The hat is crocheted from the crown down.
- The main section is worked in joined rounds.
- The starting chain does not count as a stitch.
- Join each round with a slip stitch.
- Use a stitch marker to identify the first stitch if needed.
- The ribbed brim is worked directly onto the finished hat.
- The pom pom is optional.
- The pattern is written using US crochet terminology.
How to Crochet the Toddler Hat
Now let’s get started!
Round 1 – Crown
Make a magic circle.
Ch 2, then crochet 11 dc into the circle. Sl st to the first dc to join.
11 sts
Pull the tail to tighten the center.
Round 2
Ch 2. Work 2 dc in each st around. Join with a sl st.
22 sts
Round 3
Ch 2. Repeat around: 2 dc in next st, dc in next st. Join.
33 sts
Round 4
Ch 2. Repeat: 2 dc in next st, dc in next 2 sts. Join.
44 sts
Round 5
Ch 2. Repeat: 2 dc in next st, dc in next 10 sts. Join with a sl st.
48 sts
Round 6
Ch 2. Repeat: 2 dc in next st, dc in next 11 sts. Join.
52 sts
Round 7
Ch 2. Repeat: 2 dc in next st, dc in next 12 sts. Join.
56 sts
Round 8
Ch 2. Repeat: 2 dc in next st, dc in next 13 sts. Join with a sl st.
60 sts
Round 9
Ch 2. Work 1 dc in every st around. Join.
60 sts
Rounds 10–16
Repeat Round 9 for 7 more rounds, keeping 60 sts in each round.
After Round 16, keep the yarn attached and continue to the ribbed brim.
How to Crochet the Ribbed Brim
The ribbed band gives this toddler hat a little extra stretch and creates a textured finish around the bottom.
Step 1
Chain 7.
Starting in the second chain from your hook, make a single crochet in each chain across.
You should have:
6 stitches
Step 2
Slip stitch into the next two stitches along the bottom edge of the hat.
This attaches the first ribbing row to the hat.
Step 3
Turn your work clockwise.
Step 4
Do not make a turning chain.
Work one single crochet through the back loop only of each stitch across.
6 stitches
Step 5
Chain 1.
Again, work one single crochet through the back loop only across.
6 stitches
Repeat these steps all the way around the hat.
As you continue, the rows will form the raised ribs of the brim.
When the band reaches the beginning, sew the two ends together with your yarn needle.
Secure the yarn and weave in the tail.
How to Make a Pom Pom
Want to give your crochet hat a classic winter look? Add a fluffy pom pom!
You can use a pom pom maker or make one with a piece of cardboard.
For a large pom pom, cut a piece of cardboard approximately 4 inches square.
Wrap your yarn around the cardboard repeatedly until you have a thick bundle.
Slide the yarn carefully off the cardboard.
Use another piece of yarn to tie the middle of the bundle very tightly.
Cut the loops on both sides.
Fluff the yarn and trim the ends until you have a neat, round pom pom.
Leave the long pieces used to tie the center because these will be used to attach the pom pom to the hat.
Attaching the Pom Pom
Thread one of the long pom pom strands onto a yarn needle.
Push it through the top of the hat toward the inside.
Repeat with the second strand, placing it close to the first.
Turn the hat inside out and tie the two strands securely together.
Make sure the pom pom is firmly attached before trimming or weaving in the ends.
Finishing the Crochet Hat
Once the brim is sewn together and the pom pom is attached, take a moment to inspect the inside of your hat.
Weave in all loose yarn ends with a yarn needle.
Trim the excess yarn.
Give the brim a gentle stretch and straighten the hat into shape.
That’s it!
Your handmade toddler crochet beanie is ready for chilly-weather adventures.
Easy Ways to Customize Your Hat
One simple crochet pattern can look completely different depending on the yarn and finishing details you choose.
Use a Favorite Color
Choose the child’s favorite shade or match the hat with a winter coat.
Create Stripes
Change colors every few rounds to make a striped version.
Add a Contrasting Brim
Use one color for the main hat and another for the ribbed band.
Make a Different Pom Pom
Try a smaller pom pom for a subtle finish or make a large fluffy one for a playful look.
Leave the Pom Pom Off
The hat looks just as cute without the pom pom if you prefer a simple beanie.
Helpful Tips for Beginners
If this is your first crochet hat, don’t worry if the first few rounds feel a little unfamiliar.
Count your stitches. The increase rounds determine the shape of the crown, so keeping the correct stitch count is important.
Use a stitch marker. Place it in the first stitch of each round to make the beginning easier to identify.
Check your gauge early. Fixing your hook size at the beginning is much easier than discovering at the end that the hat doesn’t fit.
Keep your tension relaxed. Pulling your yarn too tightly can make the fabric stiff and reduce the finished size.
Measure as you go. If the crown looks too wide or narrow, it is better to notice early.
Don’t rush the brim. The ribbing is repetitive, but keeping your back-loop stitches consistent will give the band a cleaner appearance.
Frequently Asked Questions
Is this a good crochet hat for beginners?
Yes! The pattern uses basic stitches and uncomplicated shaping. Once the crown increases are complete, the rest of the hat is mostly worked evenly.
What age toddler will this fit?
The pattern is designed for approximately a 19–20 inch (48–51 cm) head circumference. Because children’s head sizes differ, measuring the child is the best way to determine fit.
Can I make this hat for a smaller child?
Yes. You can adjust the crown by changing the number of increase rounds and then work the body once the crown reaches the appropriate diameter.
Can I make a larger size?
You can increase the crown further before moving to the straight body rounds. The same basic construction can be adapted to create other sizes.
Can I change the hat height?
Absolutely. For a shorter beanie, work fewer even rounds. For a taller or slightly slouchier style, add more rounds before beginning the brim.
Do I have to use a pom pom?
No. The pom pom is decorative and completely optional.
What yarn can I substitute?
Another worsted-weight yarn can be used, but different yarns can have different thicknesses and stretch. Make a gauge swatch before starting if you substitute yarn.
Why doesn’t my hat fit?
Check your gauge and finished measurements. If your stitches are too loose, the hat may become larger than expected. If they are too tight, it may turn out smaller.
Changing your hook size is often the easiest way to correct gauge.
Final Thoughts
This free toddler crochet hat pattern is a great little project when you want to make something practical, cozy, and handmade.
The simple top-down construction means there is no complicated assembly, while the ribbed brim gives the hat a comfortable amount of stretch. Add a fluffy pom pom for a classic winter accessory or leave it off for a clean everyday beanie.
Try making this pattern in different colors for siblings, cousins, friends, or handmade gifts. Once you know the basic construction, it is easy to experiment with stripes, contrasting brims, and different pom pom sizes.
If you love making quick crochet projects for children, save this pattern for your next cozy afternoon with your hook and yarn.
Pin this free toddler crochet hat pattern now so you can find it again when you’re ready to crochet!