Crochet Baby Cupcake Hat Free Pattern
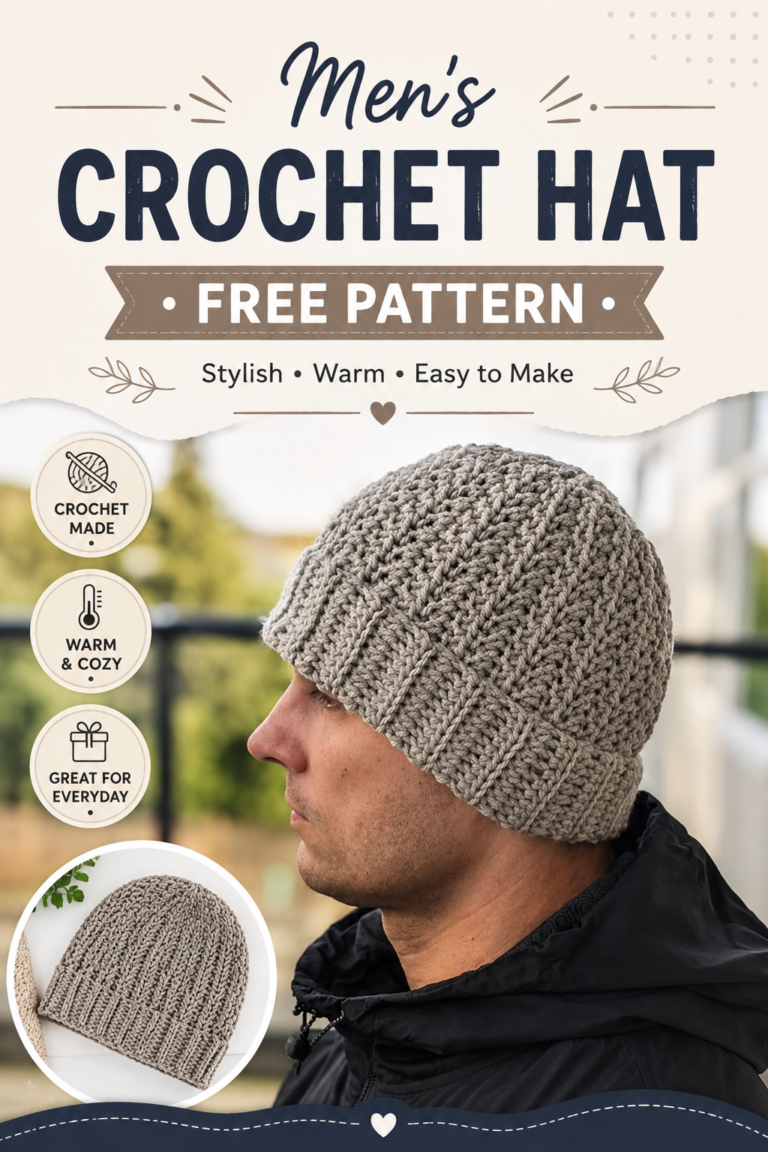
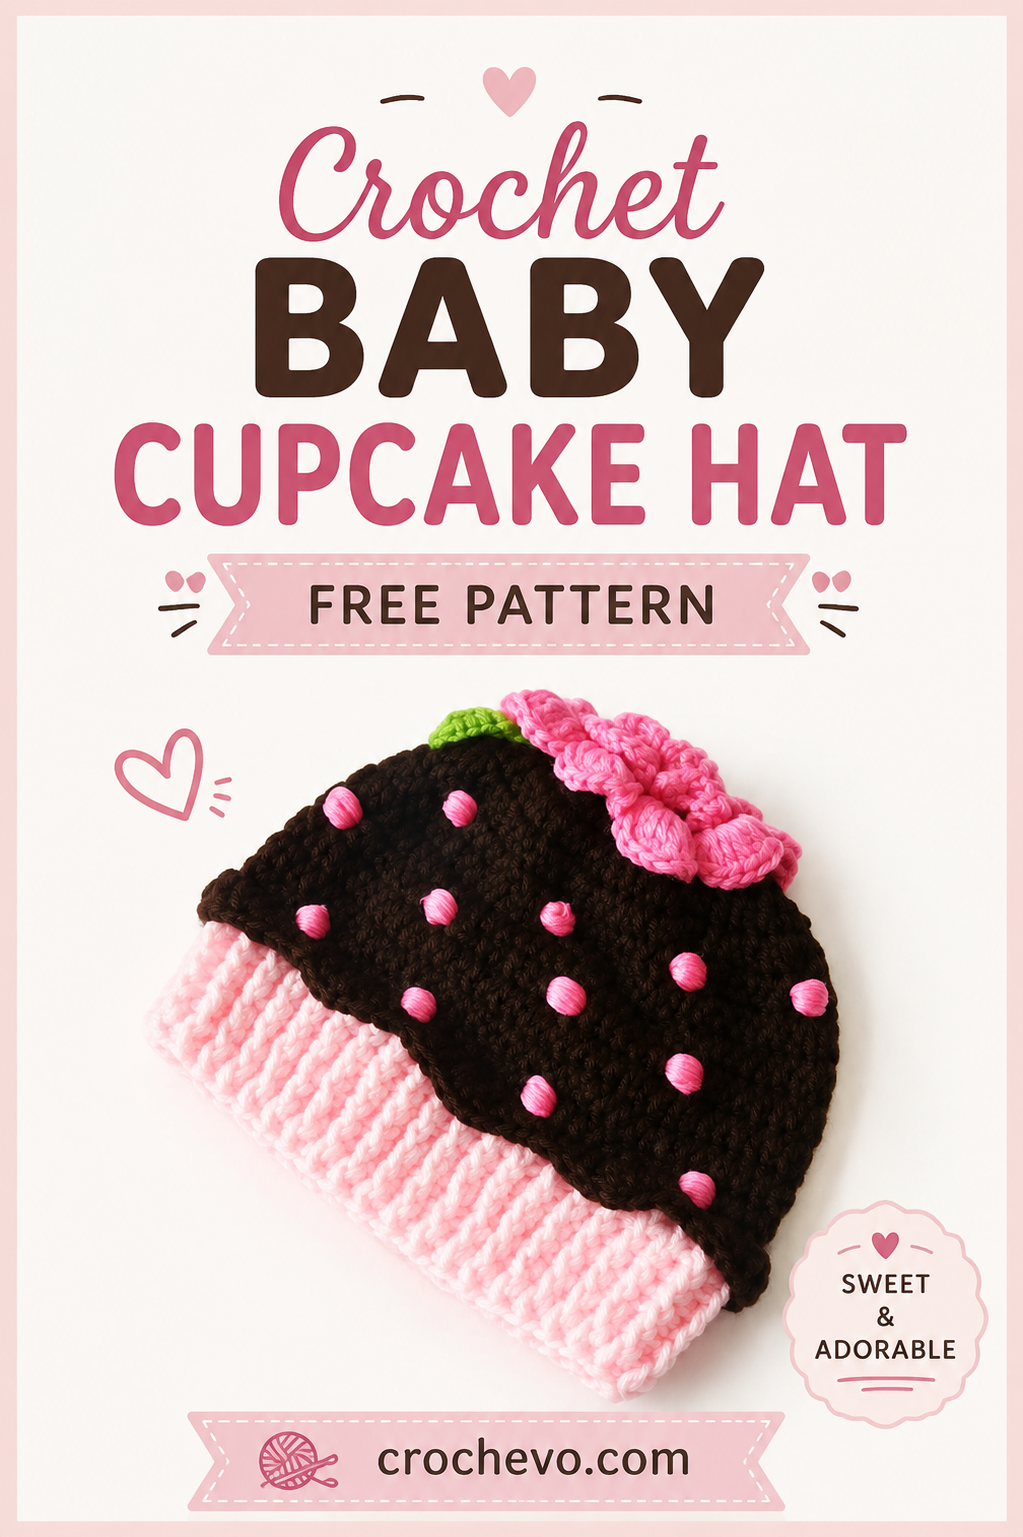
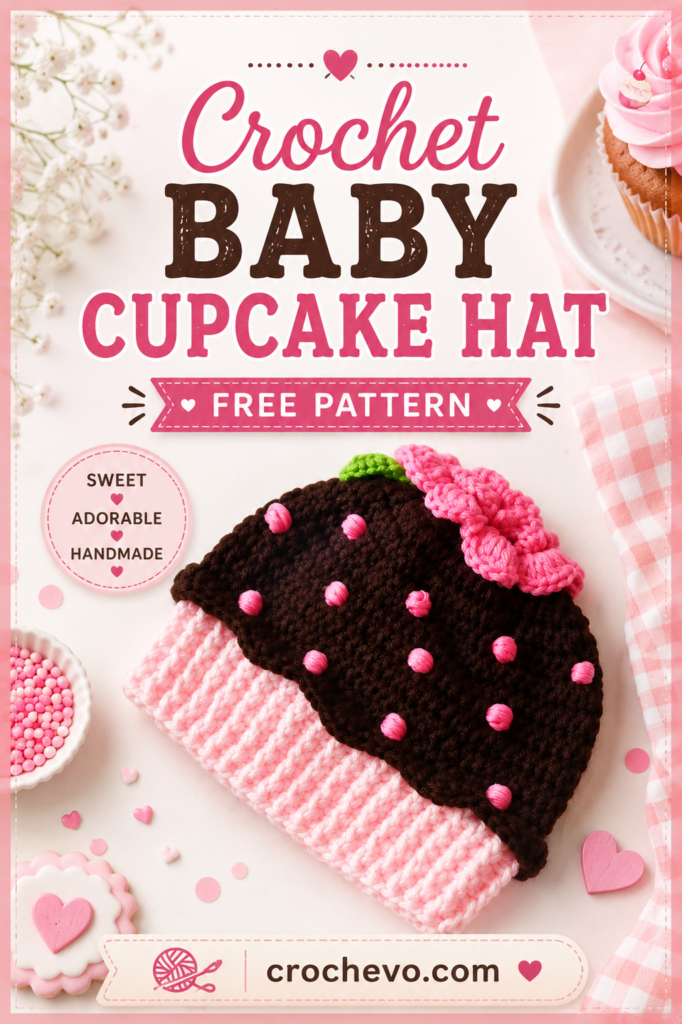
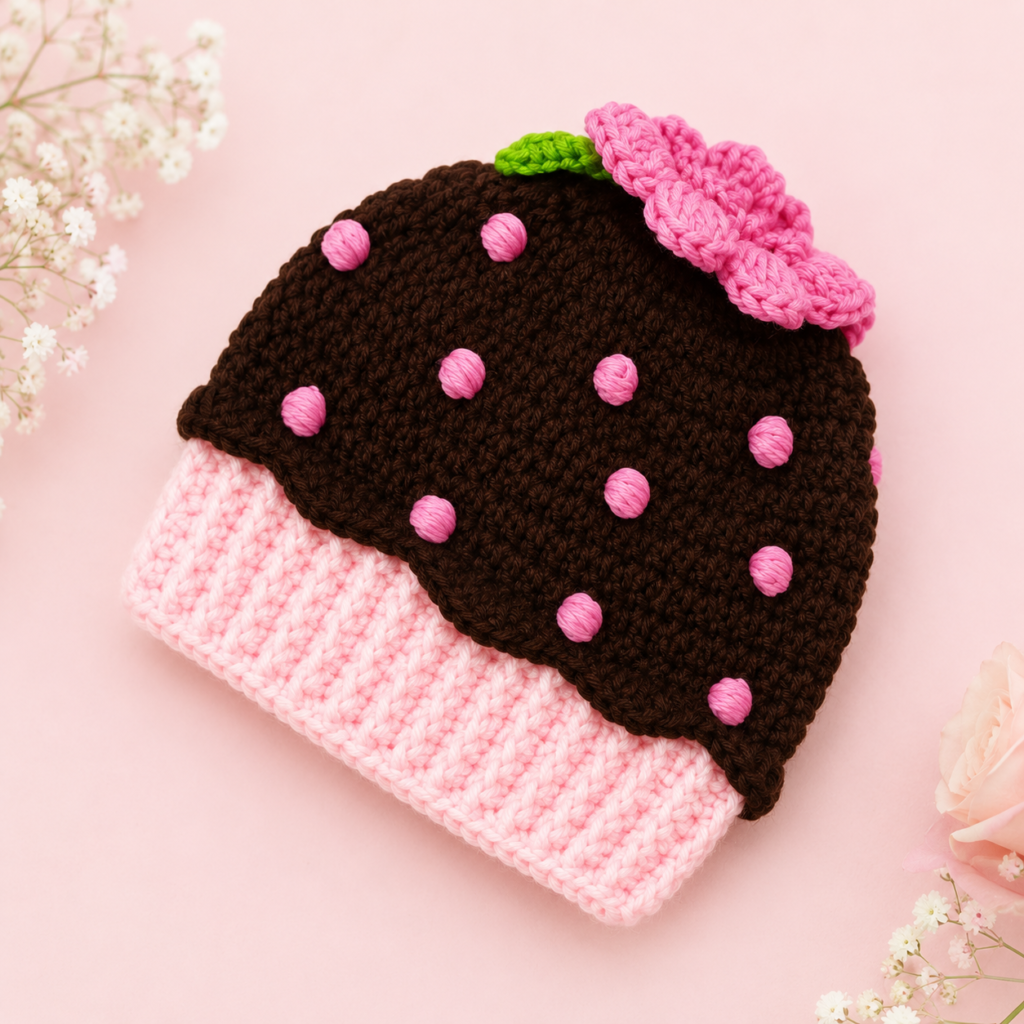
This easy crochet hat pattern free is a simple and cozy beanie design inspired by the hat in the reference picture. It has a classic rounded shape, a comfortable folded brim, and a clean textured look. The simple construction makes it a good project for beginners and experienced crocheters alike.
You can make this hat for babies, children, teens, or adults. Use one solid yarn color for a simple everyday hat, or change colors to create your own style.
Crochet Hat Pattern Details
- Skill level: Beginner
- Hat style: Classic beanie
- Construction: Bottom-up
- Main stitch: Half double crochet
- Brim: Ribbed
- Yarn: Medium weight #4
- Hook: 5 mm
- Sizes: Newborn through adult
- Fit: Comfortable and slightly stretchy
Materials You Will Need
- Medium-weight #4 yarn
- 5 mm crochet hook
- Yarn needle
- Scissors
- Stitch marker
- Measuring tape
Choose a soft yarn with some stretch. Acrylic, wool blend, and acrylic-wool yarn are all good choices for this type of hat.
Crochet Abbreviations
| Abbreviation | Meaning |
|---|---|
| ch | Chain |
| sc | Single crochet |
| hdc | Half double crochet |
| sl st | Slip stitch |
| BLO | Back loop only |
| st | Stitch |
| sts | Stitches |
| hdc2tog | Half double crochet 2 together |
| dec | Decrease |
| rep | Repeat |
| rnd | Round |
Hat Sizes
Measure around the widest part of the head before beginning.
| Size | Head Circumference | Approx. Hat Height |
|---|---|---|
| Newborn | 13–14 in | 5–5.5 in |
| Baby | 14–16 in | 6–6.5 in |
| Toddler | 17–18 in | 6.5–7 in |
| Child | 18–20 in | 7–7.5 in |
| Teen | 20–21.5 in | 7.5–8 in |
| Adult Small | 21–22 in | 8–8.5 in |
| Adult Medium | 22–23 in | 8.5–9 in |
| Adult Large | 23–24 in | 9–9.5 in |
For a comfortable fit, make the finished hat about 1–2 inches smaller than the head measurement because crochet stretches.
Gauge
A good starting gauge is approximately:
16 hdc = 4 inches
Your gauge may be different depending on your yarn and tension.
If your hat is coming out too large, use a smaller hook.
If it is too small, use a larger hook.
Step 1: Crochet the Ribbed Brim
The brim is made first as a long strip. This creates the stretchy band around the bottom of the hat.
For an adult medium, chain 12.
For a deeper folded brim, chain 15 or 16.
Row 1
Starting in the second chain from the hook, make:
1 hdc in each chain across.
You will have 11 hdc.
Chain 1 and turn.
Row 2
Work:
1 hdc BLO in every stitch across.
Chain 1 and turn.
What Does BLO Mean?
BLO means back loop only.
At the top of each crochet stitch, you can see two loops that look like a small V.
The loop farther away from you is the back loop.
Insert your hook through this loop only.
Working into the back loop creates the raised ribs that give the brim its stretchy appearance.
Row 3
Work:
1 hdc BLO in every stitch across.
Chain 1 and turn.
Continue the Ribbing
Repeat Row 3 until the strip fits comfortably around the head.
Approximate row counts are:
- Newborn: 40–45 rows
- Baby: 45–50 rows
- Toddler: 50–55 rows
- Child: 55–65 rows
- Teen: 60–70 rows
- Adult Small: 65–72 rows
- Adult Medium: 70–78 rows
- Adult Large: 75–82 rows
These numbers are only a guide. Measuring the actual strip will give you a better fit.
Step 2: Join the Brim
Fold the ribbed strip so the two short ends meet.
Insert your hook through both layers.
Work slip stitches across the entire edge.
Fasten off.
Turn the seam toward the inside.
You now have the stretchy ribbed band for your hat.
Step 3: Start the Hat Body
Attach your yarn around the top edge of the ribbed band.
Work evenly spaced hdc stitches around the entire edge.
For an adult medium, you will usually have approximately 72–80 stitches.
The exact number can vary depending on your tension and the number of brim rows.
Try to keep the stitches evenly distributed.
Round 1
Chain 1.
Work:
1 hdc in every stitch around.
Join with a slip stitch.
Round 2
Chain 1.
Work:
1 hdc in every stitch around.
Join.
The hat should now begin to rise above the ribbed band.
Round 3
For a simple textured appearance, work:
1 hdc in the next stitch, 1 raised hdc around the next stitch.
Repeat around.
Join with a slip stitch.
How to Make a Raised HDC
A raised half double crochet is worked around the post of the stitch.
- Yarn over.
- Insert the hook around the post of the next stitch.
- Yarn over.
- Pull up a loop.
- Yarn over.
- Pull through all three loops.
The stitch will sit slightly forward and create a subtle raised texture.
If you want a completely simple hat, you can replace the raised hdc with a regular hdc.
Round 4
Work:
1 hdc in every stitch around.
Join.
Rounds 5–10
Continue alternating between a textured round and a plain round.
Textured round:
1 hdc, 1 raised hdc
Plain round:
1 hdc in every stitch
Continue until the body reaches the desired height.
For an adult medium, the body should measure approximately 4.5–5 inches above the brim before beginning the crown decreases.
Step 4: Shape the Crown
The top of the hat is shaped with gradual decreases.
This helps create the rounded beanie shape shown in the reference design.
Decrease Round 1
Repeat around:
Hdc in next 6 sts, hdc2tog.
Join.
What Is HDC2TOG?
HDC2TOG means half double crochet two together.
It combines two stitches into one stitch.
To make it:
- Yarn over.
- Insert the hook into the next stitch.
- Pull up a loop.
- Yarn over.
- Insert the hook into the next stitch.
- Pull up another loop.
- Yarn over.
- Pull through all the loops on the hook.
You have now decreased by one stitch.
Plain Round
Work:
Hdc in each st around.
Join.
Decrease Round 2
Repeat:
Hdc in next 5 sts, hdc2tog.
Join.
Plain Round
Work:
Hdc in each st around.
Join.
Decrease Round 3
Repeat:
Hdc in next 4 sts, hdc2tog.
Join.
Plain Round
Work:
1 hdc in each st around.
Join.
Decrease Round 4
Repeat:
Hdc in the next 3 stitches, hdc2tog.
Join.
Continue the Crown Decreases
Continue decreasing gradually.
Next round:
2 hdc, hdc2tog
Repeat around.
Then:
1 hdc, hdc2tog
Repeat around.
Continue until approximately 8–12 stitches remain.
Step 5: Close the Top
Cut the yarn and leave a long tail.
Thread the tail onto a yarn needle.
Weave the needle through the remaining stitches.
Pull the yarn gently to close the opening.
Sew through the remaining stitches once more to secure the crown.
Weave the yarn tail inside the hat.
Trim the excess yarn.
Step 6: Finish the Folded Brim
Fold the ribbed band upward.
Make sure the fold is even around the entire hat.
You can leave the brim naturally folded, or use a few small hidden stitches on the inside to keep it in place.
Do not sew the entire brim flat because the ribbing needs to remain stretchy.
How to Make the Hat Smaller
For a smaller hat:
- Make fewer rows in the ribbed band.
- Use a smaller crochet hook.
- Make fewer body rounds.
- Begin the crown decreases earlier.
Always measure the hat rather than depending only on stitch counts.
How to Make the Hat Larger
For a larger hat:
- Add rows to the ribbed band.
- Use a slightly larger hook.
- Add more body rounds.
- Begin the crown decreases later.
The ribbed brim makes this pattern especially easy to resize.
How to Make a Slouchy Version
If you want a relaxed, slouchy crochet hat, add more rounds to the body before beginning the crown decreases.
For a little extra slouch, add 5 rounds.
For a deeper slouch, add 8–12 rounds.
Then follow the same decrease instructions.
How to Make a More Fitted Hat
For a close-fitting beanie:
- Keep the body shorter.
- Start the decreases earlier.
- Use a slightly smaller hook.
- Keep the brim comfortably snug.
The hat should sit close to the head without feeling tight.
Easy Beginner Version
If the raised hdc feels difficult, you can make the whole body with regular hdc.
After joining the brim, work:
1 hdc in every stitch around.
Repeat until the hat reaches the correct height.
Then use the same crown decrease instructions.
This creates a simple and clean crochet beanie that is very easy to make.
Common Crochet Problems
The brim is too tight
Add more rows to the ribbed band or use a larger hook.
The brim is too loose
Remove a few rows or use a smaller hook.
The hat is too short
Add more hdc rounds before beginning the crown decreases.
The hat is too tall
Start the crown decreases sooner.
The crown looks pointy
Your decreases may be happening too quickly. Add plain hdc rounds between decrease rounds.
The hat looks too loose
Try a smaller crochet hook or make the finished circumference slightly smaller.
The ribbing does not look raised
Make sure every brim row is worked into the back loop only.
Yarn Color Ideas
This design looks especially nice in simple solid colors.
Try:
- Cream
- Beige
- Gray
- Black
- Brown
- Navy
- Sage green
- Dusty pink
- Burgundy
You can also make the brim in one color and the body in another for a two-tone look.
Final Thoughts
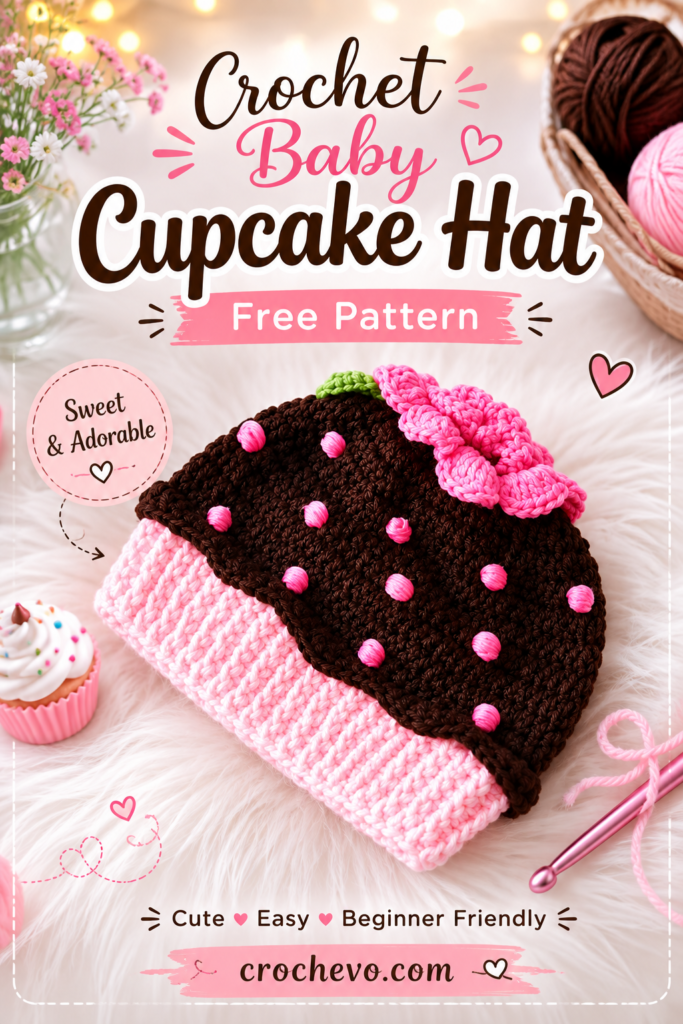
This easy crochet hat pattern free is a simple project for anyone who wants to make a cozy handmade beanie. The ribbed brim gives the hat a comfortable stretch, while the simple hdc body creates a neat and classic finish.
The pattern is easy to adjust for different ages and head sizes. For a look close to the reference design, use a soft solid-color yarn, keep the brim wide and folded, and use gradual decreases to create the rounded crown.
Once you make one, you can quickly make several more in different colors for yourself, family members, or handmade gifts.