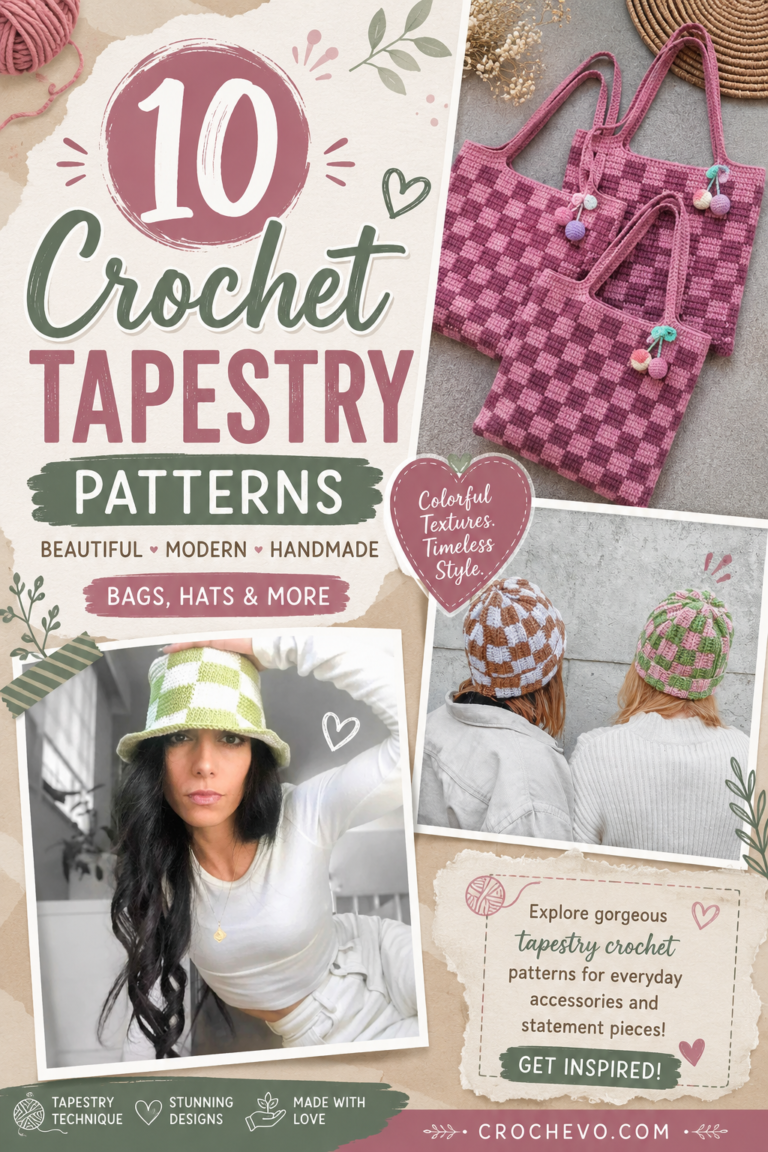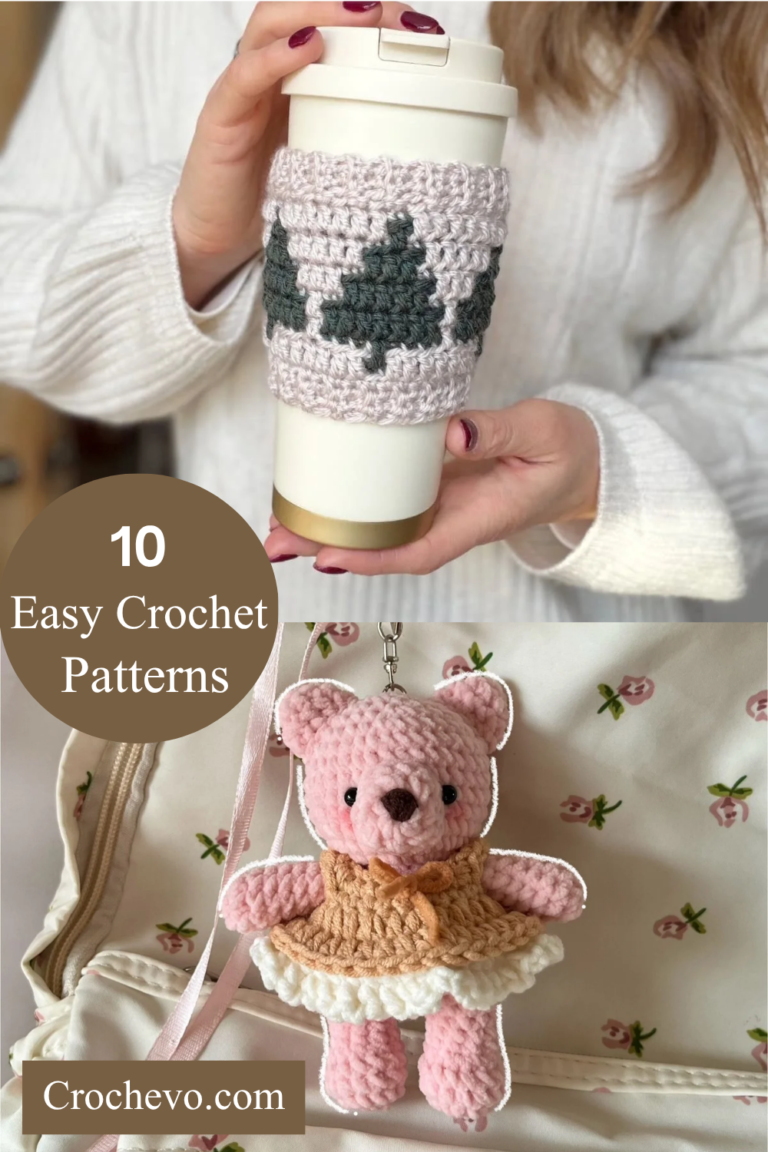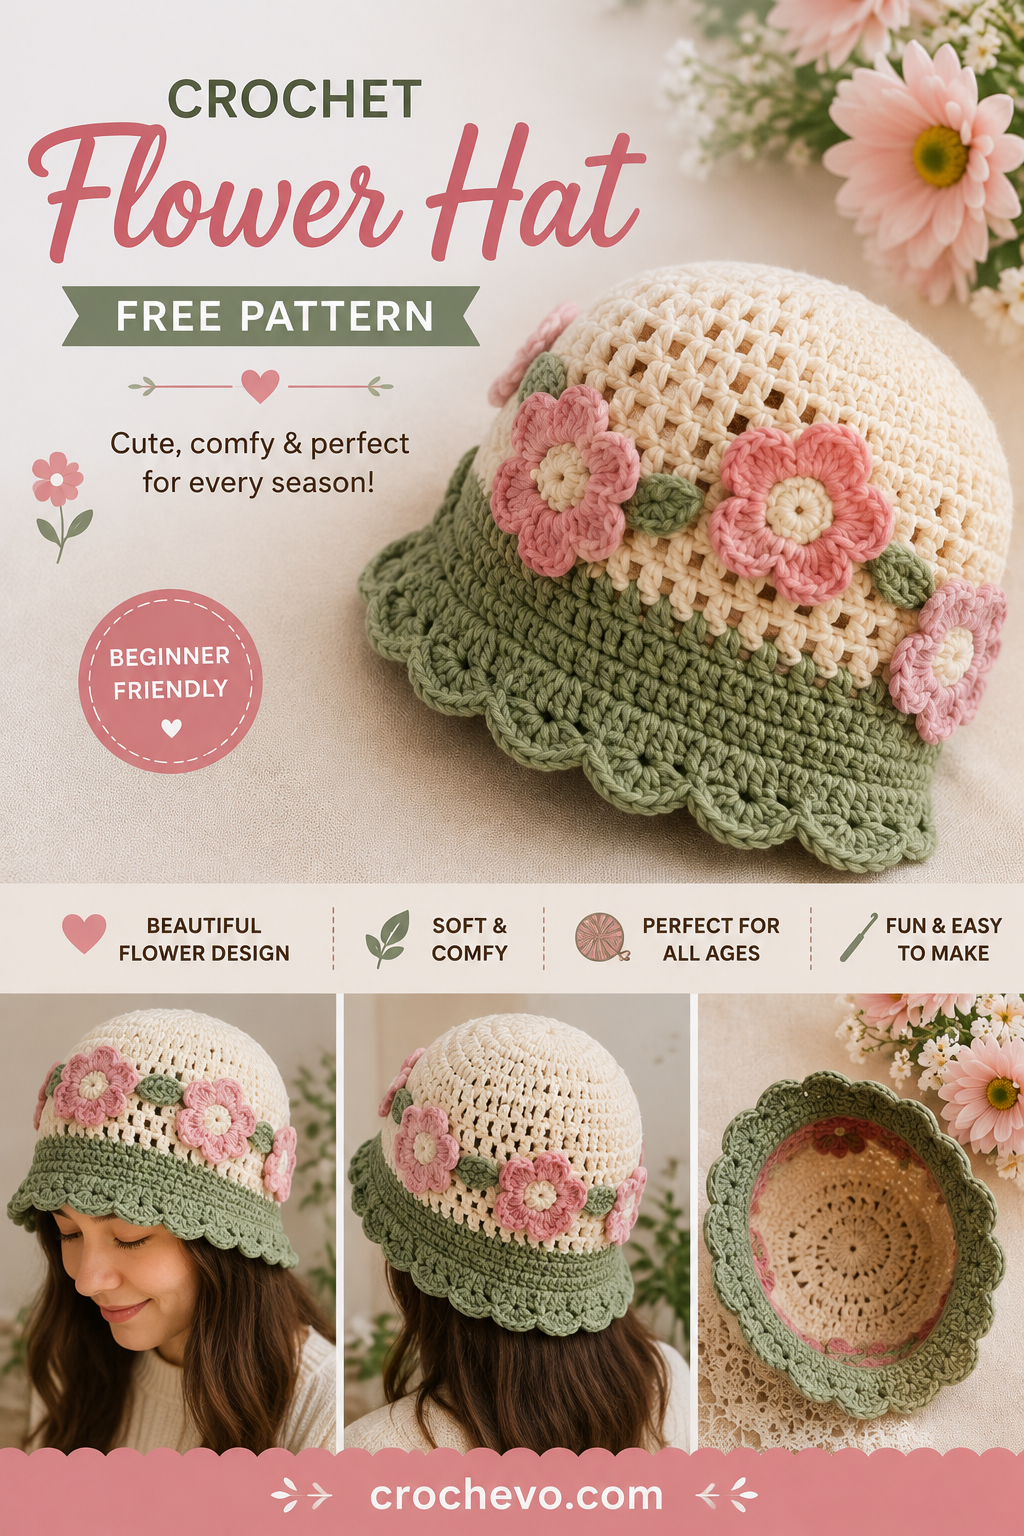
Flower Crochet Hat Free Pattern: Easy Step-by-Step Guide
If you adore beautifull handmade accessories, this pretty crochet flower hat will be perfect for spring and summer, garden parties, holidays, photo shoots, and any time of year you want to wear it. This design, as seen in the picture, has a cream-colored crown, green edges, and pink flowers with green leaves on it.
The hat looks detailed, but the construction is simple enough for a confident beginner. You will crochet the hat first, make the flowers and leaves separately, and then sew the decorations onto the hat.
This complete crochet flower hat pattern includes the basic stitches, size instructions, crown, brim, scalloped edge, flowers, leaves, finishing, and tips for getting the same look as the pictured design.
Pattern note: The instructions below are an original pattern designed around the visible features of the supplied image. A photograph cannot show the exact original stitch count or construction, so measurements are included to help you adjust the hat to the wearer.
What You Will Make
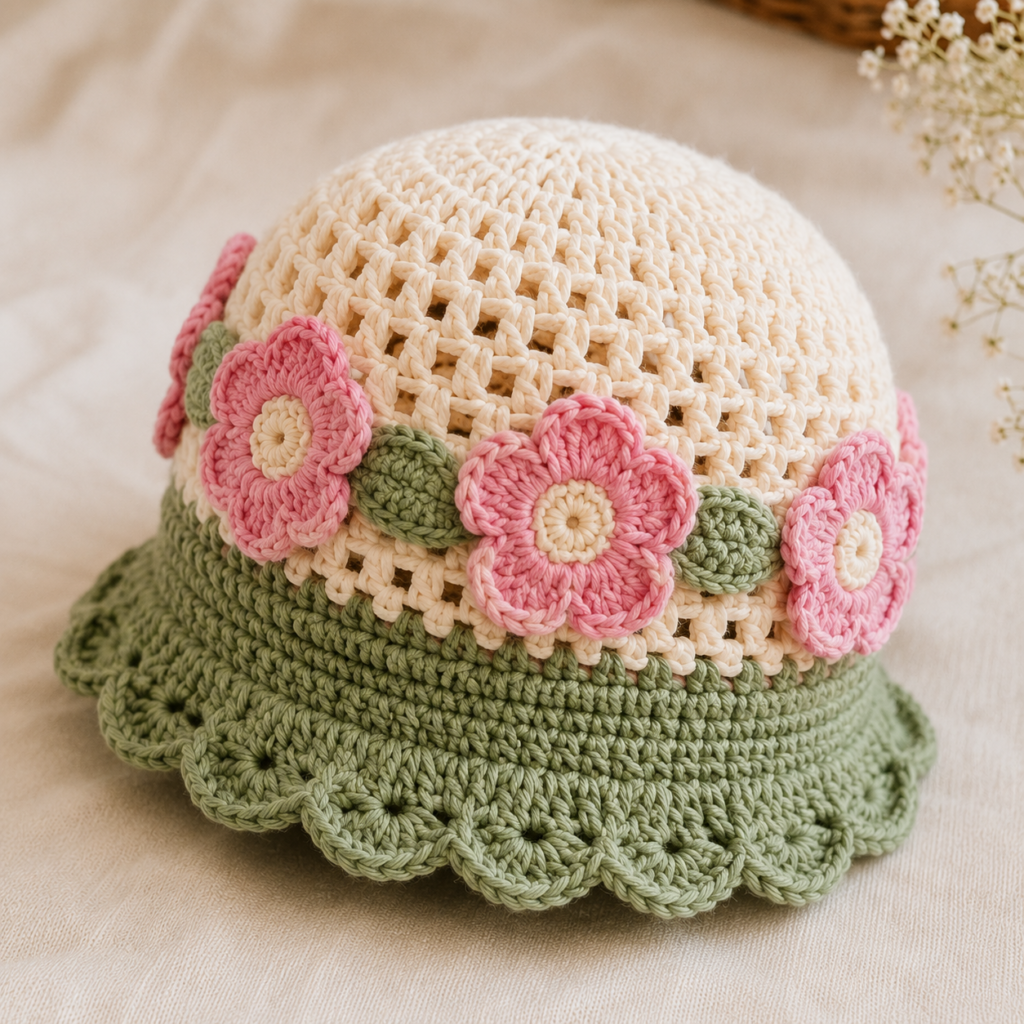
The finished hat has four main features:
- Cream-colored textured crown
- Sage-green lower band and brim
- Pink five-petal crochet flowers
- Small green leaves between the flowers
- A wide scalloped green edge
The result is a soft, feminine flower crochet hat with a garden-inspired look.
Materials You Need
Yarn
You will need five colors:
- Cream or ivory: for the main crown
- Sage green: for the lower band and brim
- Pink: for the flowers
- Light cream or pale yellow: for flower centers
- Green: for the leaves
You can use the same green yarn for both the brim and leaves.
A soft cotton, cotton blend, or lightweight acrylic yarn works well.
For a warm-weather hat, cotton is especially nice because it is breathable and comfortable.
Crochet Tools
- 4 mm crochet hook
- 4.5 mm crochet hook if needed
- Yarn needle
- Scissors
- Measuring tape
- Stitch markers
Suggested Colors
To get a look close to the picture, try:
Crown: warm ivory
Brim: muted sage green
Flowers: dusty pink
Flower centers: cream
Leaves: olive or sage green
Of course, you can change the colors completely.
A white hat with lavender flowers would look beautiful, while yellow flowers on a cream hat would create a cheerful summer design.
Crochet Abbreviations
| Abbreviation | Meaning |
|---|---|
| ch | Chain |
| sc | Single crochet |
| hdc | Half double crochet |
| dc | Double crochet |
| tr | Treble crochet |
| sl st | Slip stitch |
| BLO | Back loop only |
| FLO | Front loop only |
| st | Stitch |
| sts | Stitches |
| inc | Increase |
| dec | Decrease |
| rep | Repeat |
| rnd | Round |
Basic Crochet Stitches Explained
Chain Stitch
Make a slip knot and place it on your hook.
Yarn over and pull the yarn through the loop.
You have made one chain.
Chains are used to start your work and create spaces between stitches.
Single Crochet
Insert the hook into the stitch.
Yarn over and pull up a loop.
You now have two loops on the hook.
Yarn over again and pull through both loops.
You have made one single crochet.
Half Double Crochet
Yarn over.
Insert your hook into the stitch.
Yarn over and pull up a loop.
You now have three loops.
Yarn over and pull through all three loops.
That is one half double crochet.
Double Crochet
Yarn over.
Insert your hook into the stitch.
Yarn over and pull up a loop.
You now have three loops.
Yarn over and pull through two loops.
Yarn over again and pull through the last two loops.
You have made one double crochet.
Treble Crochet
Yarn over twice.
Insert the hook into the stitch.
Yarn over and pull up a loop.
You will have four loops on your hook.
Yarn over and pull through two loops.
Yarn over and pull through two loops again.
Yarn over and pull through the final two loops.
Treble crochet creates a tall stitch that is useful for larger flower petals.
Slip Stitch
Insert the hook into the stitch.
Yarn over.
Pull the yarn through the stitch and directly through the loop on your hook.
Slip stitches are mainly used for joining rounds and finishing.
Flower Crochet Hat Size Chart
Measure the head before beginning.
| Size | Head Circumference | Approx. Hat Height |
|---|---|---|
| Newborn | 13–14 in / 33–36 cm | 5–5.5 in / 13–14 cm |
| Baby | 14–16 in / 36–41 cm | 5.5–6.5 in / 14–16.5 cm |
| Toddler | 17–18 in / 43–46 cm | 6.5–7 in / 16.5–18 cm |
| Child | 18–20 in / 46–51 cm | 7–7.5 in / 18–19 cm |
| Teen | 20–21.5 in / 51–55 cm | 7.5–8.5 in / 19–22 cm |
| Adult Small | 21–22 in / 53–56 cm | 8–9 in / 20–23 cm |
| Adult Medium | 22–23 in / 56–58 cm | 8.5–9.5 in / 22–24 cm |
| Adult Large | 23–24 in / 58–61 cm | 9–10 in / 23–25 cm |
Crochet naturally stretches, so your finished hat should generally be slightly smaller than the actual head circumference.
How the Hat Is Constructed
The hat is made in separate sections:
- Crochet the cream crown.
- Add the green lower band.
- Crochet the wider green brim.
- Create the scalloped edge.
- Crochet the pink flowers.
- Make the flower centers.
- Crochet the green leaves.
- Sew the flowers and leaves onto the hat.
- Weave in all loose ends.
- Shape and block the finished hat.
Part 1: Crochet the Cream Crown
Start with the cream yarn.
The crown begins at the center and grows outward in rounds.
A magic ring is used to create the center.
Round 1
Make a magic ring.
Chain 2.
Work 12 double crochet stitches into the ring.
Join with a slip stitch to the first double crochet.
You should have:
12 dc
Pull the magic ring closed.
Round 2
Chain 2.
Work 2 dc into every stitch around.
Join with a slip stitch.
You should now have:
24 dc
Round 3
Chain 2.
Repeat around:
1 dc in the next stitch, 2 dc in the next stitch.
Join with a slip stitch.
You should have approximately:
36 dc
Round 4
Chain 2.
Repeat:
1 dc in the next 2 stitches, 2 dc in the next stitch.
Continue around.
Join.
You should have approximately:
48 dc
Round 5
Chain 2.
Repeat:
1 dc in the next 3 stitches, 2 dc in the next stitch.
Continue around.
Join.
You should have approximately:
60 dc
Check the Crown Size
Do not keep increasing without checking your measurement.
Lay the crown flat and measure across the center.
A simple calculation is:
Head circumference ÷ 3.14 = approximate crown diameter
For example:
A 56 cm head circumference:
56 ÷ 3.14 = approximately 18 cm
When your crown reaches the correct diameter, stop increasing.
This is important because every crocheter has a different tension.
Part 2: Crochet the Textured Cream Section
The picture shows an open, airy texture in the cream section.
To create a similar look, use double crochet and chain spaces.
Textured Round 1
Chain 3.
Skip the next stitch.
Work 1 dc in the following stitch.
Chain 1.
Skip the next stitch.
Work 1 dc in the following stitch.
Continue this pattern around:
dc, ch 1, skip 1
Join with a slip stitch.
Textured Round 2
Chain 3.
Work 1 dc into the next double crochet.
Work 1 dc into the chain-1 space.
Continue around.
Join with a slip stitch.
Textured Round 3
Repeat the same open texture.
Chain 3.
Work:
1 dc, ch 1, skip 1
around.
Join.
Continue the Crown
Continue the textured rounds until the cream section reaches the desired height.
As a general guide:
- Newborn: about 4.5–5 inches
- Baby: about 5–5.5 inches
- Toddler: about 5.5–6 inches
- Child: about 6–6.5 inches
- Teen: about 6.5–7.5 inches
- Adult: about 7–8 inches
The green brim will add extra height.
Part 3: Add the Green Band
Now change to sage green yarn.
Attach the green yarn at the bottom of the cream section.
Green Round 1
Chain 2.
Work 1 hdc in each stitch or stitch space around.
Join with a slip stitch.
Green Round 2
Chain 2.
Work:
1 hdc in each stitch around.
Join.
Green Round 3
Repeat:
1 hdc in each stitch around.
Join.
Green Round 4
Work another round of hdc around.
This creates the thicker green band visible in the design.
If you want a taller green band, add another one or two rounds.
Part 4: Make the Brim Wider
The brim should flare slightly outward.
This is done with increases.
Brim Increase Round
Chain 2.
Repeat around:
1 hdc in the next 3 stitches, 2 hdc in the next stitch.
Join.
You should notice the brim beginning to spread outward.
Next Round
Chain 2.
Work:
1 hdc in every stitch around.
Join.
If you want a wider sun-hat style brim, add another increase round.
For the shape shown in the photo, a moderate flare works best.
Part 5: Create the Scalloped Edge
The scalloped green border is one of the prettiest parts of this flower crochet hat.
Use green yarn.
Scallop Round
Chain 1.
Skip the next 2 stitches.
Work:
5 dc into the next stitch.
Skip the next 2 stitches.
Work:
5 dc into the next stitch.
Repeat all the way around.
Join with a slip stitch.
Fasten off.
Weave in the end.
The groups of five double crochet stitches will form rounded scallops.
How to Make the Scallops Bigger
If you want larger, fuller scallops, work:
6 or 7 dc
into each scallop stitch.
For smaller scallops, use:
3 or 4 dc.
The five-dc version gives a balanced flower-like edge similar to the picture.
Part 6: Crochet the Pink Flowers
Now make the decorative flowers.
The flowers shown in the design have five rounded petals.
Make around 5–8 flowers, depending on the hat size.
For a smaller hat, make fewer flowers.
For an adult hat, you can make more.
Simple Five-Petal Flower Pattern
Use pink yarn.
Make a magic ring.
Chain 1.
Work:
10 sc into the ring.
Join with a slip stitch.
Do not cut the yarn yet.
Petal 1
Chain 3.
Work:
2 dc, 1 tr, 2 dc
into the same stitch.
Slip stitch into the next stitch.
You have made one rounded petal.
Petal 2
Chain 3.
Work:
2 dc, 1 tr, 2 dc
into the next stitch.
Slip stitch into the following stitch.
Petals 3–5
Repeat the same pattern around.
For each petal:
ch 3, 2 dc, 1 tr, 2 dc in same stitch, sl st in next stitch.
After the fifth petal, join with a slip stitch.
Fasten off.
Leave a long yarn tail for attaching the flower.
Make the Flower Center
Use cream or pale yellow yarn.
Make a small magic ring.
Work:
8 sc into the ring.
Join with a slip stitch.
Pull the ring closed.
Fasten off.
You now have a small round center.
Sew the center onto the middle of the pink flower.
How to Make a Fuller Flower
If you want the flowers to look more like the larger flowers in the picture, use two rounds of petals.
First make the five-petal flower.
Then attach another layer of petals behind it.
For the second layer, make slightly larger petals using:
ch 4, 3 dc, 1 tr, 3 dc
in the same stitch.
This creates a fuller flower.
Part 7: Crochet the Green Leaves
The leaves are placed between the flowers.
Use sage or olive green yarn.
Small Leaf
Chain 8.
Starting in the second chain from the hook:
- 1 sc
- 1 hdc
- 2 dc
- 1 hdc
- 1 sc
Work along the other side of the chain.
Slip stitch at the base.
Fasten off.
Leave a long tail for sewing.
Larger Leaf
For a larger leaf, chain 10.
Starting from the second chain:
- 1 sc
- 1 hdc
- 3 dc
- 1 hdc
- 1 sc
Then work back along the opposite side.
Join at the base.
Fasten off.
Shape the Leaves
Use your fingers to gently curve each leaf.
The leaves do not need to be perfectly flat.
A slight curve makes the finished hat look more natural.
Part 8: Arrange the Flowers
Before sewing anything, place all your flowers around the hat.
This is important.
You can try several arrangements before attaching them.
For a look similar to the picture:
- Place two larger flowers toward the front.
- Add one flower on each side.
- Place another flower toward the back.
- Add small flowers wherever there are empty spaces.
- Put leaves between neighboring flowers.
Do not sew them immediately.
First make sure you like the arrangement.
Part 9: Sew the Flowers Onto the Hat
Thread your yarn needle with the flower’s yarn tail.
Place the flower against the cream section.
Sew through the center and around the base of the petals.
Make several small stitches.
Do not pull too tightly.
The flower should sit naturally against the hat.
Once secure, weave the yarn tail inside the hat.
Repeat for every flower.
Part 10: Attach the Leaves
Place the leaves between the flowers.
Use the yarn tail to sew each leaf down.
You only need a few stitches at the base.
This allows the leaf to remain slightly curved.
For a more natural arrangement, point some leaves upward and some sideways.
Part 11: Add Small Flower Details
If you want your flowers to look more detailed, add a tiny circle in the center.
You can also use a contrasting yarn color for the center.
Good combinations include:
- Pink flower + cream center
- White flower + yellow center
- Purple flower + yellow center
- Peach flower + cream center
- Yellow flower + orange center
Part 12: Finishing the Hat
Once all flowers and leaves are attached, carefully check the entire hat.
Look for:
- Loose yarn ends
- Loose flowers
- Uneven scallops
- Missed stitches
- Loose petals
Secure anything that needs attention.
Then weave all yarn ends into the inside of the hat.
Trim the excess yarn.
How to Shape the Hat
Place the finished hat on a clean towel.
Gently shape the crown with your hands.
Make sure the brim sits evenly.
If the yarn allows wet blocking, lightly dampen the hat and shape it.
Let it dry completely before wearing.
Do not stretch the hat too much while blocking.
How to Make the Hat Look Like the Picture
There are a few details that make a big difference.
Keep the crown light
The cream section should have an airy appearance.
Avoid making the stitches too tight.
Use a deeper green for the brim
The contrast between cream and sage green makes the flower decorations stand out.
Use soft pink flowers
A dusty or pastel pink gives the gentle look shown in the photo.
Make flowers different sizes
A few larger flowers mixed with smaller flowers make the design more natural.
Add leaves between flowers
The green leaves help connect the flowers visually.
Make the brim scalloped
The scalloped edge gives the hat its pretty garden-inspired finish.
How to Make Different Sizes
The easiest way to resize this flower crochet hat pattern is to change the crown diameter.
Use:
Head circumference ÷ 3.14
to estimate the required crown diameter.
Once the crown reaches that diameter, stop increasing.
Then continue working straight until you reach the desired height.
Newborn Flower Crochet Hat
For a newborn hat:
- Keep the crown around 4–4.5 inches wide.
- Use a shorter cream section.
- Make a small green brim.
- Use 3–4 small flowers.
- Keep all decorations firmly attached.
Baby Flower Crochet Hat
For a baby:
- Crown diameter: approximately 4.5–5 inches
- Use a shorter crown.
- Make 4–5 small flowers.
- Use a narrow scalloped brim.
Toddler Flower Crochet Hat
For a toddler:
- Crown diameter: approximately 5.5–5.75 inches
- Use 5–6 flowers.
- Make the green brim slightly wider.
Child Flower Crochet Hat
For a child:
- Crown diameter: approximately 5.75–6.25 inches
- Use 5–7 flowers.
- A medium scalloped brim works well.
Adult Flower Crochet Hat
For an adult:
- Crown diameter: approximately 7–7.25 inches
- Continue the cream section to the desired height.
- Use 6–9 flowers.
- Make the green brim slightly wider for the same soft shape shown in the photo.
Always use the person’s actual head measurement when possible.
Common Crochet Problems
My crown is curling
If the crown curls upward, you may not have enough increases.
Add another increase round.
If it becomes wavy, you may have too many increases.
Remove the last increase round and check again.
My hat is too loose
Your crown may be too large.
Use a smaller hook or stop increasing earlier.
You can also remove one textured round.
My hat is too tight
Use a larger hook or add another increase round.
Check your head measurement before continuing.
My brim does not flare
You need more increases.
Work another increase round before making the scalloped edge.
My brim is too wide
You may have added too many increases.
Remove one increase round.
My flowers are floppy
Try using a smaller hook.
You can also add an extra round of stitches around the flower.
My flowers do not stay in place
Sew them down with several small stitches.
Do not rely on one stitch in the center.
My leaves curl too much
Use a slightly larger hook or loosen your tension.
You can also lightly block the leaves.
How Many Flowers Should You Make?
A simple guide is:
| Hat Size | Suggested Flowers |
|---|---|
| Newborn | 3–4 |
| Baby | 4–5 |
| Toddler | 5 |
| Child | 5–6 |
| Teen | 6–7 |
| Adult | 7–9 |
You do not have to follow these numbers exactly.
Arrange the flowers around the hat until the design looks balanced.
Flower Crochet Hat Color Ideas
Soft Garden Hat
- Ivory
- Sage
- Dusty pink
This is closest to the pictured design.
Lavender Garden Hat
- Cream
- Lavender
- Sage
- Pale yellow centers
Sunny Flower Hat
- Cream
- Green
- Yellow
- Orange
Cottagecore Hat
- Beige
- Olive
- Blush pink
- Cream
Colorful Summer Hat
- White
- Mint
- Pink
- Purple
- Yellow
Can Beginners Make This Flower Crochet Hat?
Yes.
The main hat uses basic crochet stitches, while the flowers and leaves are made separately.
The most important skills are:
- Making a magic ring
- Single crochet
- Half double crochet
- Double crochet
- Working in rounds
- Increasing
- Joining rounds
- Sewing crochet pieces together
If you are completely new to crochet, practice the basic stitches on a small swatch before beginning the hat.
How Long Does This Project Take?
The time depends on your experience and the size.
A small baby hat may take around 3–5 hours.
A child-size hat may take around 4–6 hours.
An adult hat may take around 5–8 hours.
The flowers and leaves take additional time, especially if you make many of them.
How Much Yarn Will You Need?
The exact amount depends on yarn weight, hook size, tension, and hat size.
A rough estimate is:
- Newborn: 50–75 g total
- Baby: 60–90 g
- Toddler: 75–100 g
- Child: 90–120 g
- Teen: 100–140 g
- Adult: 120–170 g
The flowers and leaves require only small amounts of yarn.
How to Wash Your Crochet Flower Hat
Always check the yarn label first.
For washable yarn:
- Use cool or lukewarm water.
- Add a small amount of gentle detergent.
- Wash carefully.
- Do not twist the hat.
- Gently squeeze out excess water.
- Reshape the hat.
- Lay it flat to dry.
Avoid high heat because it can shrink or change the shape of the crochet.
Safety Tips for Baby Hats
If you make this flower crochet hat for a baby or young child, make sure every flower and leaf is securely sewn.
Check the decorations regularly.
Avoid loose buttons, beads, or other small pieces that could become detached.
The hat should fit comfortably and should never be tight around the baby’s head.
Frequently Asked Questions
What stitch is used for a flower crochet hat?
This design uses several basic stitches, including double crochet, half double crochet, single crochet, chain stitches, and slip stitches.
How do you crochet flowers onto a hat?
It is usually easier to crochet the flowers separately. After finishing each flower, use a yarn needle to sew it securely onto the hat.
How many flowers should I put on my crochet hat?
For an adult hat, around 7–9 flowers creates a full design. Smaller hats usually need fewer flowers.
Can I make this hat for a baby?
Yes. Adjust the crown size and use fewer, smaller flowers.
What yarn is best for a summer flower hat?
Cotton or cotton-blend yarn is a good choice because it is lightweight and breathable.
How do I make the brim wider?
Add an increase round before crocheting the scalloped edge.
How do I make the brim narrower?
Use fewer increases or skip the final increase round.
How do I make the crochet flowers bigger?
Use a larger hook and add taller stitches such as treble crochet to the petals.
Can I use different flower colors?
Absolutely. The flower colors can be changed to match any outfit or season.
Final Thoughts
This flower crochet hat is a beautiful project for anyone who loves soft colors, handmade accessories, and pretty floral details.
The cream crown creates a light and airy base, while the sage-green brim gives the hat its distinctive shape. The pink flowers and small leaves add the final garden-inspired touch.
The pattern is also easy to customize. You can make the hat for a newborn, baby, toddler, child, teenager, or adult simply by adjusting the crown size and number of rounds.
For a look closest to the supplied design, use cream, dusty pink, and sage green, add several five-petal flowers around the crown, and finish the brim with generous green scallops.
Most importantly, take your time with the measurements. Once the crown fits correctly, the rest of the crochet flower hat pattern becomes a fun and relaxing project. 🌸🧶