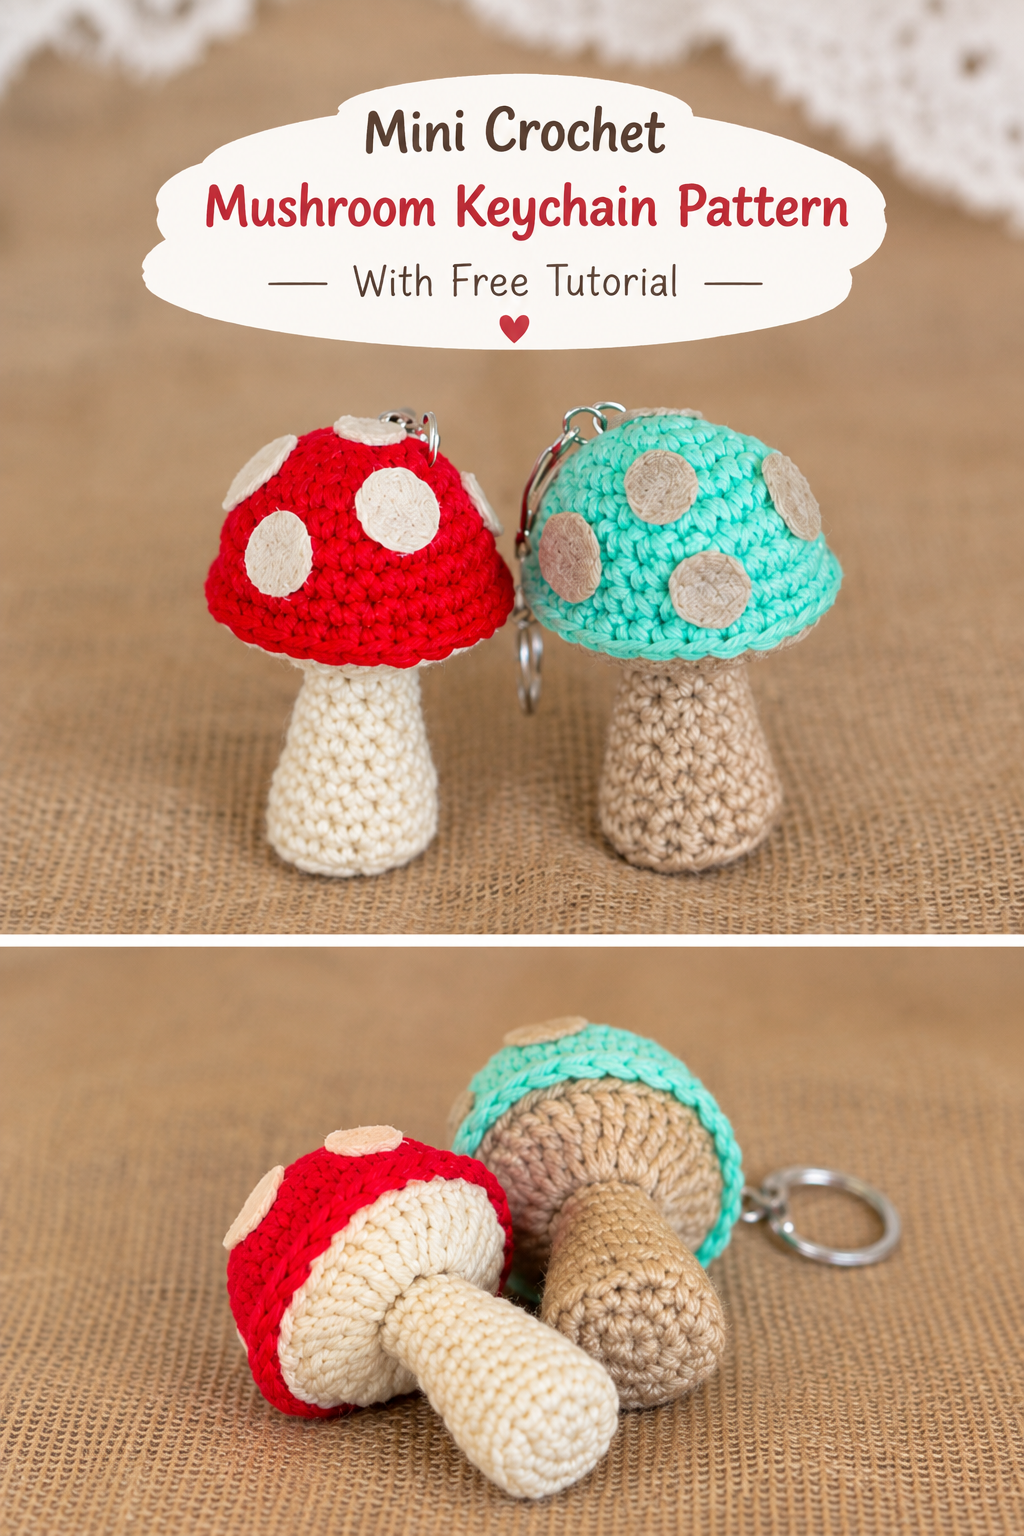
Mini Crochet Mushroom Keychain Pattern With Free Tutorial
I have always loved mushrooms. They are great in omelettes, salads, soups, and pies. But when I am not cooking with mushrooms, I enjoy making them with yarn instead!
These little crochet mushrooms are quick, cute, and fun to make. They are also great for using small amounts of leftover yarn. Once finished, you can use them as decorations, ornaments, keychains, or even small handmade gifts.
This pattern is simple to follow and does not need many supplies. Let’s get started!
🧶 What You Will Need
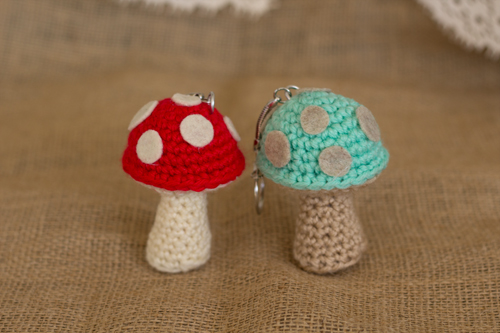
For this crochet mushroom, gather these supplies:
- Small amounts of beige and red yarn, or any colors you like
- Light brown felt
- Off-white felt
- Fiberfill stuffing
- Glue gun or fabric glue
- Yarn needle
- 2.75 mm crochet hook
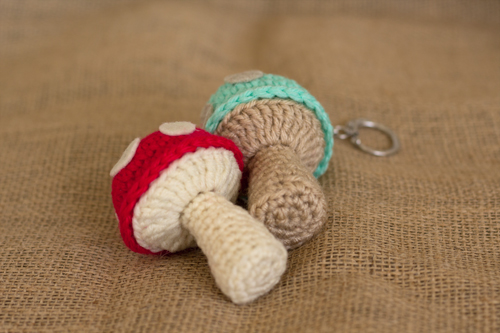
The finished mushroom will be about 3 inches tall when made with a 2.75 mm hook.
If you use a larger crochet hook, your mushroom will usually turn out bigger. A smaller hook will make a smaller mushroom.
Crochet Abbreviations
Here are the short terms used in the pattern:
- rnd = round
- sc = single crochet
- inc = increase
- dec = decrease
- blo = back loop only
- flo = front loop only
- ch = chain
- tr = treble crochet
- st = stitch
🍄 Crochet Mushroom Stem
Start with beige yarn.
Make a magic ring.
Rnd 1: Make 5 sc into the magic ring. (5)
Rnd 2: Work 2 sc in every stitch around. (10)
Rnd 3: Repeat [1 sc, inc] 5 times. (15)
Rnd 4: Working in the back loops only, sc in every stitch around. (15)
Rnd 5: Repeat [5 sc, dec] 2 times, then make 1 sc. (13)
Rnd 6: Sc in every stitch around. (13)
Optional Step
If you want the bottom of the mushroom to stay flat, you can cut a small piece of cardboard and place it inside the bottom.
Rnd 7: Repeat [4 sc, dec] 2 times, then make 1 sc. (11)
Rnd 8–9: Sc in every stitch around. (11)
Rnd 10: Repeat [3 sc, dec] 2 times, then make 1 sc. (9)
Rnd 11–13: Sc in every stitch around. (9)
Making the Top of the Stem
Rnd 14: Ch 3, then make 2 tr in the same stitch. Continue with 3 tr in each stitch around. Join to the first tr. (26)
Fasten off.
Now fill the stem with a small amount of fiberfill. Do not pack it too tightly.
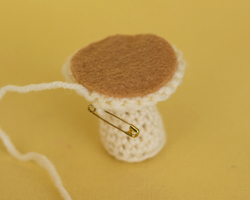
Next, cut a circle from light brown felt. Make the circle slightly smaller than the bottom edge of the last crochet round.
Use a little fabric glue or hot glue to attach the felt circle to the bottom of the mushroom.
This will help cover the opening and give the mushroom a neat, flat base.
🍄 Crochet Mushroom Cap
Now it is time to make the red cap.
Using red yarn, make a magic ring.
Rnd 1: Make 5 sc into the magic ring. (5)
Rnd 2: Work 2 sc in every stitch around. (10)
Rnd 3: Repeat [1 sc, inc] 5 times. (15)
Rnd 4: Repeat [2 sc, inc] 5 times. (20)
Rnd 5: Repeat [3 sc, inc] 5 times. (25)
Rnd 6: Make 1 inc, then 24 sc. (26)
Rnd 7–8: Sc in every stitch around. (26)
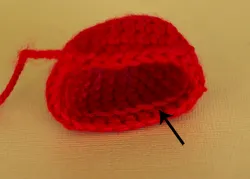
Rnd 9: Working in the front loops only, sc in every stitch around. (26)
Fasten off, but leave a long yarn tail. You will use this tail to attach the cap to the stem.
🧵 Attaching the Mushroom Cap
Take the remaining yarn tail and bring it to the other side of the cap. This will make it easier to begin sewing.
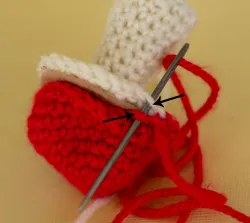
Place the cap over the top of the stem.
Use your yarn needle to sew the cap to the stem. Work through the stitches underneath the cap and the front loops of the stem.
As you sew, check the shape of the mushroom.
You can add a little more fiberfill while sewing if the cap needs some shape. Avoid overfilling the piece with stuffing; use just enough to give it the desired shape. The bottom of the cap should remain fairly flat.
Once the cap is securely attached, fasten off.
Hide the remaining yarn ends by weaving them through the crochet stitches. Trim away any extra yarn.
🍄 Your Crochet Mushroom Is Finished!
That’s it! Your cute little crochet mushroom is ready.
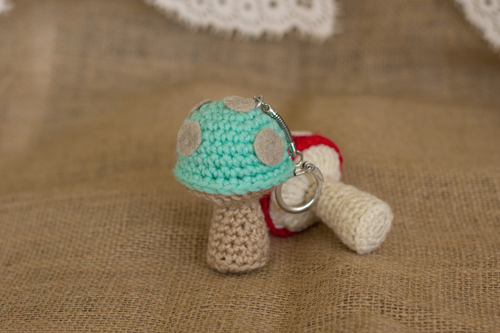
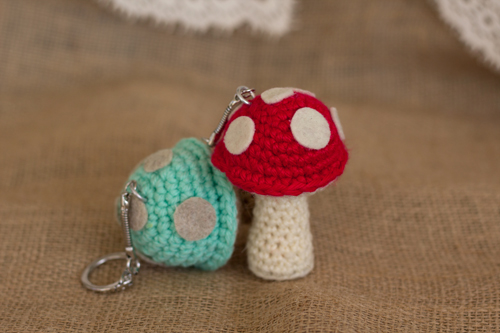
You can leave it as a small decoration or add a chain to turn it into a mushroom keychain. You can also attach a piece of yarn to the top and use it as a hanging ornament.
Try making mushrooms in different colors to create your own little collection. You could make red mushrooms, brown mushrooms, cream mushrooms, or any colors that match your style.
This is also a great project for using up small pieces of yarn from your stash.
I hope you enjoyed making this little mushroom. Have fun choosing your colors and adding your own creative touches.
Happy crocheting! 🍄🧶