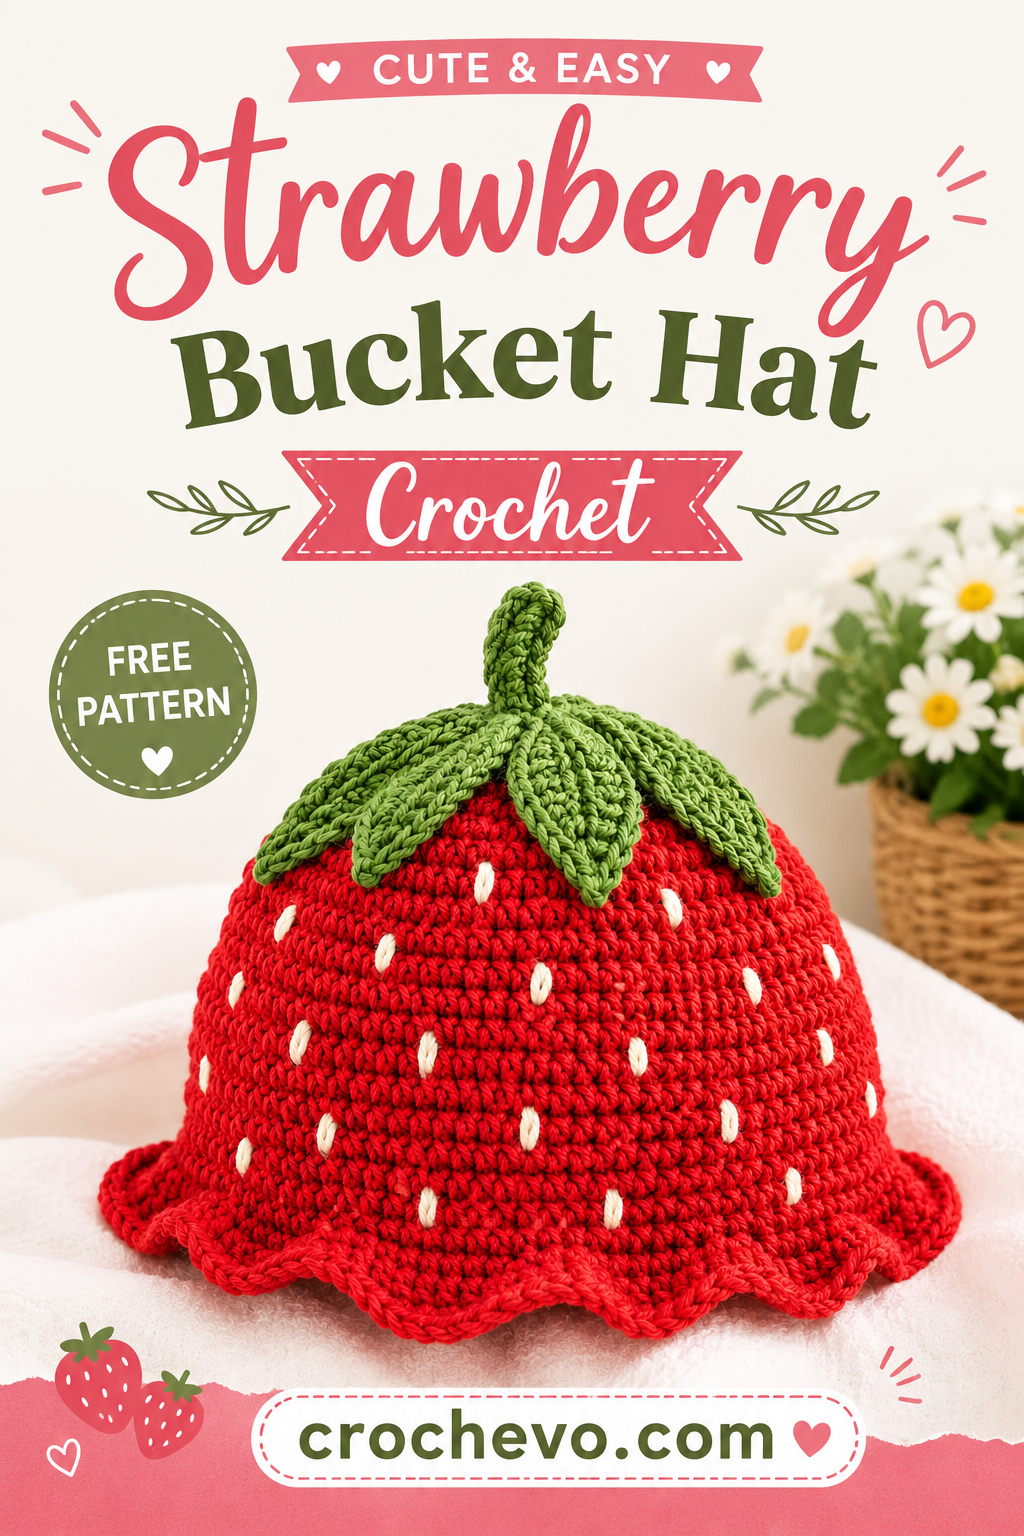
Strawberry Bucket Hat Crochet
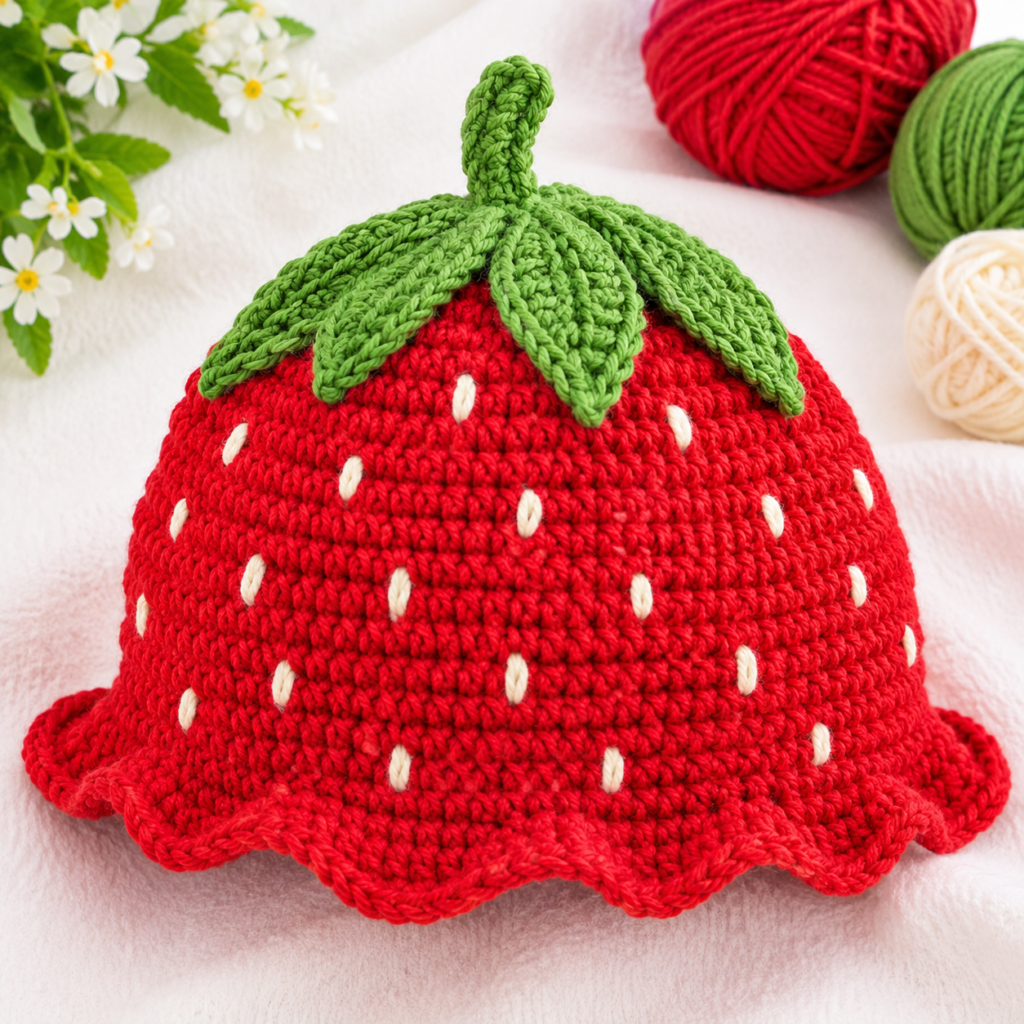
A strawberry bucket hat crochet project is such a cute way to bring a little summer style to your handmade wardrobe. This hat combines a simple bucket-hat shape with strawberry-inspired colors and small crochet details.
The design is beginner-friendly once you understand the basic increases and decreases. You can make it in red and green for a classic strawberry look, or change the colors to create your own version.
Note: The Pinterest image could not be directly accessed because the image host returned a 403 error. The pattern below is an original crochet pattern inspired by the strawberry bucket-hat style, not a transcription of the pictured designer’s pattern.
Strawberry Bucket Hat Crochet Pattern
Skill Level
Easy to Intermediate
You should know how to make:
- Magic ring
- Chain
- Single crochet
- Half double crochet
- Slip stitch
- Increase
- Decrease
The pattern is worked from the top down, so you can easily check the fit as you go.
Materials
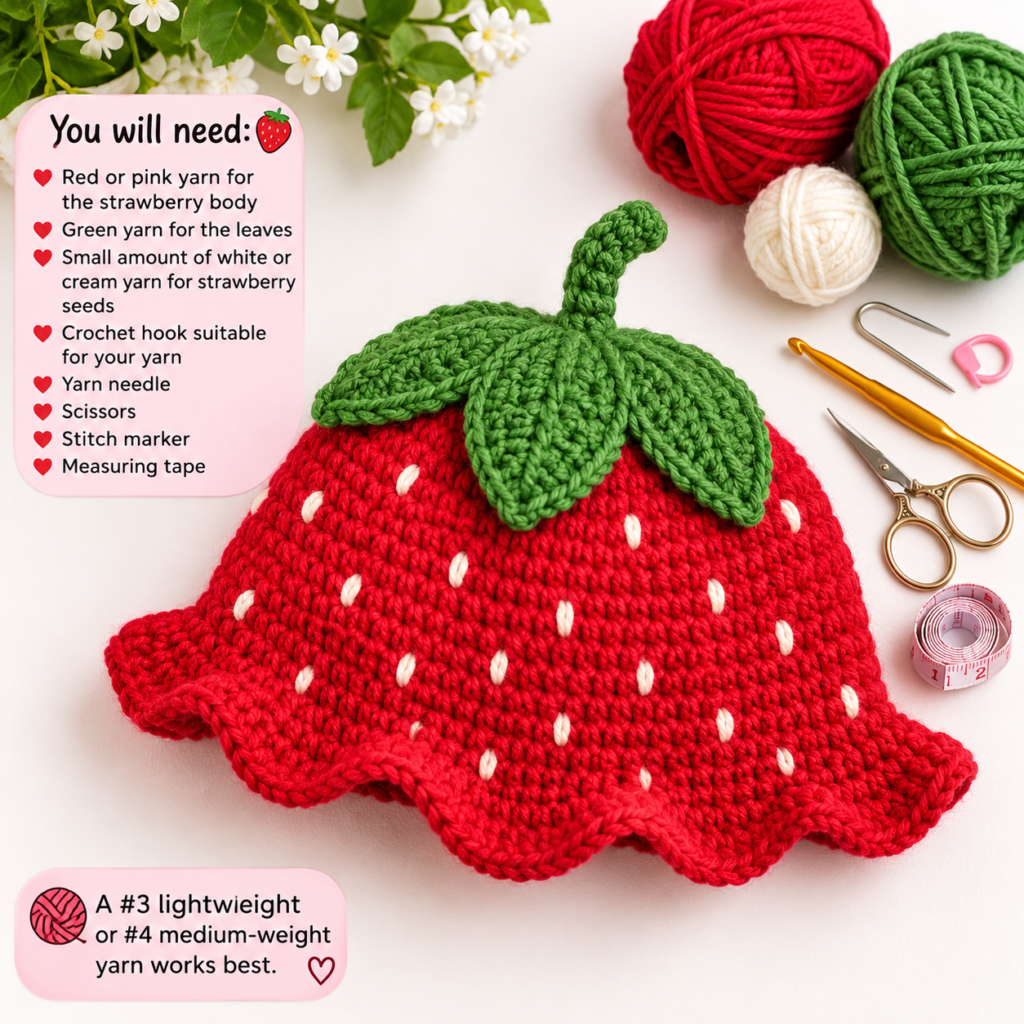
You will need:
- Red or pink yarn for the strawberry body
- Green yarn for the leaves
- Small amount of white or cream yarn for strawberry seeds
- Crochet hook suitable for your yarn
- Yarn needle
- Scissors
- Stitch marker
- Measuring tape
For a bucket hat, #3 lightweight or #4 medium-weight cotton yarn is a great choice, as it provides the brim with just the right amount of firmness and shape.
Crochet Abbreviations
| Abbreviation | Meaning |
|---|---|
| ch | Chain |
| sc | Single crochet |
| hdc | Half double crochet |
| dc | Double crochet |
| sl st | Slip stitch |
| st | Stitch |
| sts | Stitches |
| inc | Increase |
| dec | Decrease |
| BLO | Back loop only |
| FLO | Front loop only |
| rep | Repeat |
| rnd | Round |
Choosing Your Size
Wrap the measuring tape around the fullest area of the head to get an accurate measurement.
| Size | Head Circumference |
|---|---|
| Baby | 14–16 in / 36–41 cm |
| Toddler | 17–18 in / 43–46 cm |
| Child | 18–20 in / 46–51 cm |
| Teen | 20–21.5 in / 51–55 cm |
| Adult Small | 21–22 in / 53–56 cm |
| Adult Medium | 22–23 in / 56–58 cm |
| Adult Large | 23–24 in / 58–61 cm |
For a comfortable fit, aim for a finished hat that is about 1 inch smaller than the head measurement because crochet fabric stretches.
Gauge
For a similar fabric, aim for approximately:
16–18 sc = 4 inches
The exact gauge will depend on your yarn and hook.
If your fabric feels too soft and floppy, try a smaller hook.
If it feels very stiff, use a slightly larger hook.
Part 1: Crochet the Strawberry Crown
The top of the bucket hat begins as a flat circle.
Use your strawberry red or pink yarn.
Round 1
Make a magic ring.
Work:
6 sc into the ring.
Pull the ring closed.
Join with a slip stitch.
You have:
6 stitches.
Round 2
Chain 1.
Work:
2 sc in every stitch around.
You now have:
12 stitches.
Join.
Round 3
Repeat:
1 sc in the next stitch, 2 sc in the next stitch.
Continue around.
You should have:
18 stitches.
Join.
Round 4
Repeat:
1 sc in the next 2 stitches, 2 sc in the next stitch.
Continue around.
You should have:
24 stitches.
Join.
Round 5
Repeat:
1 sc in the next 3 stitches, 2 sc in the next stitch.
Continue around.
You should have:
30 stitches.
Join.
Round 6
Repeat:
1 sc in the next 4 stitches, 2 sc in the next stitch.
Continue around.
You should have:
36 stitches.
Join.
Continue Increasing
Keep adding one more regular sc between increases each round.
For example:
Round 7: 5 sc, inc
Round 8: 6 sc, inc
Round 9: 7 sc, inc
Continue until the crown reaches the desired diameter.
Crown Diameter Guide
Use these measurements as a starting point:
- Baby: about 5 inches
- Toddler: about 5.5 inches
- Child: about 6–6.5 inches
- Teen: about 6.5–7 inches
- Adult Small: about 7 inches
- Adult Medium: about 7–7.25 inches
- Adult Large: about 7.25–7.75 inches
Do not worry if your stitch count is slightly different.
The measurement is more important than the exact number of stitches.
Part 2: Crochet the Strawberry Sides
Once your crown reaches the correct diameter, stop increasing.
Work:
1 sc in every stitch around.
Join.
Repeat this round until the sides reach approximately:
- Baby: 2.5–3 inches
- Toddler: 3 inches
- Child: 3–3.5 inches
- Teen: 3.5–4 inches
- Adult: 4–4.5 inches
The bucket hat should sit comfortably around the sides of the head.
Creating a Slightly Rounded Shape
If you want the strawberry bucket hat to have a softer, rounded appearance, work a few rounds using hdc instead of sc.
For example:
1 hdc in every stitch around.
The half double crochet creates a slightly taller fabric and gives the hat a softer drape.
Part 3: Shape the Bucket-Hat Brim
Now we start making the brim wider.
The brim is what gives the hat its classic bucket-hat shape.
Brim Round 1
Work:
1 sc in the next 5 stitches, 2 sc in the next stitch.
Repeat around.
Join.
Brim Round 2
Work:
1 sc in every stitch around.
Join.
This plain round helps keep the brim flat.
Brim Round 3
Work:
1 sc in the next 6 stitches, 2 sc in the next stitch.
Repeat around.
Join.
Brim Round 4
Work:
1 sc in every stitch around.
Join.
Continue the Brim
Keep alternating an increase round with a plain round until the brim reaches the width you want.
A typical bucket-hat brim is approximately:
2–3 inches wide.
For a larger sun hat, you can make the brim wider.
Keep the Brim Flat
Watch the brim as you crochet.
If the brim starts curling upward, you need more increases.
If it becomes wavy or ruffled, you have too many increases.
A good brim should lie mostly flat.
Part 4: Strawberry Seeds
The little strawberry seeds are what make this hat instantly recognizable.
You can add them using either of these two simple methods.
Method 1: Embroidered Seeds
This is the easiest method.
Use white, cream, pale yellow, or light pink yarn.
Thread the yarn onto a needle.
Make small vertical stitches across the red hat.
Space them randomly but evenly.
You can place approximately:
8–12 seeds around each section of the hat.
Do not make every seed perfectly straight.
Slight variations make the strawberry look more natural.
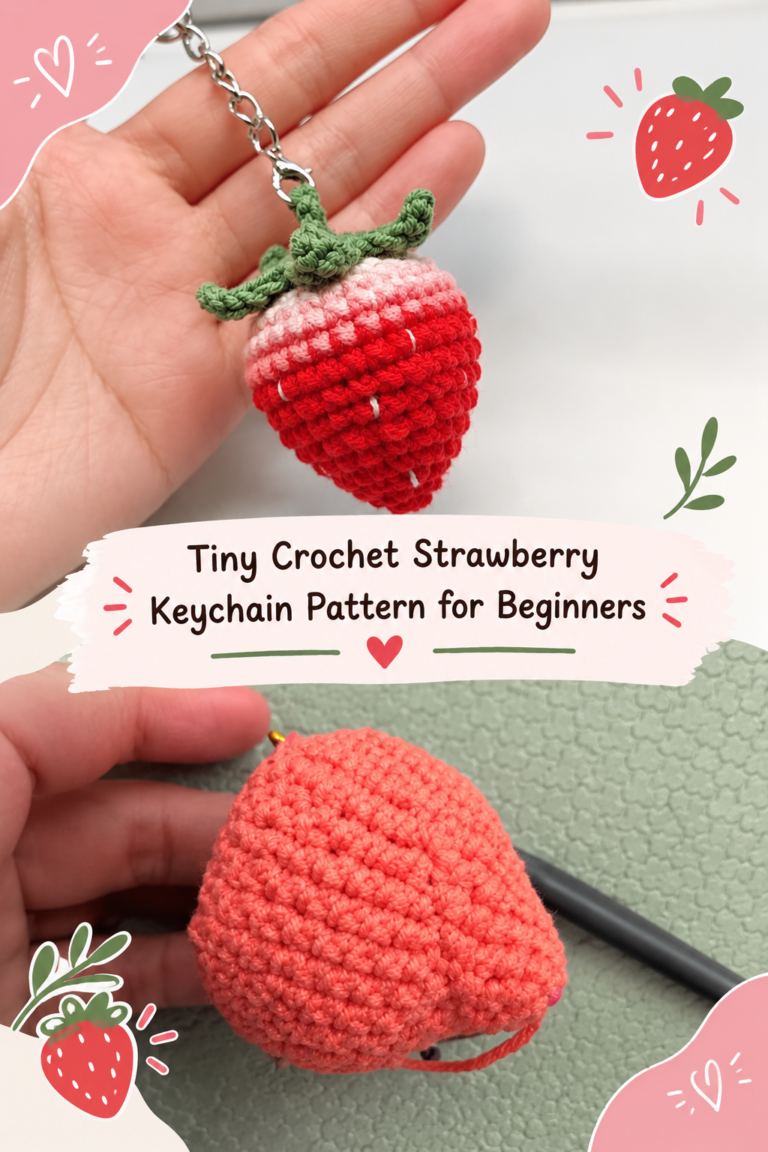
Method 2: Crochet Seed Details
You can also make tiny raised seed shapes.
Use cream yarn.
Chain 3.
Begin working into the second chain away from the hook:
sl st, sc
Fasten off.
Sew the small pieces onto the hat.
This creates a slightly raised strawberry-seed effect.
Seed Placement
For a cute strawberry appearance:
- Put seeds around the crown.
- Add seeds down the sides.
- Keep the brim mostly plain.
- Leave small spaces between the seeds.
- Avoid making perfectly straight rows.
The seeds should look scattered across the strawberry.
Part 5: Make the Green Strawberry Leaves
The green leaves sit on top of the hat.
You can make one large leaf cluster or several smaller leaves.
Simple Leaf Pattern
With green yarn:
Chain 7.
Begin crocheting into the second chain from your hook.
sl st, sc, hdc, dc, hdc, sc.
Slip stitch at the base.
Fasten off.
Leave a long tail for sewing.
Make More Leaves
Make:
5 leaves
for a full strawberry top.
You can make the leaves different lengths by changing the starting chain.
For example:
- Chain 5 for a small leaf
- Chain 7 for a medium leaf
- Chain 9 for a large leaf
Arrange the Leaves
Place the leaves around the center of the crown.
Arrange them like the top of a strawberry.
One leaf can point toward the front.
Two can point toward the sides.
The remaining leaves can point toward the back.
Sew them securely.
Add a Small Green Center
To finish the strawberry top, make a small green circle.
Round 1
Make a magic ring.
Work:
6 sc into the ring.
Join.
Fasten off.
Sew the little circle over the bases of the leaves.
This hides the joining points and gives the top a cleaner finish.
Optional Strawberry Stem
For an extra detail, add a tiny green stem.
Chain 5.
Starting in the second chain:
sl st in each stitch across.
Fasten off.
Roll or fold the piece slightly.
Sew it into the center of the leaf cluster.
Part 6: Finishing the Brim
For a clean edge, work one final round of sc.
Make:
1 sc in every stitch around.
Join with a slip stitch.
Fasten off.
Weave in all ends.
Optional Decorative Edge
If you want a softer, more decorative brim, try a simple scalloped edge.
Skip 2 stitches.
Work:
5 dc in the next stitch.
Skip 2 stitches.
Slip stitch into the next stitch.
Repeat around.
This creates small scallops around the edge.
For a more simple everyday hat, leave the edge plain.
How to Make the Hat More Structured
If your strawberry bucket hat feels too floppy, try:
- Using cotton yarn
- Using a smaller crochet hook
- Adding a round of tight sc stitches
- Adding a thin piece of millinery wire inside the brim
If you add wire, cover the ends carefully so they cannot poke through the crochet fabric.
How to Make It Softer
For a soft summer hat, use:
- Lightweight cotton
- Bamboo-blend yarn
- #3 yarn
- A slightly larger crochet hook
This gives the hat more drape and makes it comfortable for warm weather.
Color Ideas
Classic Strawberry
- Bright red body
- Green leaves
- Cream seeds
Soft Strawberry
- Dusty pink body
- Sage leaves
- White seeds
Strawberry Cream
- Light pink body
- Dark green leaves
- Cream seeds
Chocolate Strawberry
- Deep red body
- Green leaves
- Cream seeds
- Brown accent
Easy Size Adjustments
The easiest way to resize the hat is to adjust the crown.
Hat too small?
Continue the increase rounds until the crown is wider.
Hat too large?
Stop increasing sooner.
Hat too short?
Add more straight rounds before beginning the brim.
Hat too tall?
Begin the brim earlier.
Brim too narrow?
Add another increase round.
Brim too wide?
Stop increasing and work another plain round.
How to Check the Fit
Place the crown on the person’s head before finishing the sides.
The crown should cover the top of the head without stretching too much.
After the sides are finished, check that the bottom reaches approximately around the ears or slightly above them.
Then begin the brim.
This lets you adjust the hat before you spend time making the decorative details.
Care Instructions
For the best results:
- Follow the yarn label’s washing instructions.
- Wash gently.
- Avoid high heat.
- Reshape while damp.
- Let the hat dry flat.
If you use cotton yarn, the hat may become slightly softer after washing.
Final Thoughts
This crochet strawberry bucket hat is a fun and summery project featuring a classic bucket-hat design decorated with charming strawberry-inspired details. The red or pink body creates the strawberry, while the little cream seeds and green leaves complete the look.
The pattern is also easy to customize. Make the brim wider for more sun coverage, use pastel colors for a softer style, or add a scalloped edge for a more decorative finish.
For the classic strawberry look, use red yarn, green leaves, cream seeds, and a slightly wider bucket-hat brim. The result is a fun handmade accessory that works especially well for spring, summer, festivals, photos, and matching outfits.