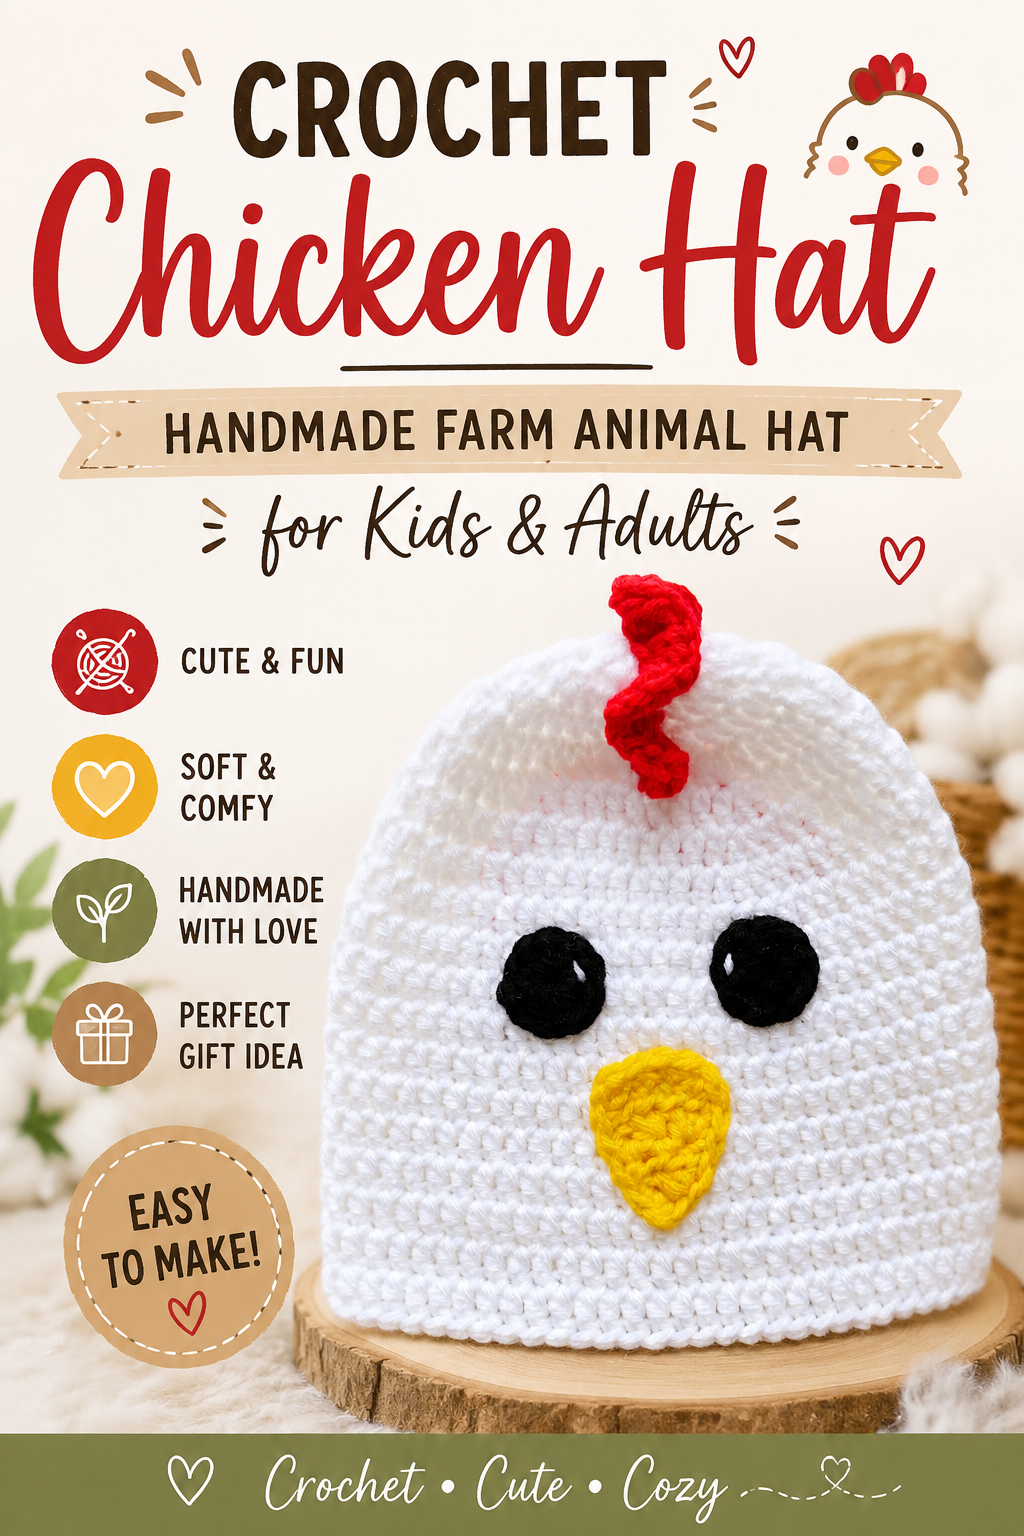
Crochet Chicken Hat 🐔 | Handmade Farm Animal Hat for Kids & Adults
This crochet chicken hat is a fun and beginner-friendly animal hat designed to be crocheted from the crown downward in joined rounds. Made with worsted weight yarn, the pattern comes in baby, toddler, child, and adult sizes. After completing the basic beanie, you’ll add simple chicken-inspired details, including eyes, a beak, and a comb. It’s a playful project for spring, farm-themed clothing, costumes, gifts, photo props, or everyday wear.
Quick answer
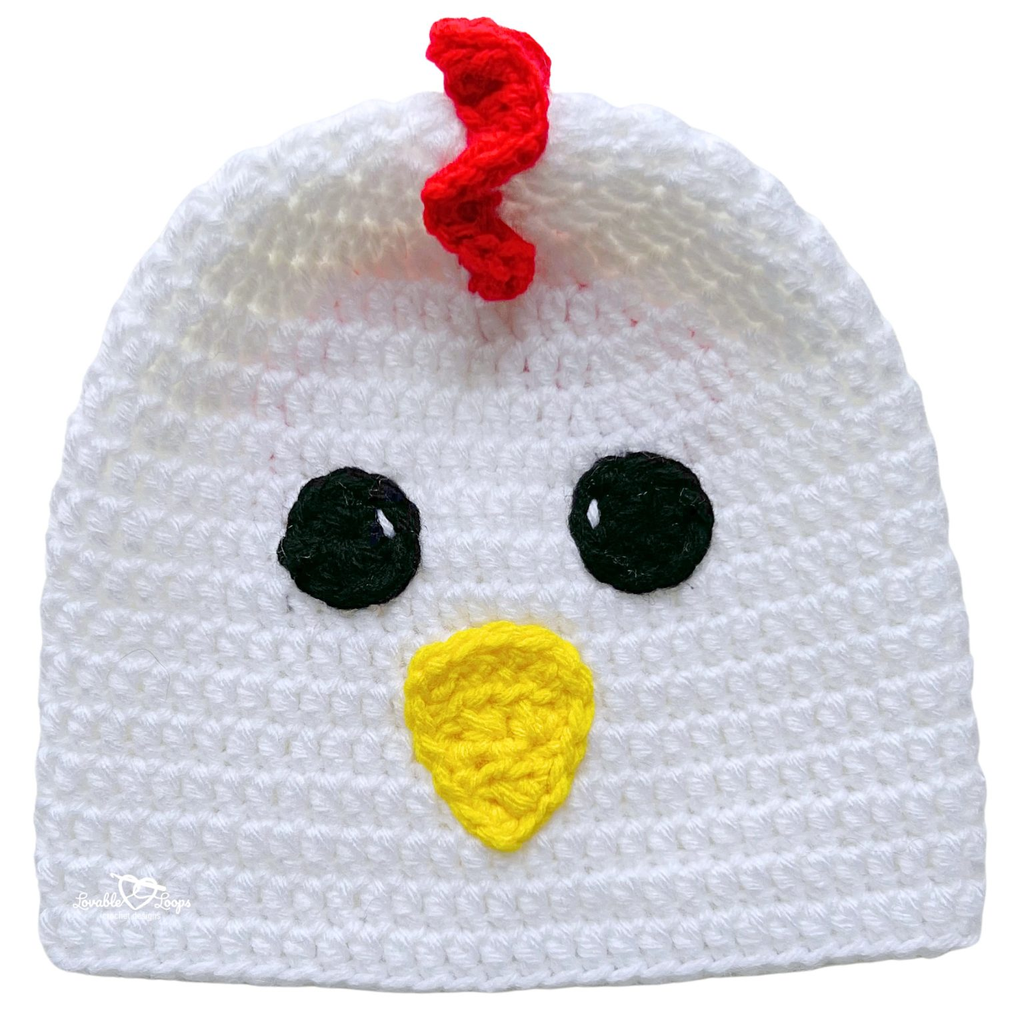
The Crochet Chicken Hat is an easy top-down beanie pattern made with worsted weight yarn (#4) and an I-9 (5.5 mm) crochet hook. The pattern provides baby, toddler, child, and adult sizes and includes easy-to-make chicken features such as eyes, a yellow beak, and a red comb.
Best for: Beginners
Style: Top-down animal hat with sewn-on facial details
Includes: 4 sizes, written instructions, gauge information, and finishing instructions
Prefer a printable version?
If you prefer working from a physical or digital copy, you can purchase the ad-free PDF version of this Crochet Chicken Hat Pattern from my Etsy shop. The downloadable file is convenient to save, print, and use alongside your crochet supplies.
Why you’ll love this pattern
- Simple, repetitive rounds make the hat easy to follow and remember
- Adorable chicken details give the finished hat plenty of character
- Four size options make it suitable for babies through adults
- Uses only small amounts of contrasting black, red, and yellow yarn
- Beginner-friendly construction combines basic crochet with simple sewing
- A fun choice for springtime, farm-themed parties, dress-up, and special events
How the hat is constructed
The main hat begins at the crown and is worked downward in joined rounds. In the first few rounds, increases are used to create the shape of the crown. After reaching the required stitch count for the selected size, you’ll continue working even rounds to create the body of the hat.
The chicken features are made separately after the hat is complete. Using the smaller crochet hook, you’ll create the eyes, beak, and comb, then sew each piece onto the hat in its proper position.
Crochet chicken hat pattern details
Before starting your project, review the materials, finished measurements, gauge, abbreviations, and general pattern notes below.
Skill level
Beginner — This crochet chicken hat uses basic stitches and straightforward repeated rounds, making it a comfortable project for someone who is new to crocheting hats.
Materials needed
- Crochet hook I-9 / 5.5 mm — the size recommended for making this hat.
- Crochet hook H-8 (5 mm) — for the beak, eyes, and comb
- Worsted weight yarn (#4) — in black, white, red, and yellow
- Yarn needle — for weaving in ends neatly
- Scissors — to cut your yarn
- Stitch markers (optional) — useful for maintaining your position in circular or continuous patterns.
Finished size
This chicken hat pattern includes four sizes.
- Baby — 14–15 inches (36–38 cm) head circumference, 6 inches tall (15 cm)
- Toddler — 18–19 inches (46–48 cm) head circumference, 7 inches (18 cm) tall
- Child — 19–20 inches (48–51 cm) head circumference, 7.75 inches (20 cm) tall
- Adult — 20–23 inches (51–58 cm) head circumference, 8 inches tall (20 cm)
Gauge
15 stitches and 9 rows = 4 inches (10 cm)
If your swatch has too many stitches, try a larger hook.
If your crochet swatch is coming out with fewer stitches than the pattern requires, switch to a smaller hook to achieve the correct stitch count.
Crochet abbreviations
- dc = double crochet
- hdc = half double crochet
- hdc2tog = half double crochet decrease
- sc = single crochet
- ch/chs = chain/chains
- st/sts = stitch/stitches
- sl st = slip stitch
Pattern notes
- Use an I-9 (5.5 mm) crochet hook for the hat
- For the beak, eyes, and comb, work with an H-8 (5 mm) crochet hook to achieve the recommended size and shape.
- Rounds 1–5 of the hat are the same for all sizes
- The pattern is worked in the round from the top of the hat down
- Repeat the instructions between the asterisks (*) for the rest of the round
- Unless noted differently, the facial pieces are worked identically across every size.
- The pattern is written in US crochet terms
Crochet chicken hat pattern instructions
Rounds 1–5 are the same for all sizes.
Rounds 1–5
Round 1: Begin with a magic ring. Chain 2, then work 11 double crochet stitches into the ring. Join with a slip stitch to the top of the first double crochet. (11 stitches)
Round 2: Ch 2, 2 dc in each st, join (22 stitches)
Round 3: Ch 2, 2 dc in next st, dc in next st, repeat around and join. (33 sts)
Round 4: Ch 2, *2 dc, dc in next 2 sts*, join (44 stitches)
Round 5: Ch 2, *2 dc, dc in next 10 sts*, join (48 stitches)
Baby size
Rounds 6–14: Ch 2, dc around, join. (48 sts)
Fasten off and weave in your ends.
Toddler size
Round 6: Ch 2, 2 dc, dc in next 11 sts, join. (52 sts)
Round 7: Ch 2, 2 dc, dc in next 12 sts, join. (56 sts)
Rounds 8–17: Ch 2, dc around, join. (56 sts)
Fasten off and weave in your ends.
Child size
Round 6: Ch 2, 2 dc, dc in next 11 sts, join. (52 sts)
Round 7: Ch 2, 2 dc, dc in next 12 sts, join. (56 sts)
Round 8: Ch 2, 2 dc, dc in next 13 sts, join. (60 sts)
Rounds 9–18: Ch 2, dc around, join. (60 sts)
Fasten off and weave in your ends.
Adult size
Round 6: Ch 2, 2 dc, dc in next 11 sts, join. (52 sts)
Round 7: Ch 2, 2 dc, dc in next 12 sts, join. (56 sts)
Round 8: Ch 2, 2 dc, dc in next 13 sts, join. (60 sts)
Round 9: Ch 2, 2 dc, dc in next 14 sts, join. (64 sts)
Rounds 10–19: Ch 2, dc around, join. (64 sts)
Fasten off and weave in your ends.
Chicken eyes
Make 2 using black yarn.
Round 1: Magic ring, ch 2, 9 dc, join with sl st to the top of the first dc (9 stitches)
Use scrap pieces of white yarn to add the eye sparkle. Sew the eyes to the hat.
Chicken beak
Use yellow yarn.
Row 1: Ch 6, hdc in 3rd ch from the hook and in each remaining ch, turn (4 stitches)
Row 2: Ch 2, hdc2tog, hdc2tog, turn (2 stitches)
Row 3: Ch 2, hdc in each st, turn (2 stitches)
Row 4: Ch 2, hdc2tog, (1 stitch)
Single crochet around the entire shape and fasten off. Sew the beak onto the hat, centered between the eyes.
Chicken comb
Use red yarn.
Row 1: Ch 12, 3 hdc in 3rd ch from the hook and in each rem ch, turn (30 stitches)
Sew the comb onto the top of the hat. Sew through the original chain. You will have to straighten the comb as you go.
Finishing
Fasten off and weave in your ends.
Frequently asked questions
What yarn works best for this hat?
Worsted weight yarn (#4) is an excellent choice for this project because it creates a comfortable, practical beanie. Acrylic yarn and washable blends are especially convenient when making hats for children.
Can I use a different hook size?
Yes. Changing the crochet hook size is one of the easiest ways to adjust the finished fit. For the closest match to the listed measurements, make a gauge swatch and adjust your hook accordingly.
Do I have to use a magic circle?
No. A magic circle creates a tidy center for the crown, but you can substitute another method for starting a circle if that technique is more comfortable for you.
Are the face pieces different for each size?
Unless you note otherwise in your pattern, the face pieces are made the same way for all sizes and are positioned to fit the hat.
How do I place the eyes and beak neatly?
Before permanently sewing anything, place the pieces on the hat and check their spacing. Pins or stitch markers can help hold them in position. The beak should sit centered between the two eyes.
Can I sell finished hats made from this pattern?
If you include a standard permissions line in your post, add it here (I won’t assume either way). Most designers allow selling finished items with credit.
How do I make it look more like a rooster?
For a stronger rooster appearance, try positioning the comb more prominently and experimenting with different colors, such as darker reds. The basic hat construction can remain unchanged while you customize the details.
What if my hat height looks right but the face sits too high or low?
Try adjusting the number of even rounds slightly. It’s also helpful to position the face pieces after trying the hat on, or after measuring from the crown, so the eyes and beak sit at the desired height.