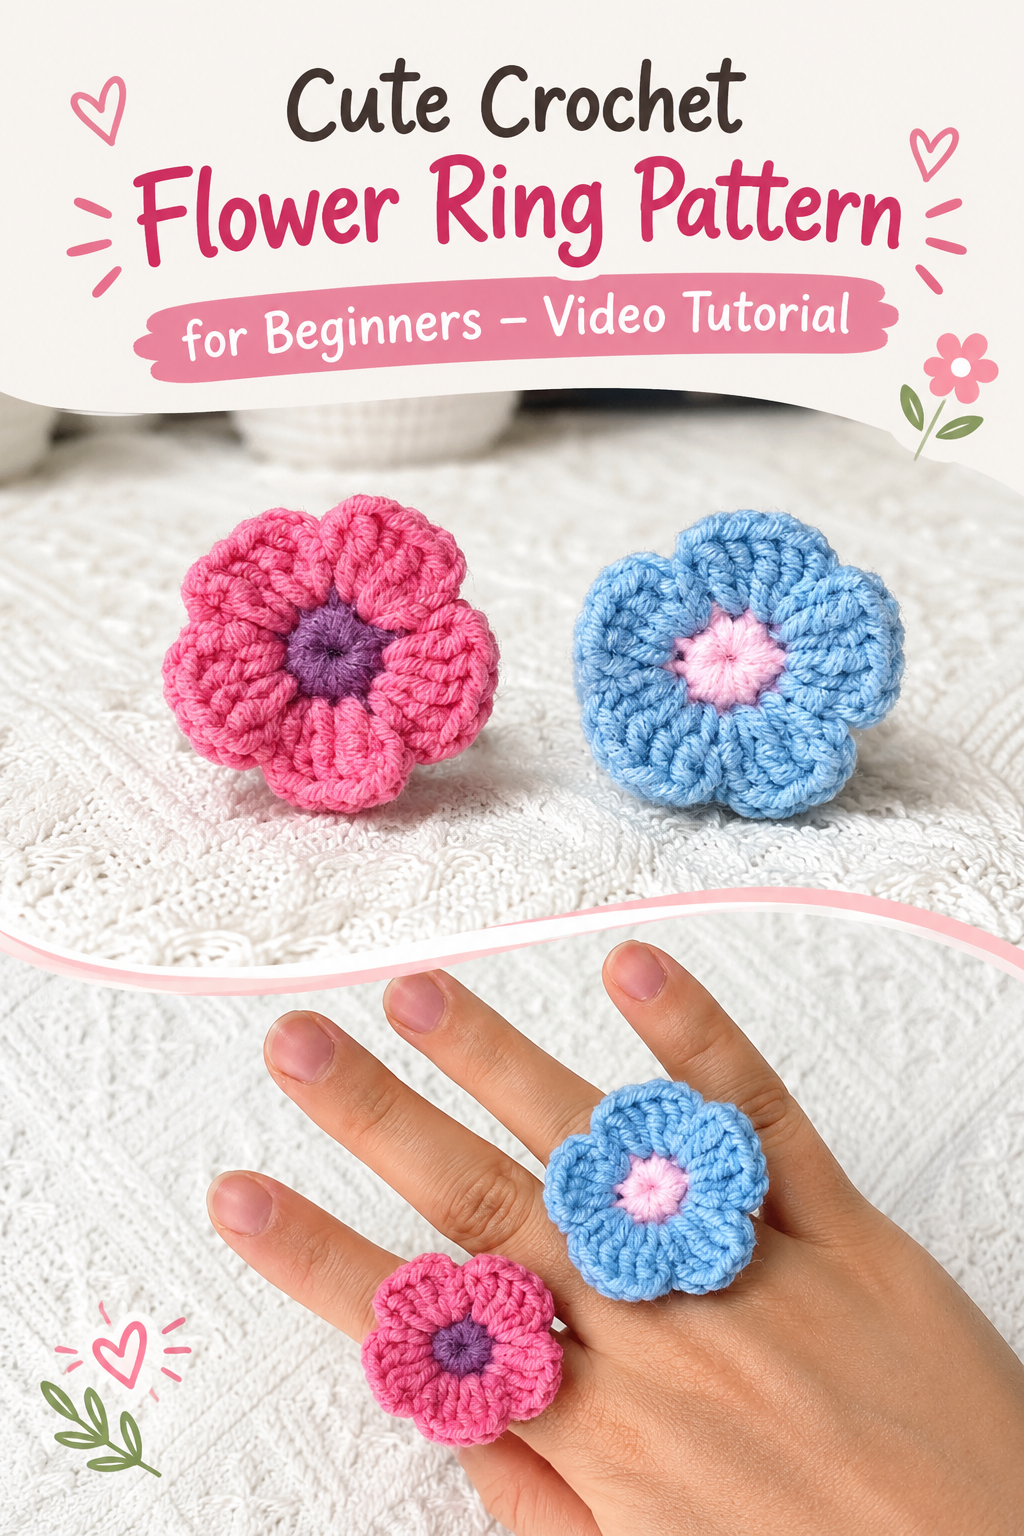
Cute Crochet Flower Ring Pattern for Beginners – Video Tutorial
Want to make a cute crochet accessory in less than 20 minutes? This little crochet flower ring is a fun project that is quick, simple, and beginner-friendly.
It’s a wonderful way to put those little leftover bits of yarn to good use. You only need a little yarn to make the flower and the ring band, so it is perfect for using up yarn tails from other crochet projects.
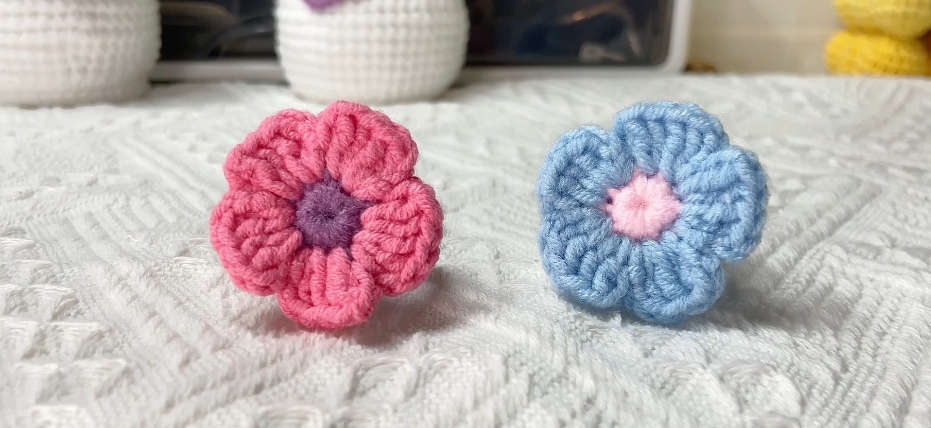
Choose any color combination you love to create a flower that’s uniquely yours. Try a bright pink flower, a soft pastel flower, or mix different colors to create your own style.
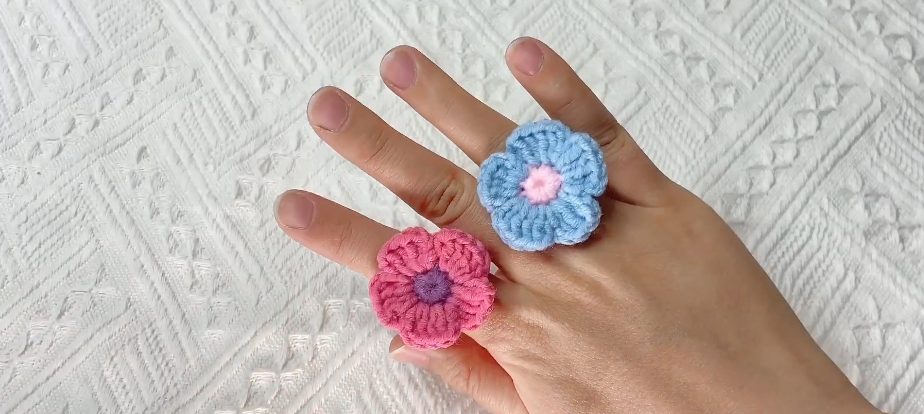
The ring band can also be adjusted to fit your finger, making this a simple handmade accessory for yourself or a sweet little gift for someone else.
🌸 Project Details
- Skill level: Beginner
- Time: Less than 20 minutes
- Hook size: 2.5 mm
- Yarn: 4-ply milk cotton yarn
- Project type: Crochet jewelry
- Flower: 5 petals
- Ring size: Adjustable by changing the starting chain
🧶 Materials You Need
For this crochet flower ring, you will need:
- 4-ply milk cotton yarn
- 2.5 mm crochet hook
- Yarn needle
- Scissors
You can use two colors if you want the flower center and petals to look different.
For example:
- Color 1: Flower center
- Color 2: Flower petals and ring
This project is also a great opportunity to use up any leftover yarn you have in your stash. This project needs only a small amount.
✂️ Crochet Abbreviations
Here are the abbreviations used in the pattern:
- ch – chain
- sc – single crochet
- hdc – half double crochet
- dc – double crochet
- sl st – slip stitch
- inc – increase
- dec – decrease
The flower pattern mainly uses sc, ch, dc, and sl st, while the ring band uses hdc.
🌼 How to Crochet the Flower
The flower is made in two simple parts:
- The center
- The five petals
Begin by crocheting the center of the flower with your chosen first color.
Step 1: Make the Flower Center
Begin with a magic ring.
You can use either a regular magic ring or a double magic ring. A double ring gives you a very tight center, but a normal magic ring works too.
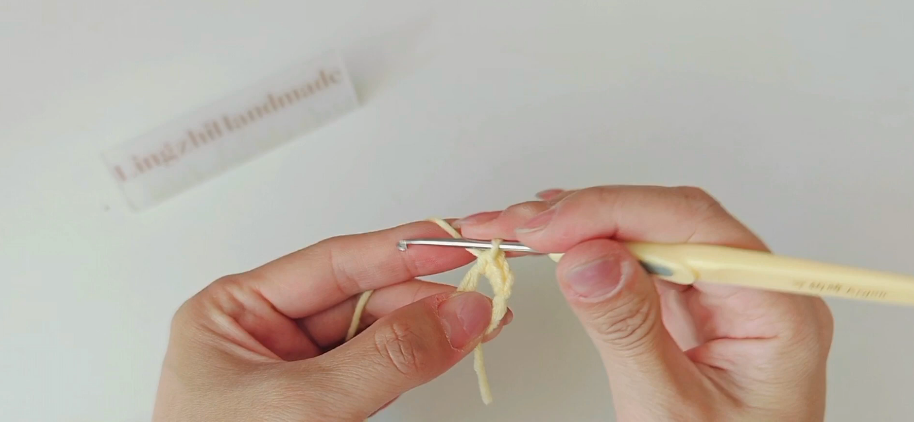
Round 1
Start with ch 1.
Keep in mind that the starting chain is not included in the stitch count.
Now work:
10 sc into the magic ring. (10)
As you work, keep track of your stitches and check that you finish with a total of 10 single crochets.
Once all 10 stitches are complete, pull the magic ring closed.
Then make 1 sl st into the first sc to close the round.
You should now have a small, tight circle with 10 stitches.
Fasten off.
Keep the yarn tail positioned behind the flower, tucking it aside so it stays clear while you crochet the petals.
🌸 How to Make the Flower Petals
Now attach your second yarn color to any stitch of the flower center.
Each petal is made across two neighboring stitches.
The basic petal sequence is:
ch 2, 2 dc in the same stitch, 2 dc in the next stitch, ch 2, sl st into the next stitch.
Continue working the same petal sequence around the flower until all 5 petals have been completed.
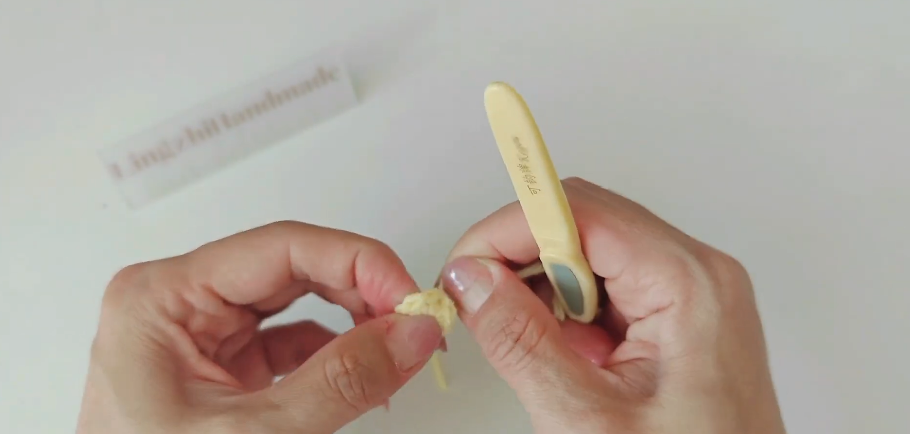
Petal 1
Join the yarn to any stitch around the center of the flower.
Work:
- ch 2
- 2 dc in the same stitch
- 2 dc in the next stitch
- ch 2
- sl st in the next stitch
Your first petal is complete.
Petal 2
Continue from the stitch where you finished.
Work:
- ch 2
- 2 dc in the same stitch
- 2 dc in the next stitch
- ch 2
- sl st in the next stitch
You now have two petals.
Petals 3–5
Repeat the same sequence three more times:
ch 2 → 2 dc in the same stitch → 2 dc in the next stitch → ch 2 → sl st in the next stitch.
Continue around the center until you have 5 petals.
At the end, make the final ch 2 and join with a sl st into the first space.
Then make a small securing stitch, fasten off, and cut the yarn.
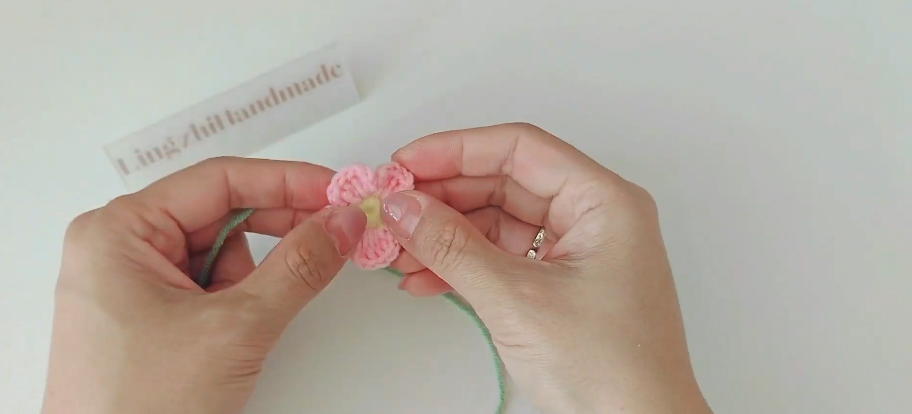
You should now have a simple five-petal crochet flower.
🌸 Finishing the Flower
Before moving on to the ring band, take a moment to deal with all the loose yarn tails.
With a yarn needle, neatly weave the loose ends through the stitches on the back of the flower to secure them.
Trim any extra yarn.
Try to keep the back of the flower neat because it will later be attached to the ring.
💍 How to Crochet the Ring Band
Making the Ring
Next, let’s create the ring band.
Since everyone’s finger size is different, adjust the number of chains as needed until the band fits comfortably around your finger.
For the sample shown in the tutorial, the ring starts with 16 chains.
Step 1: Make the Starting Chain
Make a slip knot and crochet:
ch 16
Test the fit by gently wrapping the chain around your finger.
If the chain feels snug, add a few extra chains. If it feels loose, remove a few chains instead.
The final chain count may vary depending on your yarn thickness, hook size, and the finger you’re making the ring for.
Step 2: Work Into the Back Bumps
Instead of working into the usual front loops of the chain, turn your chain over and look for the small bumps along the back.
Begin crocheting into the third back bump from the hook.
Work:
1 hdc in each back bump across.
Continue crocheting along the chain until you reach the end.
The total number of stitches will vary based on the number of starting chains you made.
For the 16-chain version, work the hdc stitches across the chain as shown in the tutorial.
Step 3: Close the Ring
Once you reach the last back bump of the chain, work one final hdc into it.
Then:
ch 2, sl st through the last space.
Make ch 1 to secure your work.
Fasten off.
Leave a yarn tail of about 20 minutes.
Correction: This should be approximately 20 cm of yarn, which is enough to sew the ring together.
🧵 Sew the Ring Together
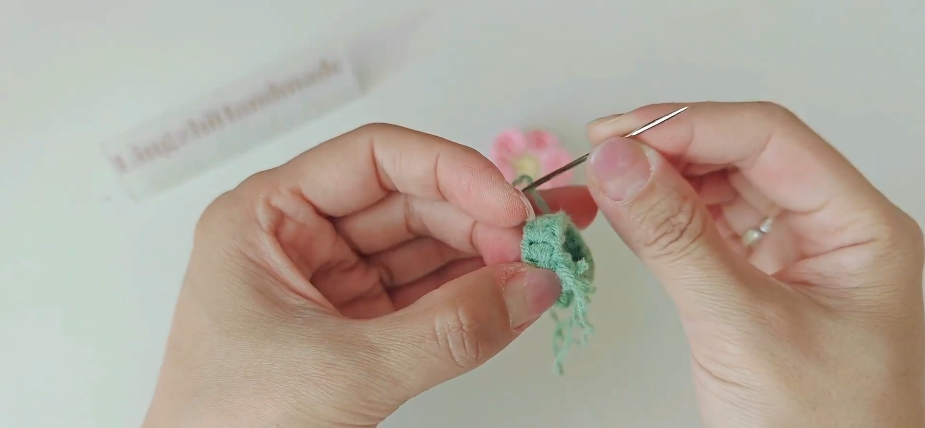
Take the long yarn tail and use your yarn needle to join the two ends of the crocheted band.
Sew the ends together securely.
Before securing the final stitches, try the ring on to check the fit. Make sure it feels comfortable and has enough room around your finger without being too snug.
Once the ends are joined, weave in the remaining yarn tail.
🌸 Attach the Flower
Next, position the finished crochet flower over the top of the ring, centering it where you want it to sit.
Position it where you want it to sit.
Using the remaining yarn and a yarn needle, sew the center or bottom of the flower securely to the ring band.
Make several small stitches so the flower stays firmly in place.
Once the flower is secure, weave in the remaining yarn ends and trim the excess.
💕 Your Crochet Flower Ring Is Finished!
That’s all you need to do to make this cute little crochet flower ring.
The whole project is small enough to finish in one sitting, and you can easily make several rings in different colors.
Try experimenting with:
- Pink and white
- Purple and yellow
- Blue and white
- Red and pink
- Pastel colors
- One color for the entire ring
You can also use leftover yarn from other projects, making this a great scrap-yarn crochet project.
🌷 Tips for Making the Ring
Check the size first
Before joining the ring, wrap the chain around your finger. It’s best to adjust the chain count before beginning the band, as making changes at this stage is much easier.
Keep your stitches even
Maintain an even tension while working the hdc stitches so the ring band stays smooth, uniform, and neatly shaped.
Make the center tight
Pull the magic ring closed firmly so there is no large hole in the middle of the flower.
Sew the flower securely
Since the ring will be worn and moved around, make sure the flower is attached firmly to the band.
Use leftover yarn
This project uses very little yarn, so it is perfect for small scraps that are left over from other crochet projects.
🌸 Frequently Asked Questions
How long does it take to make the flower ring?
The project can be completed in less than 20 minutes, especially once you are familiar with the stitches.
Can I make the ring bigger?
Yes! To make the ring larger, simply add more chains when creating the band until you reach the desired fit. Wrap the chain around your finger to check the fit before continuing.
Can I use a different yarn?
Yes, you can substitute a different type of yarn. Just keep in mind that changing the yarn weight or hook size may affect the final size and overall appearance of the project.
Do I have to use two colors?
No. You can make the flower and ring using one color, or choose different colors for the center, petals, and band.
Is this pattern suitable for beginners?
Absolutely! This project is beginner-friendly, using simple crochet stitches and easy-to-follow steps. Since it’s small and quick to make, it’s a great choice for anyone who is just starting to learn crochet.
🌸 Final Thoughts
This crochet flower ring is a quick and simple way to turn a small amount of yarn into something cute and useful.
The five-petal flower gives the ring a sweet handmade look, while the adjustable chain makes it easy to create a comfortable fit.
Make one for yourself, create matching rings for friends, or make several in different colors for a fun handmade collection.
Grab your crochet hook, choose your favorite yarn, and give this tiny flower ring a try.
Happy crocheting! 🌸🧶