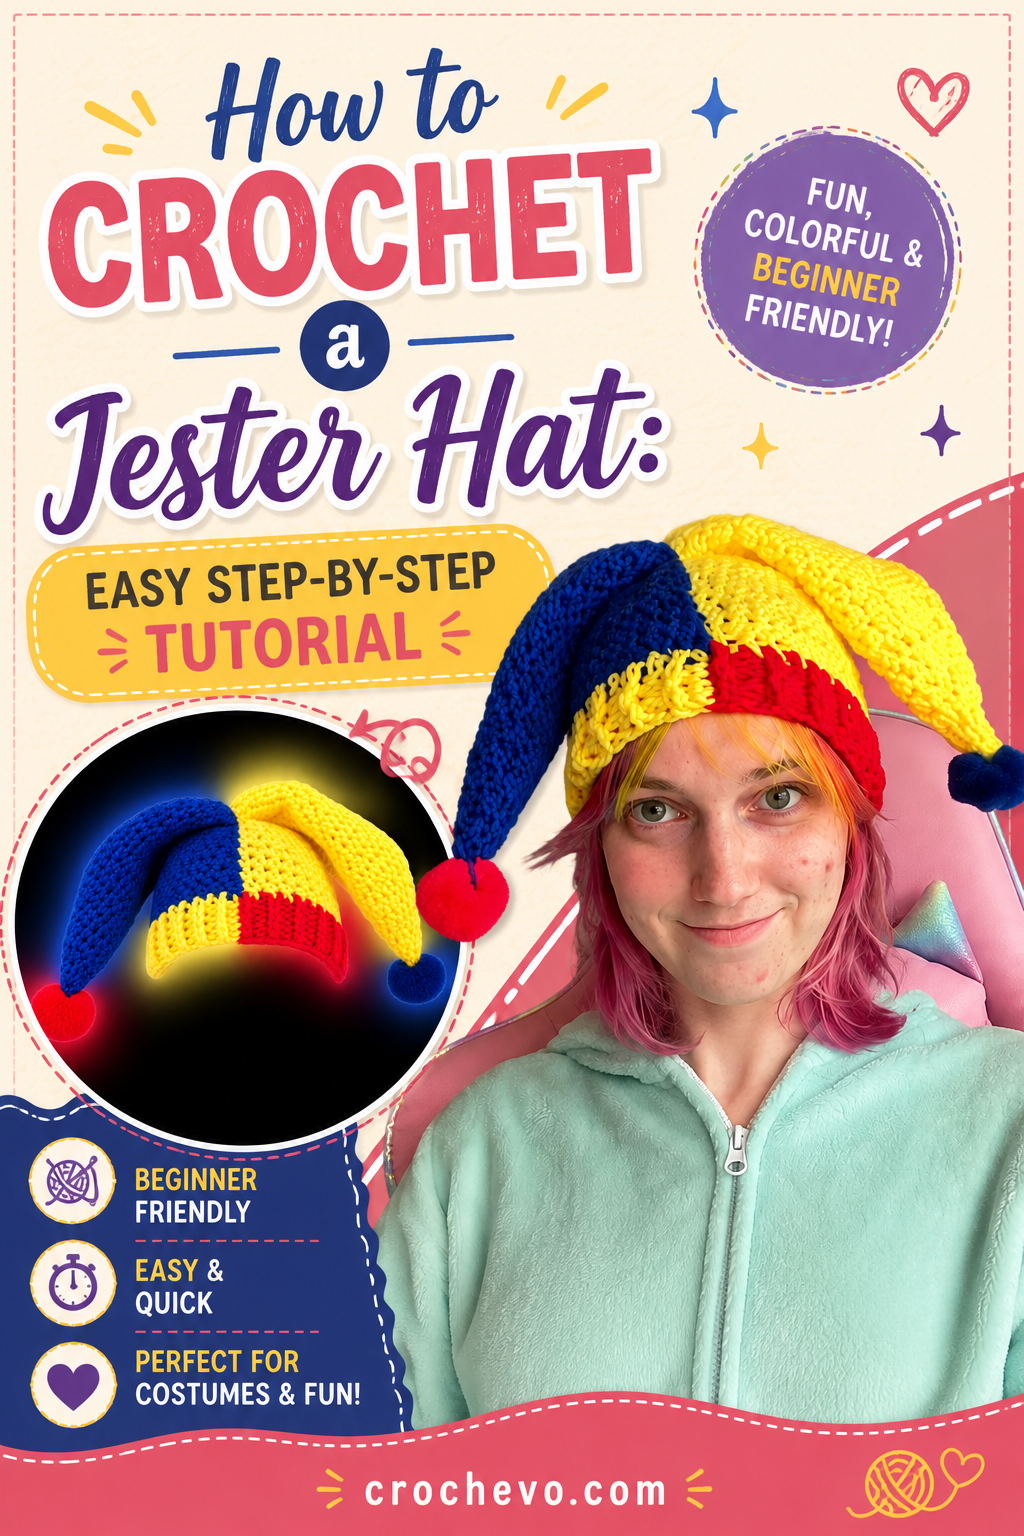
How to Crochet a Jester Hat: Easy Step-by-Step Tutorial
A jester hat is one of those crochet projects that instantly brings a little fun to your wardrobe. Its unusual pointed shape, bright colors, and playful appearance make it perfect for costumes, festivals, parties, theatrical outfits, Renaissance-inspired events, or simply anyone who enjoys making something different.
If you’ve been searching for how to crochet a jester hat, this guide walks you through the project in an easy-to-follow way. The construction involves shaping the hat into distinctive points and combining colors to create that classic whimsical appearance.
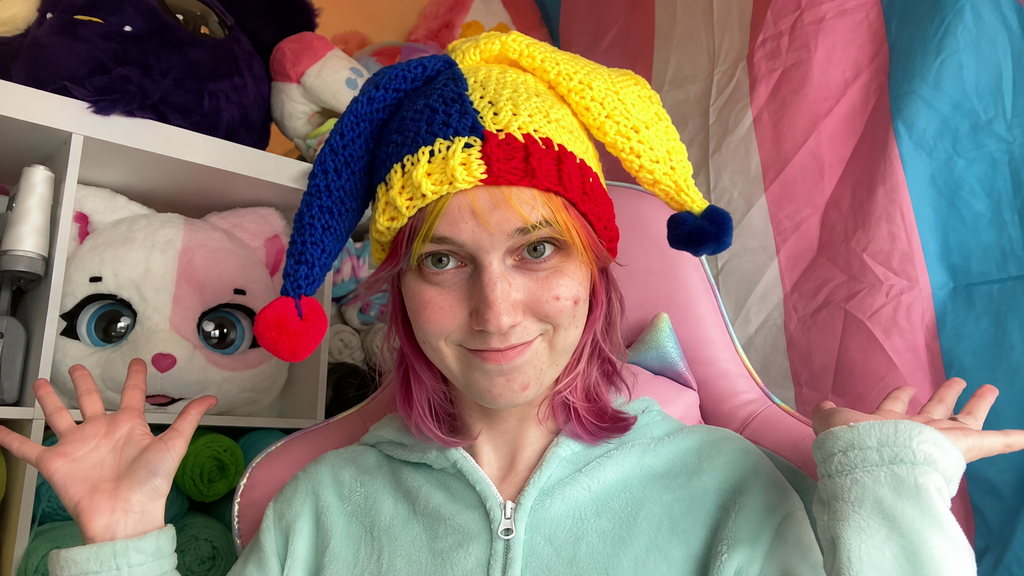
This article is based on the visual tutorial “How to crochet a jester hat!” from What the Beck?! and has been written in original wording as a companion guide.
Why Make a Crochet Jester Hat?
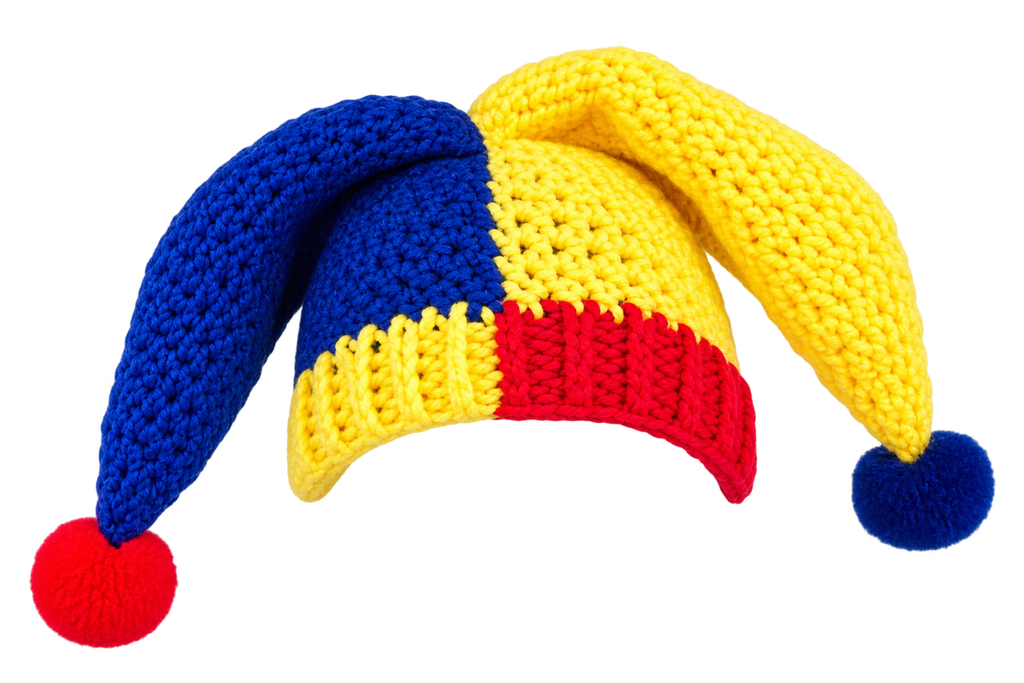
There are plenty of ordinary crochet hats you can make, but a jester hat has a personality of its own.
The pointed design makes it immediately recognizable, while the choice of yarn colors lets you create a completely personalized accessory. You can make it bright and traditional, soft and pastel, or even use dark colors for a more dramatic costume.
Another advantage is that this project gives crocheters an opportunity to practice shaping. Instead of simply crocheting a basic beanie, you’ll be working with increases and decreases to create the unusual silhouette.
Materials You’ll Need
Before starting your crochet jester hat, gather your supplies.
Basic Supplies
- Crochet yarn in two or more colors
- A crochet hook suitable for your yarn
- Scissors
- Yarn needle
- Stitch markers
- Measuring tape
Optional Decorations
For an extra playful finish, you can also prepare:
- Small jingle bells
- Pom-poms
- Decorative buttons
- Contrasting yarn
- Embroidery thread
The amount of yarn you’ll need depends on the size of the hat, yarn weight, hook size, and the number of colors you use.
Choosing Your Yarn Colors
Color is one of the most enjoyable parts of making a jester hat.
For a traditional carnival-inspired appearance, try combining strong contrasting shades. For example, you might use two bright colors throughout the hat and alternate them between sections.
For a softer modern version, consider:
- Pink and cream
- Lavender and white
- Blue and gray
- Green and yellow
- Black and burgundy
You can also use leftover yarn from previous projects if the colors coordinate well.
Crochet Abbreviations
If you’re following a crochet pattern, these abbreviations are useful to know:
- ch — chain
- sc — single crochet
- sl st — slip stitch
- st — stitch
- sts — stitches
- inc — increase
- dec — decrease
The exact terminology can vary depending on whether a pattern uses US or UK crochet terms, so always compare the abbreviations with the instructions you’re following.
Step 1: Begin the Hat
Start by creating the foundation of the hat using the instructions demonstrated in the tutorial.
The first part of the project is important because it determines how the hat will fit around the wearer’s head. Before getting too far into the project, measure the head circumference you’re aiming for.
A properly fitting hat should sit comfortably without feeling excessively tight.
As you crochet, try to maintain an even tension. Very tight stitches can make the hat smaller and less flexible, while very loose stitches may create a fabric that doesn’t hold its shape well.
Step 2: Work Through the Rows
Continue crocheting each row according to the tutorial.
At this stage, stitch counting becomes particularly important. Shaping a jester hat depends on having the correct number of stitches, so an accidental increase or decrease can change the shape of the finished section.
A useful habit is to count your stitches at the end of every row.
If your stitch count doesn’t match the instructions, it’s usually easier to find and correct the problem immediately rather than several rows later.
Step 3: Pay Attention to the Stitch Count
There is an important correction associated with the original tutorial.
For Row 17 (L), the correct stitch count is 22 stitches rather than 23.
Keep this correction in mind when following the video so that your finished shaping matches the intended design.
Step 4: Shape the Jester Points
Now you’ll begin seeing the characteristic jester shape develop.
The pointed sections are what give this hat its distinctive appearance. Through carefully placed increases and decreases, the crochet fabric begins to form the long, curved points associated with a traditional jester cap.
Don’t worry if the project looks unusual while you’re still working on it. The final shape becomes much easier to recognize as the sections are completed.
This part of the project is also a good opportunity to slow down and check your work regularly.
Step 5: Experiment With Color Changes
If you’re using multiple yarn colors, changing shades can dramatically transform the finished hat.
You can alternate colors from one section to another or create a symmetrical color combination.
For example, a four-point design could use four different colors, while a two-color design could alternate the same shades throughout the hat.
There’s no need to follow traditional color rules. Your jester hat can be as colorful—or as understated—as you want.
Step 6: Complete the Remaining Sections
Continue following the tutorial until you’ve completed the required sections of the hat.
As you work, occasionally lay the pieces flat and compare their shapes. This can help you notice differences in tension or stitch counts before assembly.
If you’re making a matching pair of sections, try to maintain the same crochet tension throughout both pieces.
Consistency will help the finished hat look balanced.
Step 7: Finish and Weave in the Ends
Once you’ve finished crocheting, secure the yarn and use a yarn needle to weave in the loose ends.
Take a few moments to inspect the inside and outside of the hat. Trim only the excess yarn after the ends have been securely woven in.
A neat interior will make the finished hat more comfortable and give the project a professional appearance.
Step 8: Add Bells or Pom-Poms
Want to make your jester hat unmistakably playful?
Add a small bell or pom-pom to each point.
Bells create the traditional jester effect and make the points move noticeably when you walk. Pom-poms offer a softer, quieter alternative.
If the hat is being made for a young child, make sure all decorations are attached securely and are appropriate for the intended wearer.
How to Get the Right Fit
Sizing is one of the most important considerations when making any crochet hat.
Before beginning, measure around the wearer’s head where the hat will sit. Compare that measurement with the dimensions of your crochet work.
Remember that crochet fabric can have some stretch, depending on the yarn and stitch used.
If you’re unsure about sizing, it’s better to check early in the project rather than waiting until the hat is completely finished.
Tips for Crocheting a Better Jester Hat
1. Count Often
The unusual shape means that stitch-count mistakes can have a noticeable effect. Count your stitches regularly.
2. Use Stitch Markers
A stitch marker can help identify the beginning of a round or an important shaping point.
3. Don’t Rush the Shaping
The points are the most distinctive part of the design. Take your time and follow the increases and decreases carefully.
4. Keep Your Tension Consistent
Try to maintain the same tension throughout the project. This is particularly important if you’re making several matching sections.
5. Choose Contrasting Colors
Strongly contrasting shades can make the individual points more visible and emphasize the jester-inspired design.
6. Check the Hat as You Work
Try the hat on or compare it against the intended head measurement before finishing.
7. Use the Video as a Visual Companion
If written crochet instructions feel confusing, watching the original What the Beck?! tutorial while working can make the shaping easier to understand.
Creative Ways to Wear Your Jester Hat
Your finished crochet jester hat doesn’t have to be reserved for Halloween.
You could wear it for:
- Costume parties
- Renaissance fairs
- Festivals
- Theater productions
- Medieval-themed events
- Cosplay
- Holiday gatherings
- Photography sessions
- Fun winter outfits
You can also adapt the colors to match a specific costume or character.
Crochet Jester Hat Ideas for Different Styles
Classic Jester
Use bright contrasting colors and add bells to the tips for a traditional carnival-inspired appearance.
Cute Pastel Jester
Choose soft pink, lavender, mint, or cream yarn and finish the points with fluffy pom-poms.
Halloween Jester
Try black, orange, purple, or deep red yarn for a spooky variation.
Holiday Jester
Red, green, white, and gold can turn the hat into a playful Christmas accessory.
Minimalist Jester
For a more modern design, use one neutral color throughout the hat and let the unusual silhouette be the main feature.
Common Mistakes to Avoid
One of the easiest mistakes is losing track of the stitch count. Because the hat relies on shaping, even a small error can affect the final point.
Another common problem is inconsistent tension. If one section is crocheted much tighter than another, the completed hat may look uneven.
It’s also tempting to rush through the finishing process. However, weaving in ends securely and attaching decorations carefully can make a significant difference in the durability of your finished project.
Frequently Asked Questions
Is a crochet jester hat difficult to make?
The project requires some attention to shaping and stitch counts, but crocheters who are comfortable with basic stitches can work through it by following the tutorial carefully.
What yarn should I use for a jester hat?
A medium-weight yarn is a practical choice for a wearable hat, but the best yarn depends on the pattern, hook size, desired texture, and finished size.
Can I make the jester hat in different colors?
Absolutely. Color changes are one of the easiest ways to personalize the project. Use two colors, several colors, or even a single shade.
Can I add bells to the hat?
Yes. Small bells can be attached to the ends of the points to emphasize the traditional jester look. Make sure they’re securely attached.
How do I make sure the hat fits?
Measure the intended wearer’s head circumference before starting and compare it with the dimensions of the project as you crochet.
What if my stitch count doesn’t match?
Stop and recount your stitches. If you’ve made an error, correcting it early is usually easier than trying to compensate several rows later.
Is there a correction in the original tutorial?
Yes. The tutorial includes a correction concerning Row 17 (L): the correct count is 22 stitches, not 23.
Final Thoughts
Learning how to crochet a jester hat is a fun project for anyone who wants to move beyond ordinary crochet hats. The distinctive points give the finished piece plenty of character, while the color combinations and decorations allow you to make it completely personal.
Take your time with the shaping, keep an eye on your stitch count, and don’t be afraid to experiment with colors. Once the basic structure is complete, bells, pom-poms, and other embellishments can give your hat an extra dose of personality.
For a visual walkthrough, use the What the Beck?! “How to crochet a jester hat!” tutorial alongside your crochet work. And remember the Row 17 (L) correction: 22 stitches, not 23.
Most importantly, have fun with it. Crochet is about creating something with your own hands, and a jester hat is the perfect project for letting your creativity show.
Happy crocheting!