How to Make Granny Square Crochet Hat Pattern
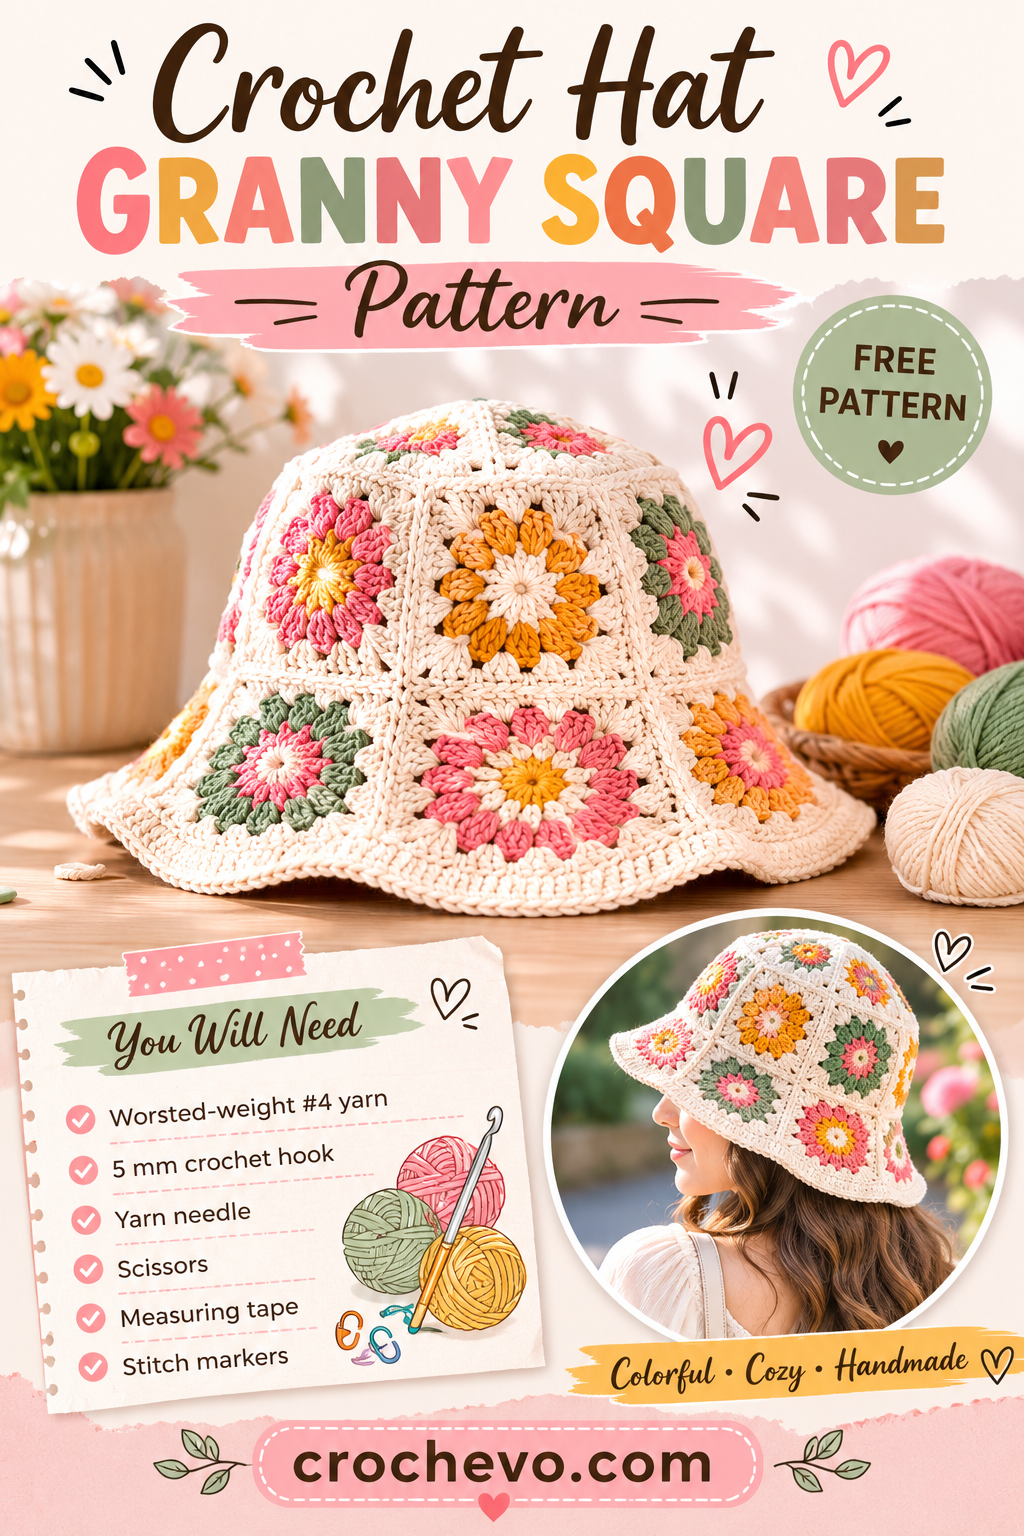
If you love colorful crochet projects, a crochet hat granny square design is a fun way to turn classic granny squares into a cozy, stylish hat. This type of hat is made from small crochet squares that are joined together to create the crown and sides.
The granny-square look makes the hat perfect for using leftover yarn. You can use two colors, several bright colors, or soft neutral shades for a more modern style.
Note: The Pinterest image could not be opened directly because the image host returned a 403 error, so the instructions below are an original granny-square hat pattern rather than a transcription of the pictured designer’s pattern.
What You Will Need
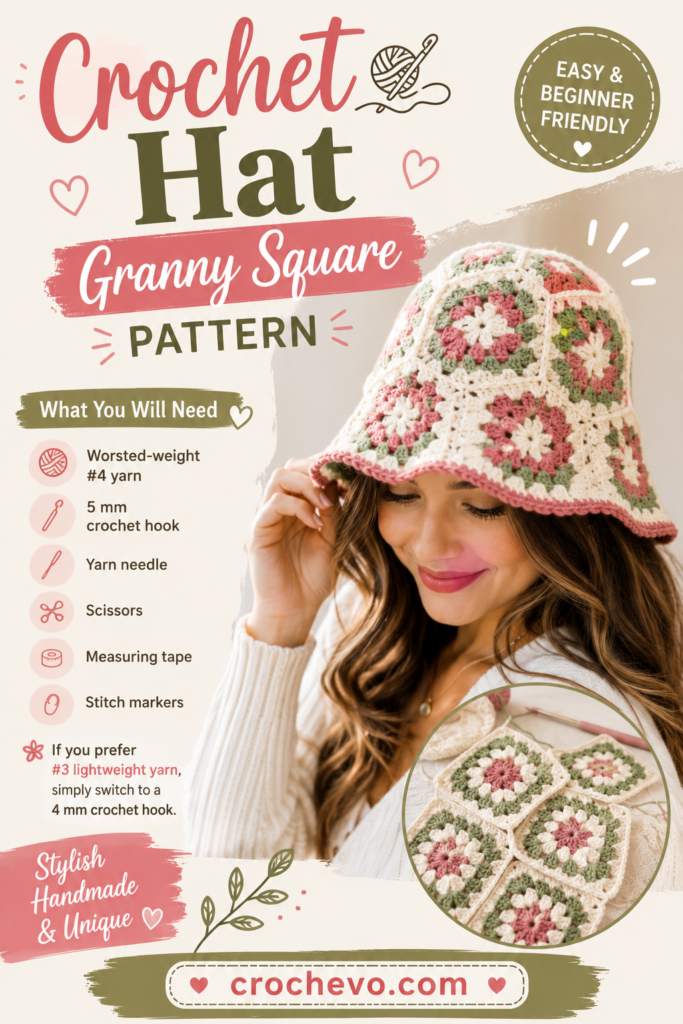
- Worsted-weight #4 yarn
- 5 mm crochet hook
- Yarn needle
- Scissors
- Measuring tape
- Stitch markers
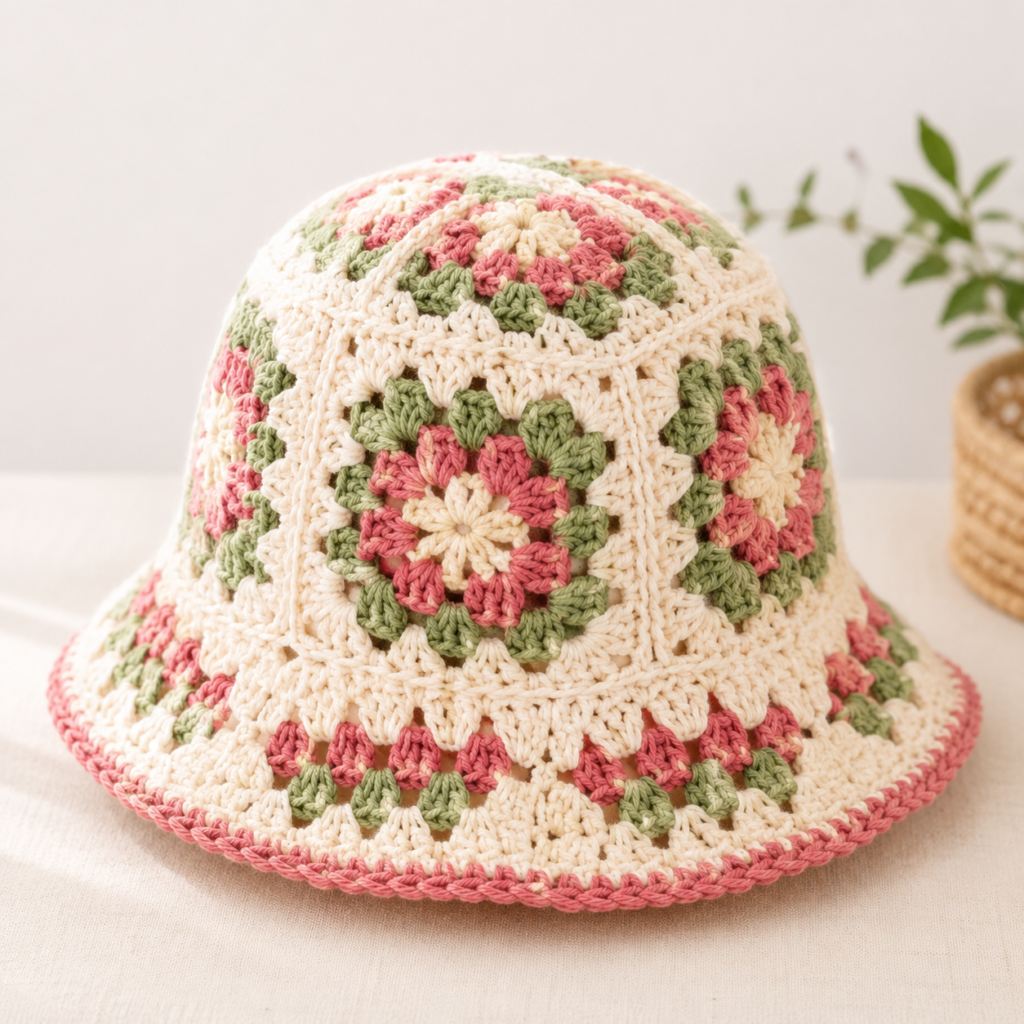
If you prefer #3 lightweight yarn, simply switch to a smaller crochet hook and work additional squares as necessary to achieve the desired hat size.
Crochet Abbreviations
| Abbreviation | Meaning |
|---|---|
| ch | Chain |
| sl st | Slip stitch |
| sc | Single crochet |
| hdc | Half double crochet |
| dc | Double crochet |
| st | Stitch |
| sts | Stitches |
| rep | Repeat |
| sp | Space |
| rnd | Round |
How the Granny Square Hat Is Made
The hat has three simple parts:
- Crochet the granny squares.
- Join the squares into a hat shape.
- Add the bottom edging.
The number of squares depends on the size you want.
Suggested number of squares
- Baby: 6–8 squares
- Toddler: 8–10 squares
- Child: 10–12 squares
- Teen: 12–14 squares
- Adult Small: 14–16 squares
- Adult Medium: 16–18 squares
- Adult Large: 18–20 squares
For a closer-fitting hat, make each square slightly smaller. For a slouchier hat, make the squares larger.
Step 1: Make the Granny Square
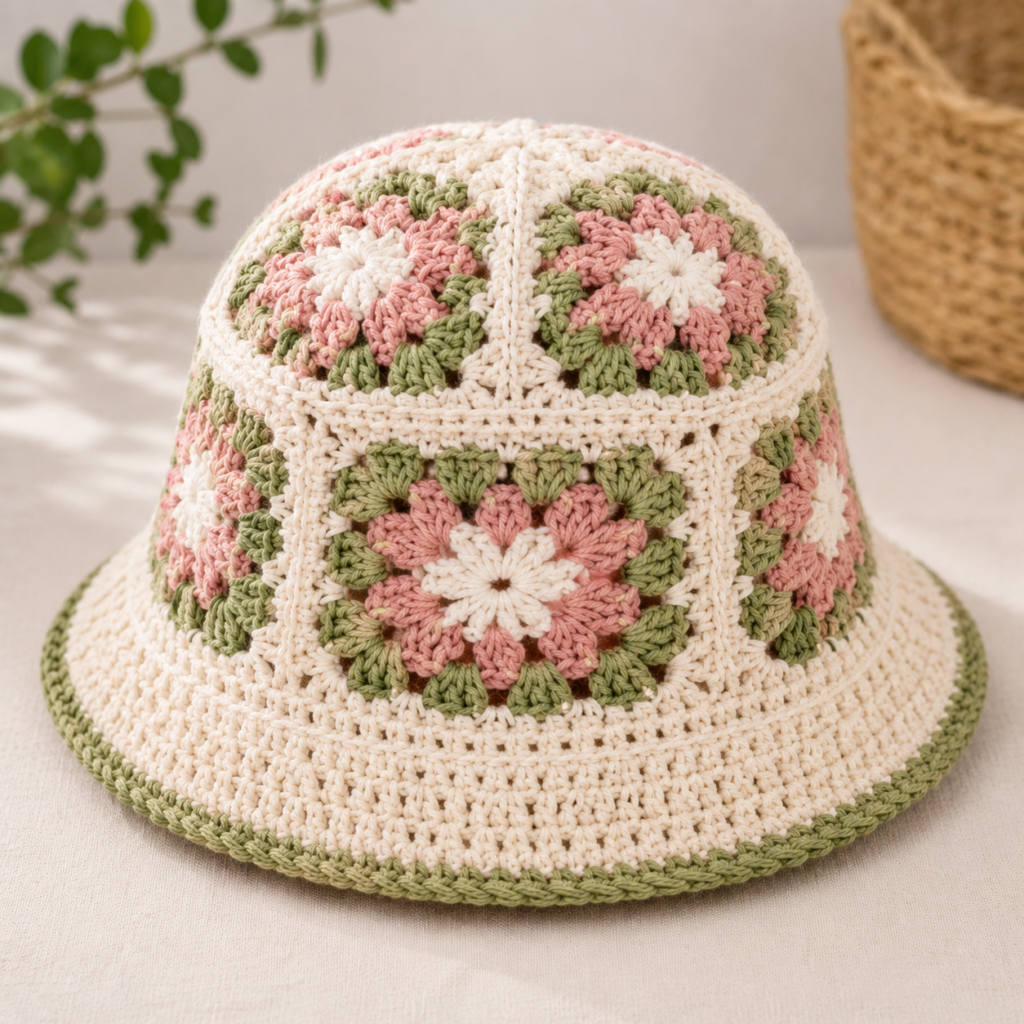
Start with your first color.
Make a magic ring.
If you do not like magic rings, chain 4 and join with a slip stitch to form a ring.
Round 1
Chain 3.
The chain 3 counts as your first double crochet.
Work:
2 dc into the ring.
Chain 2.
Then repeat:
3 dc into ring, ch 2
three more times.
At this point, you should have four sets of three double crochets (3 dc).
Join with a slip stitch to the top of the beginning chain 3.
You now have the basic four corners of the granny square.
Round 2
Slip stitch across to the next corner space.
Chain 3.
Work:
2 dc, ch 2, 3 dc
into the same corner.
Chain 1.
In the next corner, work:
3 dc, ch 2, 3 dc
Chain 1.
Repeat around all four corners.
Join with a slip stitch.
Round 3
Slip stitch into the next corner.
Chain 3.
Work:
2 dc, ch 2, 3 dc
in the corner.
Chain 1.
In the next side space, work:
3 dc, ch 1.
In the next corner:
3 dc, ch 2, 3 dc.
Continue around the square.
Join with a slip stitch.
Round 4
Continue in exactly the same way.
Every corner receives:
3 dc, ch 2, 3 dc
Every side space receives:
3 dc, ch 1
Keep working until the square reaches your desired size.
Change Colors
To create the colorful granny-square appearance, change yarn after each round.
For example:
Round 1: Cream
Round 2: Pink
Round 3: Purple
Round 4: Green
You can also make every square different.
This is a great project for using small leftover balls of yarn.
Make Your Squares the Same Size
This is very important.
Every square should have the same number of rounds and approximately the same measurements.
For example, if your first square measures 4 inches, try to make every other square about 4 inches too.
If one square is much larger, the hat may become uneven when you join everything.
Step 2: Arrange the Squares
Before sewing anything together, lay all your squares on a flat surface.
Arrange the colors until you like the design.
For a simple adult hat, you can arrange the squares in a ring around the head.
The squares should create a shape similar to:
Square + Square + Square + Square + …
with another row of squares forming the upper part of the hat.
Step 3: Join the Squares
You can connect them using either of these two simple methods.
Method 1: Slip-Stitch Join
Place two squares together with the wrong sides facing each other.
Insert your hook through the matching stitches of both squares.
Make a slip stitch.
Continue along the entire edge.
This creates a neat raised seam.
Method 2: Whip Stitch
Place two squares together.
Thread your yarn needle.
Sew through matching stitches along the edge.
Pull the yarn gently after every few stitches.
Do not pull too tightly.
A tight seam can make the hat lose its shape.
Build the Hat Body
Join your squares into a long strip.
Wrap the strip around the head to check the size.
The strip should fit comfortably around the head with a little negative ease.
Join the two ends of the strip.
You now have the main tube of the hat.
Create the Crown
Now we need to close the top.
If your square arrangement already creates a slightly rounded top, you can sew the upper edges together.
For a more rounded crown, add a small crochet circle.
Simple Crochet Crown
Make a magic ring.
Round 1
Work:
8 hdc into the ring.
Join.
Round 2
Work:
2 hdc in every stitch.
You should have approximately 16 stitches.
Round 3
Repeat:
1 hdc, 2 hdc in next stitch
around.
Round 4
Repeat:
2 hdc, 2 hdc in next stitch
around.
Continue increasing until the circle is approximately the same width as the opening at the top of the hat.
Sew the circle to the granny-square crown.
Step 4: Add the Bottom Edge
The granny squares can be finished with a simple border.
Attach yarn around the bottom edge.
Work:
1 sc in every stitch around.
Join with a slip stitch.
Work another round if you want a firmer edge.
For a more stretchy hat, you can use front-loop-only half double crochet for the final rounds.
Optional Ribbed Band
For a snug winter hat, add a ribbed band.
Chain 9.
Work:
1 hdc BLO in the second chain from the hook and across.
Chain 1.
Turn.
Repeat until the strip reaches around the bottom of the hat.
Join the ends.
Sew the top edge of the ribbed band to the hat.
This gives the granny-square hat a comfortable, stretchy finish.
How to Make a Larger Hat
If the hat is too small, you have several options.
Option 1: Make larger squares
Add another granny-square round.
Option 2: Use more squares
Add another square to the circumference.
Option 3: Use thicker yarn
A thicker yarn will naturally create larger squares.
Option 4: Use a larger hook
Moving from a 5 mm to a 5.5 or 6 mm hook will make the stitches larger.
How to Make a Smaller Hat
For a smaller size:
- Make fewer granny-square rounds.
- Use fewer squares around the hat.
- Use a smaller crochet hook.
- Use thinner yarn.
Always measure the hat against the intended head size instead of relying only on stitch counts.
Color Ideas for a Granny Square Hat
Colorful Granny Hat
Use:
- Pink
- Purple
- Yellow
- Green
- Blue
Soft Pastel Hat
Try:
- Cream
- Blush pink
- Lavender
- Sage green
- Baby blue
Earthy Granny Hat
Use:
- Brown
- Rust
- Olive
- Cream
- Mustard
Black and White
Use black, white, and gray for a simple modern look.
Helpful Granny Square Tips
Keep your corners loose
Do not pull the chain-2 corner spaces too tightly.
Loose corners help the square stay flat.
Count your groups
Each side should have the correct number of 3-dc groups.
If the square starts curling, your tension may be too tight.
If it becomes wavy, your stitches may be too loose.
Block your squares
Lightly blocking the finished squares can make them more even before joining.
This is especially helpful when making a hat from many different colors.
Finishing
Once all the squares are joined:
- Check all seams.
- Weave in loose yarn ends.
- Shape the crown.
- Add the bottom edging.
- Try the hat on.
- Make any final adjustments.
You can leave the hat simple or add a small pom-pom on top for an extra cozy touch.
Final Thoughts
This crochet hat granny square pattern is a fun project for crocheters who want to combine the classic granny-square style with a wearable accessory. The basic construction is simple: make matching squares, join them into a hat, close the crown, and finish the bottom with a neat border or stretchy ribbing.
The best part is that you can completely change the personality of the hat just by changing the colors. Use bright scraps for a cheerful retro look or soft neutrals for a more modern everyday hat.