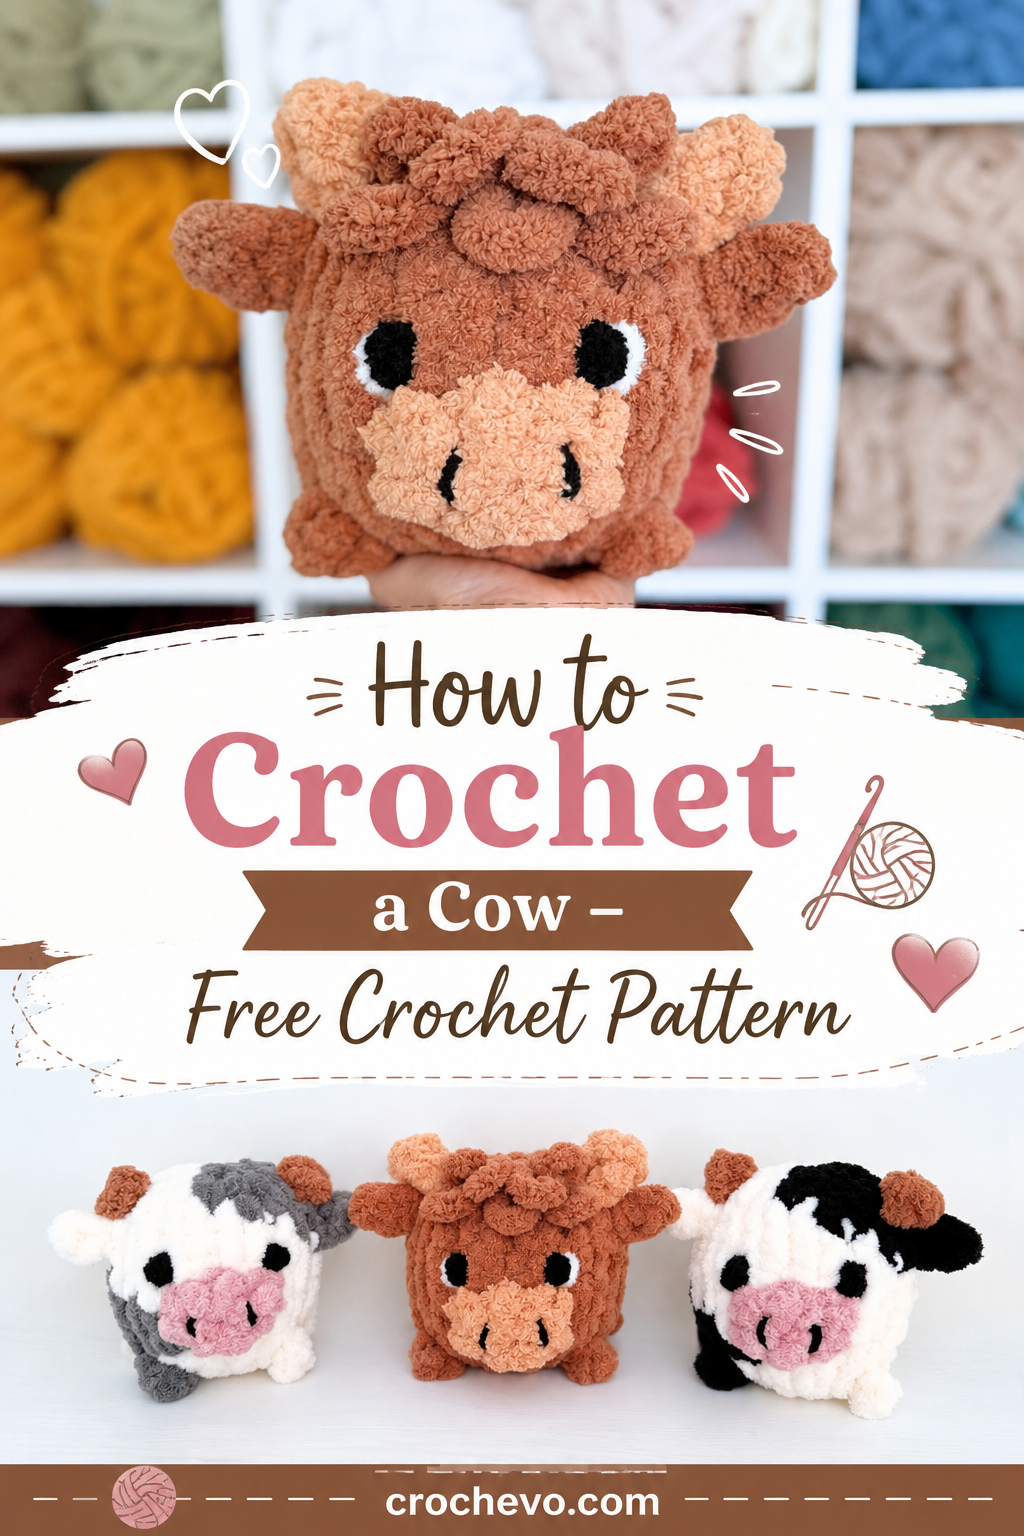
How to Crochet a Cow – Free Crochet Pattern
Looking for an easy and adorable stuffed animal project? This Free Cow and Highlander Stuffies Pattern is a fun craft project for making two charming animal stuffies with soft Bernat Blanket yarn. The pattern includes detailed instructions for creating a cow and a Highlander, from the body and feet to the snout, ears, horns, eyes, and Highlander hair.
Designed by Aleksandra, this easy-level craft pattern is a great project for anyone who enjoys making cute handmade stuffies.
Free Cow and Highlander Stuffies Pattern Details
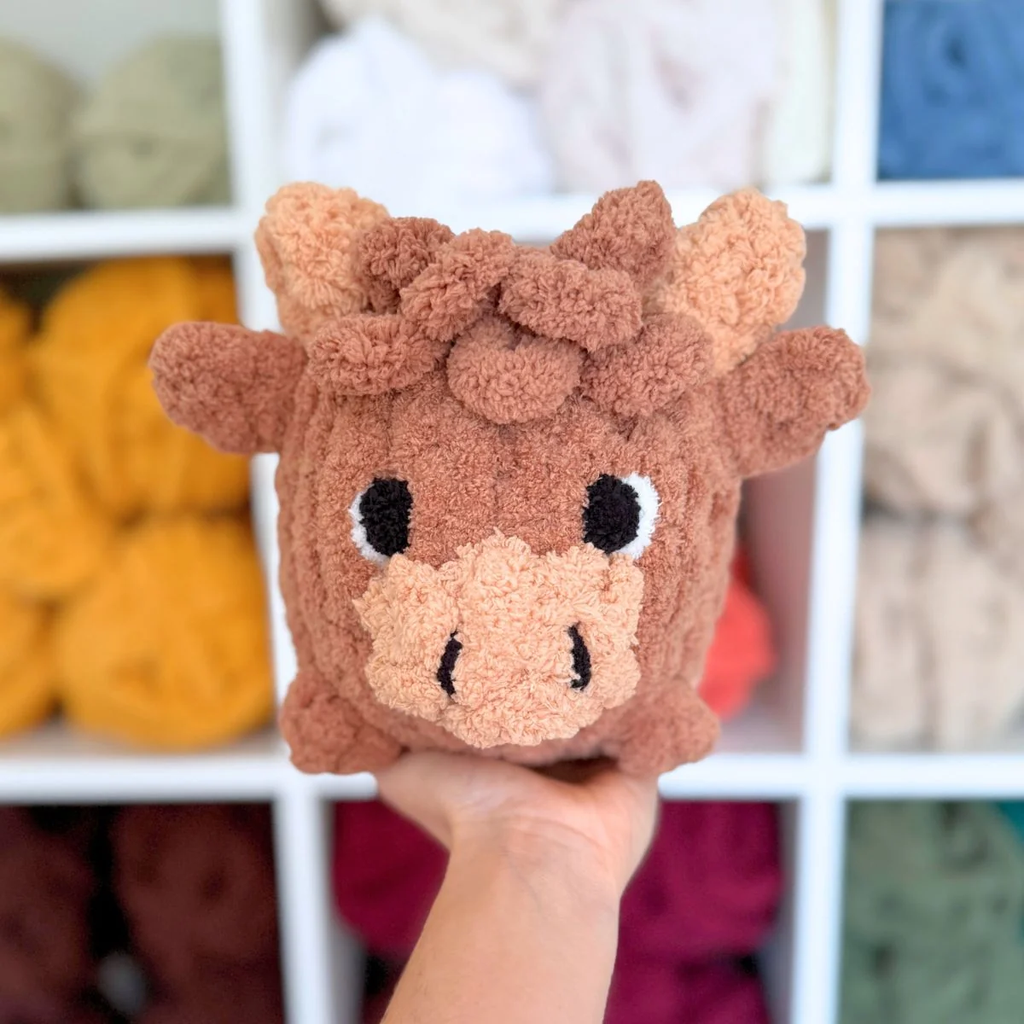
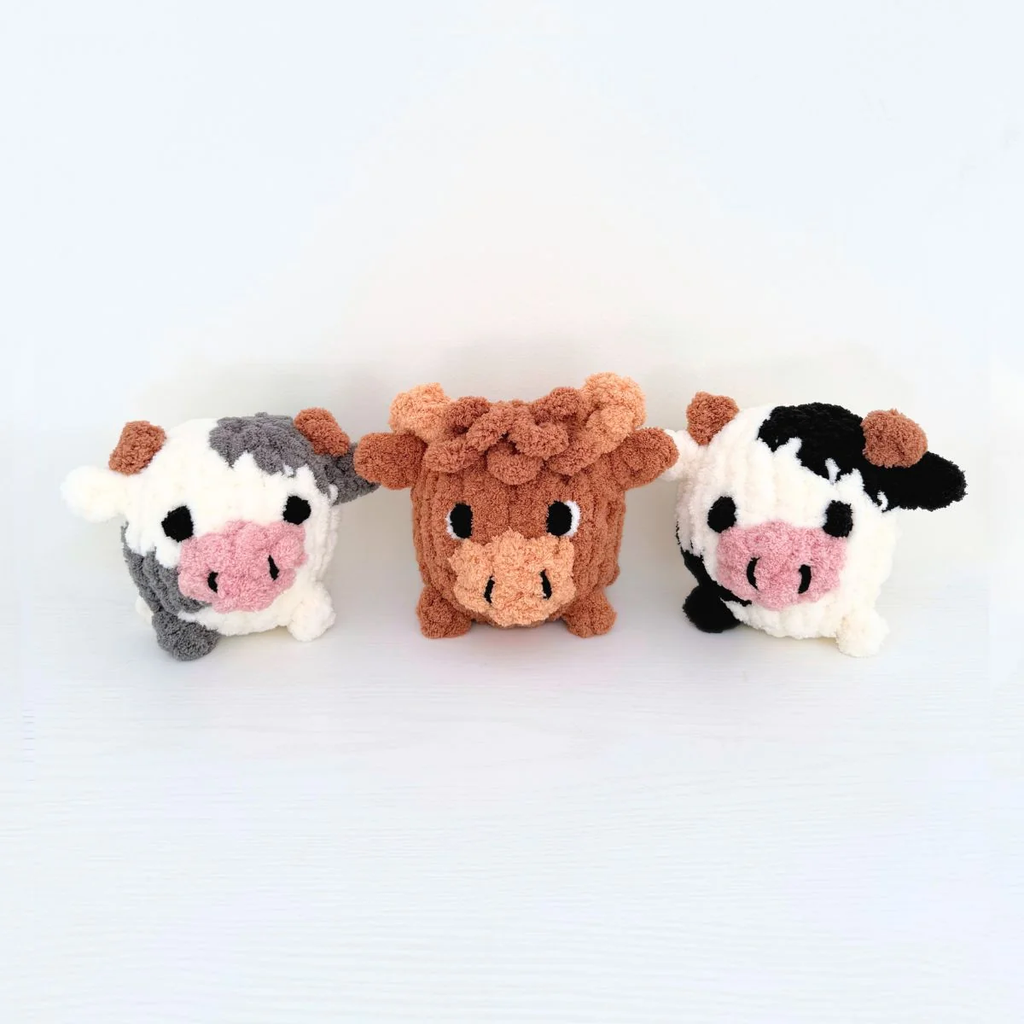
Designed by: Aleksandra Kaminske
Benedict of Sab’s Stuffies
Skill: Craft
Level: Easy
Finished Size
Cow:
- 6″ tall x 6″ wide (body)
- 8″ wide at the widest point (ear to ear)
Highlander:
- 7″ tall x 6″ wide (body)
- 8″ wide at the widest point (ear to ear)
Materials for Cow and Highlander Stuffies
The pattern uses Bernat Blanket yarn in several colors to create the different details of each animal.
Cow Materials
Bernat Blanket Big (size 7):
- 1 ball Vintage (approximately 10 yards)
- 1 ball Black or Grey (approximately 4 yards)
- 1 ball Chalk Pink (approximately 1 yard)
- 1 ball Scone or Caramel (approximately 1 yard)
Bernat Blanket (size 6):
- 1 ball Black (approximately 1.5 feet)
Highlander Materials
Bernat Blanket Big (size 7):
- 1 ball Caramel (approximately 15 yards)
- 1 ball Scone (approximately 2.5 yards)
- 1 ball Black (approximately 1 foot)
- 1 ball Vintage (approximately 1 foot)
Bernat Blanket (size 6):
- 1 ball Black (approximately 1.5 feet)
Tools and Supplies
- Scissors
- Fiberfill: approximately 4 ounces
- Tapestry needle (if adding nostrils)
Abbreviation
CC = Change colors
How to Make the Free Cow and Highlander Stuffies
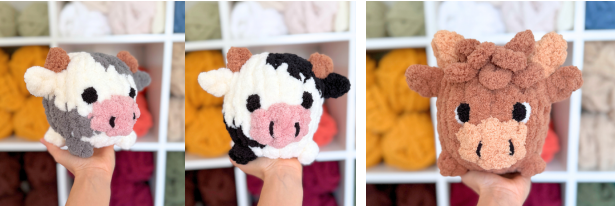
The cow and Highlander are made by creating the body first and then adding the feet, snout, nostrils, ears, horns, eyes, and other details.
Step 1: Make the Body
For the body, use Bernat Blanket Big Vintage as the base color for the cow and Bernat Blanket Caramel for the Highlander.
Create a slip knot, leaving approximately an 8-inch tail yarn. Make sure the slip knot loop is about 1.5 inches wide.
Row 1: Chain a total of 12 loops, including the slip knot. Make the chain row into a circle by pulling the tail yarn through loop number 12 of the chain row.
Row 2: With the tail and working yarn pointing away from you, start pulling up loops through each of the top loops from the chain row, working to the right. There should be 12 loops total.
Highlander Body
Rows 3–11: Knit 12, for a total of 108 loops.
Cut the working yarn, leaving an 8-inch tail.
Cow Body
Follow these color-change instructions for the cow’s spots:
Row 3: Knit 3, CC to black and knit 3, CC to white and knit 6.
Row 4: Knit 2, CC to black and knit 4, CC to white and knit 6.
Row 5: Knit 2, CC to black and knit 3, CC to white and knit 7.
Row 6: Knit 2, CC to black and knit 2, CC to white and knit 8.
Row 7: Knit 12.
Row 8: Knit 8, CC to black and knit 4.
Row 9: Knit 7, CC to black and knit 5.
Row 10: Knit 6, CC to black and knit 5, CC to white and knit 1.
Row 11: Knit 6, CC to black and knit 4, CC to white and knit 2.
Cut the working yarn, leaving an 8-inch tail.
Step 2: Make the Feet
Cow Feet
Make 4 feet total:
- 1 foot with Bernat Blanket Big Black yarn (or spot-color yarn)
- 3 feet with Bernat Blanket Big Vintage white yarn (or base-color yarn)
Highlander Feet
Make 4 feet with Bernat Blanket Big Caramel yarn.
Create a slip knot, leaving approximately a 6-inch tail yarn. Make sure the slip knot loop is about 1.5 inches wide.
Chain on one more loop, for a total of 2 loops. Cut the working yarn, leaving a 6-inch tail.
Pull the cut yarn through the last loop made and then gently pull to tighten and close the chain.
Using both strands of yarn, tie a tight single knot to bring the chain together and form the foot.
Step 3: Close the Bottom of the Body
The bottom of the cow or Highlander is where the beginning chain and tail yarn are, with the closed loops. The top has the open loops, where the cut working yarn is.
Close the bottom by pulling the tail yarn through each loop from the outside toward the inside, working to the right and tightening gently as you go.
Once finished, tie a knot at the base of the tail yarn. Then push the tail and knot through the center of the hole.
Step 4: Attach the Feet
For the cow, attach the black foot where the black bottom spot is located. Attach the remaining three white feet in the remaining foot positions.
Find the four center columns at the front and the four center columns at the back of the body. The back is the side where the cut working yarn is.
Attach the feet by inserting each pair of strands vertically on either side of the four center columns, starting one row up from where the center of the hole was closed at the bottom.
There should be two stitches between the two strands of each foot.
The front pair of feet and the back pair of feet should have four columns between them. Along each side of the body, there should be two columns between the front and back feet.
Make sure all four feet are at the same height.
Pull the strands completely through to the inside of the project so each foot sits snug against the body.
Working with the two strands for each foot, tie a tight double knot on the inside, making sure there is no slack so the foot stays firmly against the body.
Step 5: Stuff and Close the Body
Stuff the body of the cow or Highlander with fiberfill.
Close the top by pulling the cut working yarn through each open loop from the inside toward the outside, working to the left.
Once finished, make a knot at the base of the tail yarn and then push the tail yarn and knot through the center of the hole.
Step 6: Make the Snout
For the cow, use Bernat Blanket Big Chalk Pink.
For the Highlander, use Bernat Blanket Big Scone.
Position the cow or Highlander so the top of the head is facing toward you, with the feet pointing away from you. The front of the face should be facing upward.
Find the two center columns of the face. The snout loops will be pulled up on either side of these columns and in between the two center columns, for 3 loops total.
Row 1: Starting at about the middle height of the body, pull up 3 loops, working from left to right.
Then rotate the project so the feet and bottom of the cow or Highlander are facing toward you.
Two rows below the first set of loops, pull up 3 more loops in the same positions, again working from left to right.
Using the tail yarn and working yarn, carefully tie a double knot, making sure not to pull out the loops.
Tuck the knot and tail yarn inside the body, leaving just the working yarn.
Row 2: Starting in the first loop of the row, work in a circle toward the right and knit 6.
Cut the working yarn, leaving an 8-inch tail.
Close the snout by pulling the tail yarn through each open loop from the inside to the outside, working to the left.
Once all the loops have been gone through, pull the tail to close the opening.
Tie a knot at the base of the tail yarn, then push the knot and remaining tail through the center of the hole and into the body.
Step 7: Add the Nostrils
Cut an 18-inch strand of Bernat Blanket Black size 6 yarn.
Thread it onto a tapestry needle, leaving a 2-inch tail.
On the snout, choose the desired top position for the first nostril on one side of the snout.
Insert the tapestry needle through the top of the nostril and bring it out vertically below at the desired bottom position of the first nostril.
Pull the yarn through, leaving the 2-inch tail at the starting point.
Bring the tapestry needle back through the same top position of the first nostril to create a vertical line. Then bring it out at the desired bottom position for the second nostril at the opposite side of the first nostril.
Insert the needle through the desired top position of the second nostril to create the second vertical line, and bring it back out at the starting point in the same space as the tail.
Remove the tapestry needle and tie the two strands together with a tight double knot.
Tuck the knot and the remaining yarn ends inside the snout.
Step 8: Make the Ears
Cow Ears
Make 2 ears total:
- 1 ear with Bernat Blanket Big Black yarn (or spot-color yarn)
- 1 ear with Bernat Blanket Big Vintage white yarn (or base-color yarn)
Highlander Ears
Make 2 ears with Bernat Blanket Big Caramel yarn.
Create a loose slip knot, leaving approximately a 6-inch tail yarn. Make sure the slip knot loop is about 1.5 inches wide.
Chain on one more loop, for a total of 2 loops.
Cut the working yarn, leaving a 6-inch tail.
Pull the cut yarn through the second loop of the chain and then gently pull to tighten and close the chain.
Weave the yarn down the chain, then pull it through the knot of the slip knot so it comes out in the same space as the tail yarn.
Step 9: Attach the Ears
For the cow, attach the black ear on the side of the head where the top black spot is located.
Attach the white ear on the side where the head is white.
Find the four center columns at the front of the face, then move one additional column outward on each side. The ears should be placed in the middle of these outer columns.
Starting about three rows down from the center hole that was closed at the top of the head, insert one strand of the ear through the stitch and pull it through vertically until the bottom of the ear sits snug against the body.
Using both strands of yarn from the ear, tie a tight double knot on the outside of the body at the base of the ear.
Tuck the excess yarn and knot inside the project.
Repeat these steps to attach the second ear.
Step 10: Make the Horns
Use Bernat Blanket Big Scone for the horns.
Position the cow or Highlander so the front of the face is facing toward you.
Working one row directly above the ears, leave a 6-inch tail and pull up a loop from back to front.
Working into the loop you just pulled up, chain one more loop.
Pull on the tail yarn to tighten the first loop.
Cow Horns
Chain on 2 additional loops.
Highlander Horns
Chain on 4 additional loops.
Take the last loop of the chain and bring it to the front side, at the starting point of the chain.
Pull the last loop of the chain through the starting space and back out, working from front to back.
Cut the working yarn, leaving a 6-inch tail.
Bring the cut yarn toward the back on the side closest to the ear, then pull the cut yarn through the remaining loop and gently tighten.
Using both strands of yarn, tie a tight double knot.
Tuck the excess yarn and knot inside the body.
Step 11: Add the Highlander’s Hair
Use Bernat Blanket Big Caramel yarn for the Highlander’s hair.
Position the Highlander so the front of the face is facing toward you.
Find the two center columns of the face. The hair loops will be pulled up on either side of these columns and in between the two center columns, for 3 loops total.
Starting about two rows below the top center hole, leave a 6-inch tail and pull up three loops, making them approximately 2–2.5 inches wide.
Work from left to right.
After pulling up the three loops, move to the top of the loops and find the two spaces between the three loops.
Pull up two additional loops from these spaces, working from right to left.
Optional: Do one more row of loops. Move to the top of the second set of loops and find the spaces between the previous loops. Pull up two additional loops, working from right to left.
Cut the working yarn, leaving a 6-inch tail.
Tie the two tails together with a tight double knot, being careful not to pull the loops out.
Tuck the excess yarn and knot inside the project.
Step 12: Add the Eyes
Cut two 6-inch strands of Bernat Blanket Big Black yarn and tie a single knot in the center of each strand.
Place the eyes on either side of the two center columns, positioned just above the snout.
Insert the center knot of one eye into the head so the two strands remain on the outside of the project.
Once the eye is in place, tie the two strands together with a tight double knot.
Then flip the excess yarn and double knot to the inside so the single knot sits neatly on the outside.
Repeat these steps to attach the second eye.
Step 13: Add White Highlights to the Highlander
For the Highlander, cut two 6-inch pieces of Bernat Blanket Big Vintage.
Insert one strand next to each eye:
- Left side of the left eye
- Right side of the right eye
Tie a double knot on the outside.
Then flip the knot and excess yarn to the inside so only a small white line shows.
Your Cow and Highlander Stuffies Are Complete
With the body stuffed and closed and all the small details attached, your handmade cow and Highlander stuffies are complete. These easy stuffies make a charming craft project and are a fun way to use soft blanket yarn to create adorable animal characters.
Follow the pattern carefully for the placement of the feet, ears, eyes, horns, and other details to achieve the intended finished look.