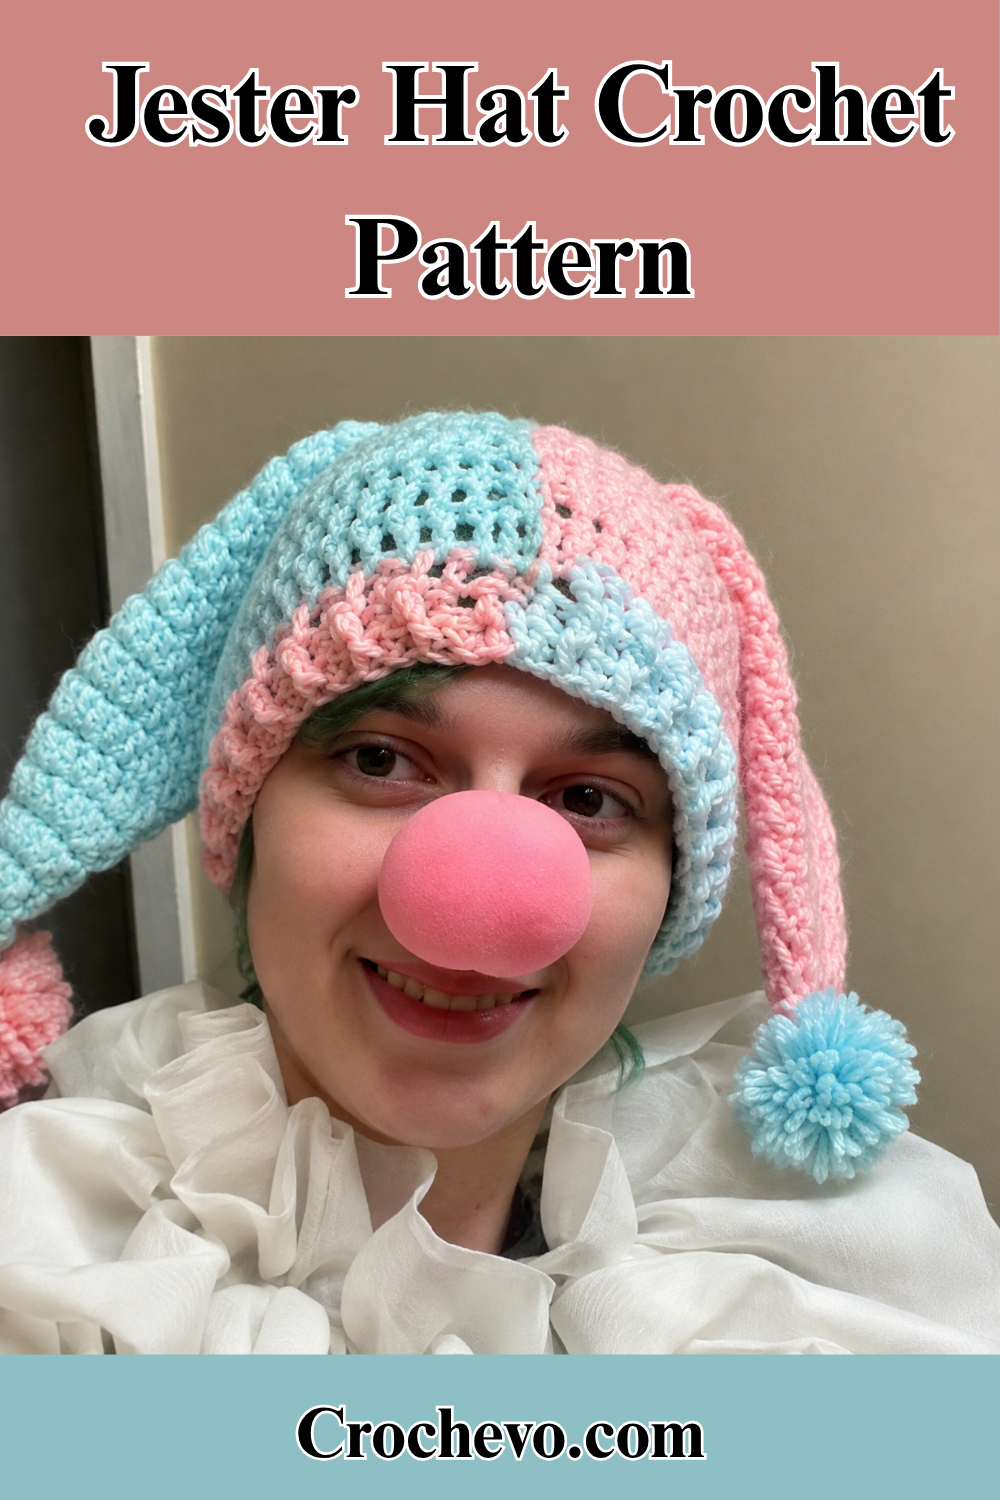
Jester Hat Crochet Pattern – Easy DIY Two-Pointed Hat Tutorial
Add a fun and colorful touch to your outfit with this Jester Hat Crochet pattern, designed to help you create a unique handmade two-pointed jester hat. Perfect for costume parties, festivals, cosplay, or playful everyday wear, this eye-catching Jester Hat Crochet project is easy to make using basic crochet techniques. Customize your design with vibrant yarn colors to create a one-of-a-kind accessory that reflects your personal style. Whether you’re crafting it for yourself or as a thoughtful handmade gift, this Jester Hat Crochet pattern combines comfort, creativity, and endless color possibilities.
Materials Needed:
- Two colors of worsted weight yarn
- 5 mm crochet hook
- Scissors
- Darning needle
Crochet Two-Pointed Jester Hat Pattern
Make the Cones (Make 2)
Create two cone-shaped pieces, using a different yarn color for each one to achieve the classic two-tone jester hat design. Follow the original video tutorial for Rounds 1–15 to shape each cone.
- Start with a slip knot.
- Leave an 18-inch (45 cm) yarn tail for sewing the cones onto the hat later.
Crochet the Hat Crown
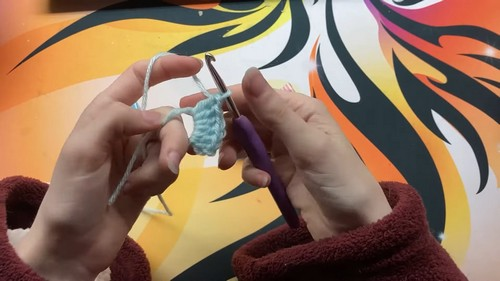
Begin the crown using your main yarn color.
Round 1
- Create a magic ring.
- Chain 2 (counts as your first double crochet).
- Work 5 double crochets into the ring.
- Pull the ring closed to finish with 6 stitches.
Round 2
- Chain 2 (counts as the first stitch).
- Crochet 2 double crochets (DC) into each stitch all the way around.When you finish the round, you should have a total of 12 stitches.
Round 3
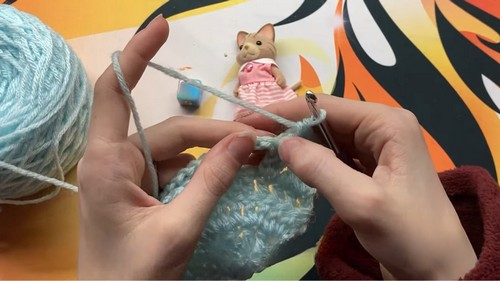
- Chain 2.
- Work 1 double crochet in the first stitch, then 2 double crochets in the next stitch.
- Repeat this sequence around the round.
- Join to complete the round.
Round 4
- Chain 2.
- Crochet 4 double crochets, then work an increase (2 double crochets in the next stitch).
- Continue repeating the same stitch sequence all the way around until you complete the round.
Round 5
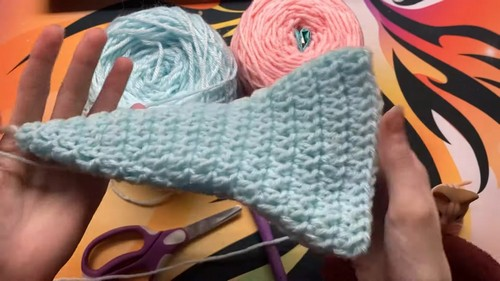
- Chain 2.
- Crochet 2 more double crochets to make a total of 3 stitches.
- Work an increase in the next stitch.
- Chain 19.
- Skip the next 13 stitches, then continue working double crochets across the remaining stitches.
Complete the Crown
Continue crocheting the crown according to your preferred size.
- Small Size (22 inches): Work 1 double crochet in every stitch for the next 13 rows.
- Large Size (24 inches): Follow the increasing pattern to create a larger circumference, completing a total of 13 rows.
Crochet until the crown comfortably fits the desired head size.
Crochet the Brim
Fasten off the main color and join the contrasting color.
Row 14
- Work 1 double crochet into each stitch across the row.
Row 15
- Chain 1 (The starting chain doesn’t count as a stitch).
- Alternate between a front post double crochet (FPDC) and a back post double crochet (BPDC) across the row.
Row 16
- Chain 1.
- Begin with a back post double crochet, then alternate between BPDC and FPDC to create a textured ribbed brim.
Assemble the Jester Hat
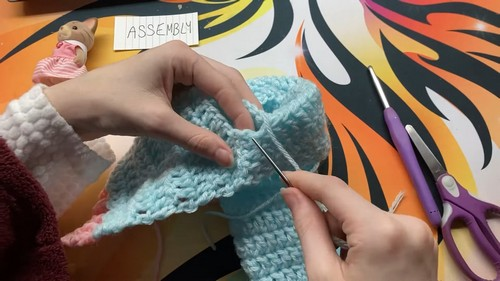
- Use the long yarn tails to sew each cone securely onto the crown.
- Match the base of each cone with the openings in the crown.
- Stitch carefully around the base until each cone is firmly attached.
- Join the crown sections together, making sure the two colors line up neatly to create the signature two-tone design.
Add the Pom Poms
Make two fluffy pom poms using a pom pom maker or a simple cardboard template.
Sew one pom pom onto the tip of each cone to complete your crochet two-pointed Jester Hat Crochet with a fun, playful finish.