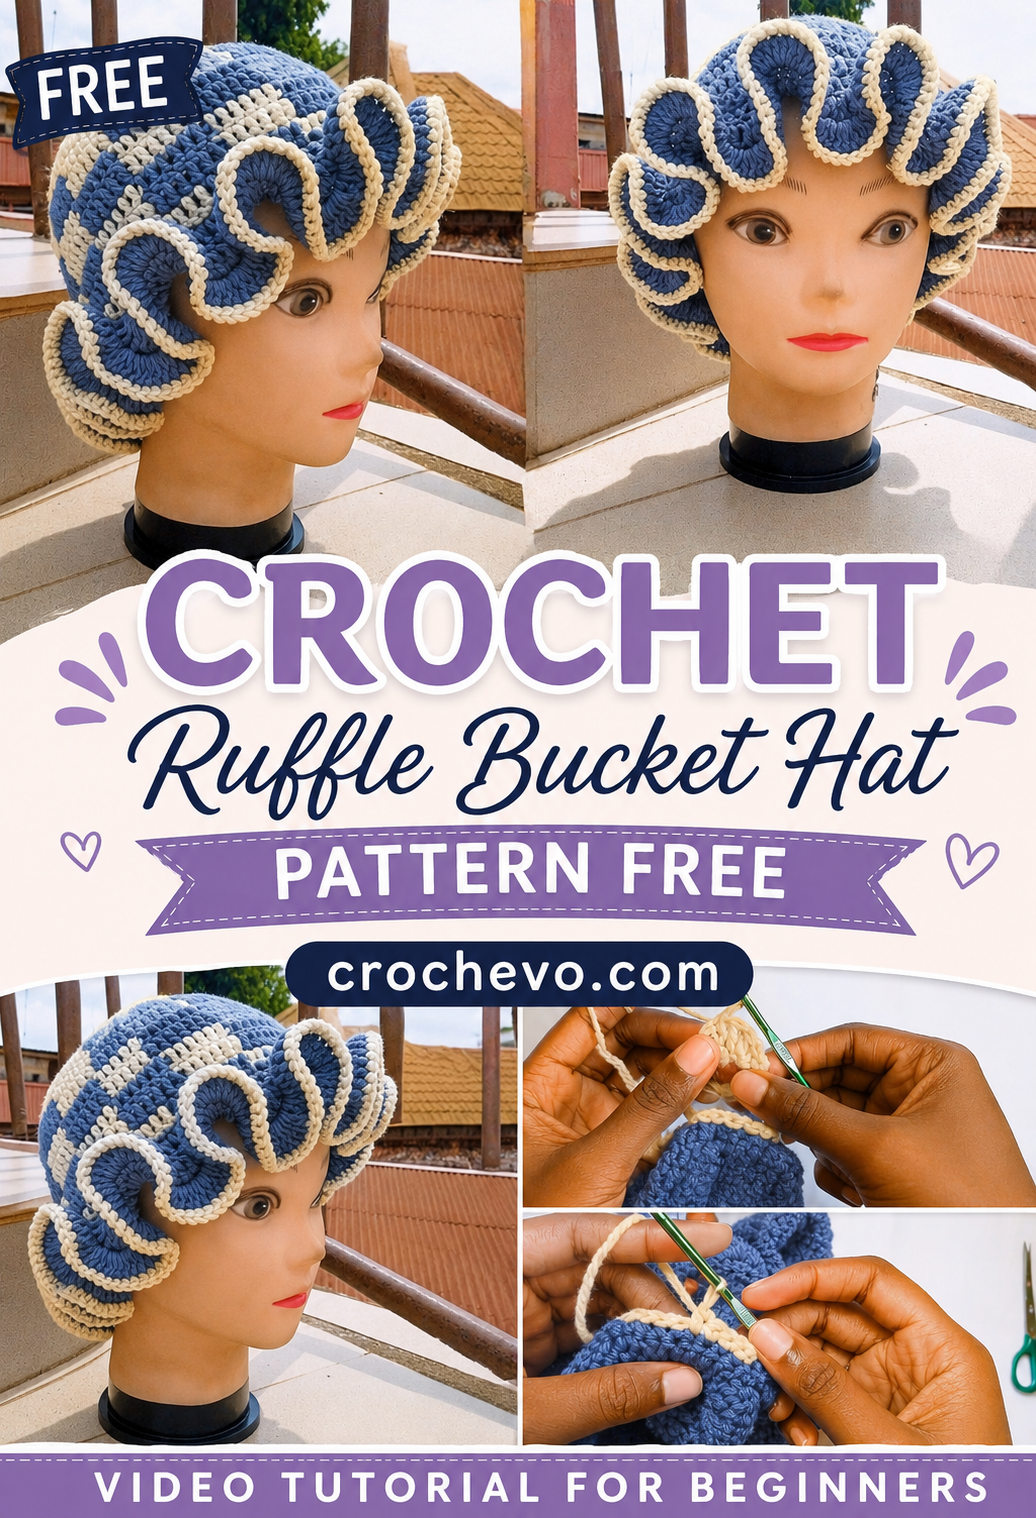
Crochet Ruffle Bucket Hat Pattern Free
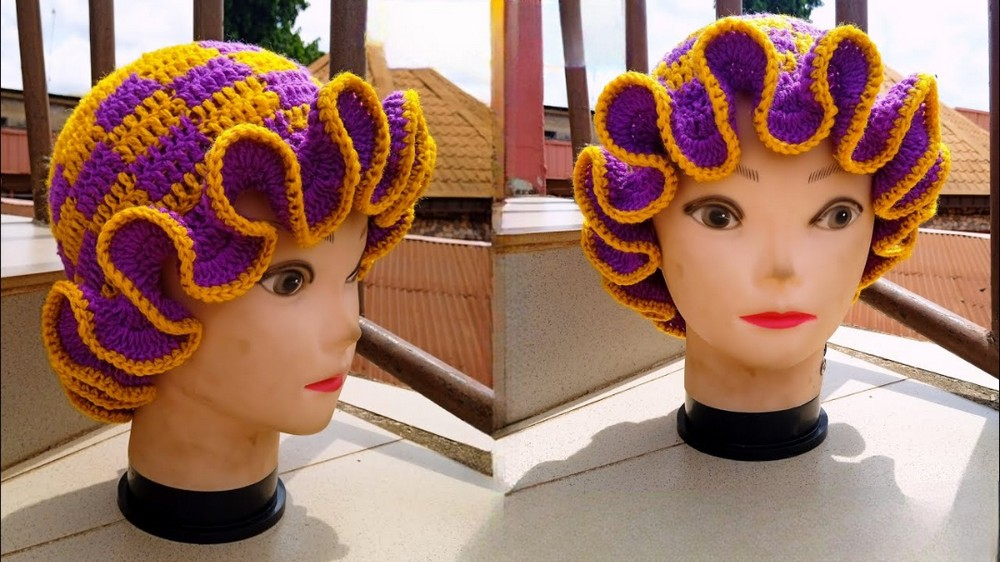
Create a stylish checkered bucket hat with this Crochet Ruffle Bucket Hat Pattern Free tutorial by Fav. Perfect for beginners, this step-by-step guide shows you how to crochet a flat crown, add a bold checkerboard pattern with two yarn colors, and finish with soft, layered ruffles for a trendy look. Follow along to make a beautiful handmade hat that’s fun to wear or gift.
Whether you’re new to crochet or have been crafting for years, this tutorial offers simple, step-by-step guidance to help you along the way. You’ll discover what materials to use, how to work through the project, and how to finish your creation with a polished handmade look.
How to Crochet a Ruffled Checkered Hat
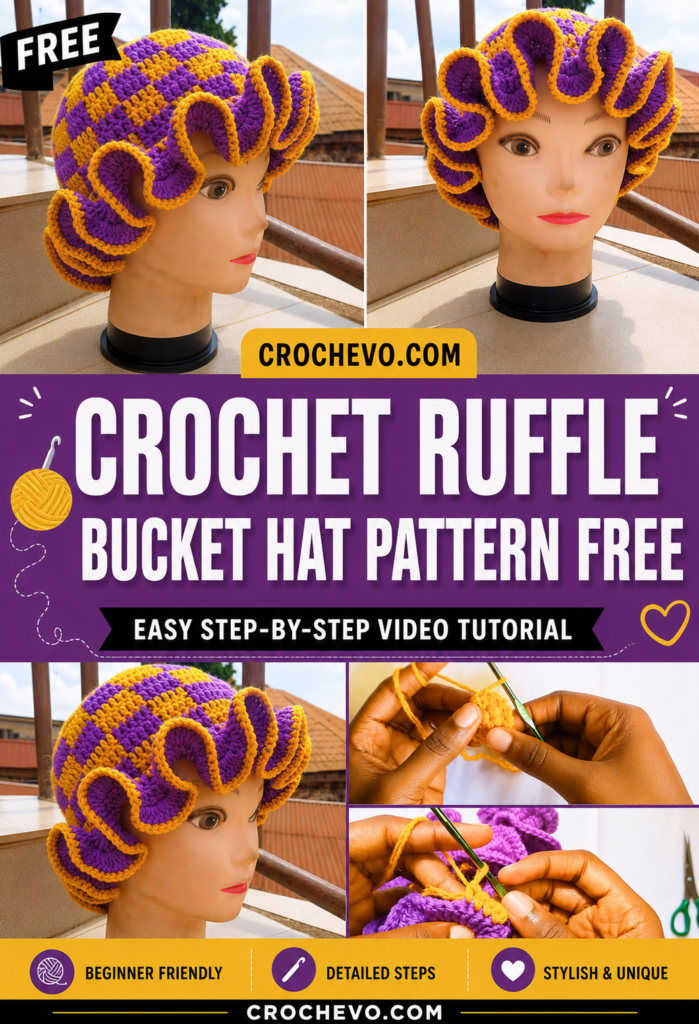
This project combines classic crochet techniques with colorful pattern work to create a unique ruffled bucket-style hat. The tutorial is divided into simple stages, making it easy to complete one step at a time.
Supplies You’ll Need
Before getting started, gather the following materials:
- Two colors of yarn (lightweight or thicker yarn depending on the desired look)
- 4 mm crochet hook, or another size suitable for your chosen yarn
- Measuring tape
- Scissors
- Darning or yarn needle
Step 1: Crochet the Hat Crown
Make a Magic Ring
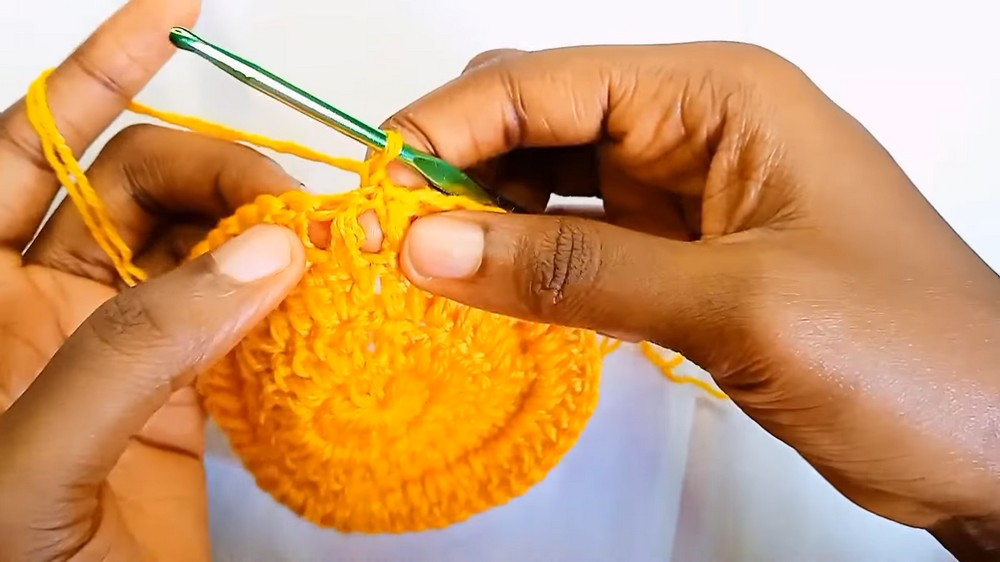
The project begins by forming a magic ring, which creates a neat, adjustable center for the top of the hat. The instructor explains how to tighten the ring to eliminate any gap.
Increase Evenly
Work several rounds into the magic ring, increasing stitches evenly to create a smooth, flat circle. Increases are made by placing multiple double crochet stitches into selected stitches throughout each round.
Check the Size
Continue expanding the crown until it measures approximately 7 inches (18 cm) across. Keeping the circle flat ensures the hat maintains the correct shape.
Step 2: Create the Checkered Body
Introduce the Second Color
Once the crown is complete, begin working with a second yarn color. The tutorial demonstrates an easy method for changing colors while maintaining clean stitch transitions.
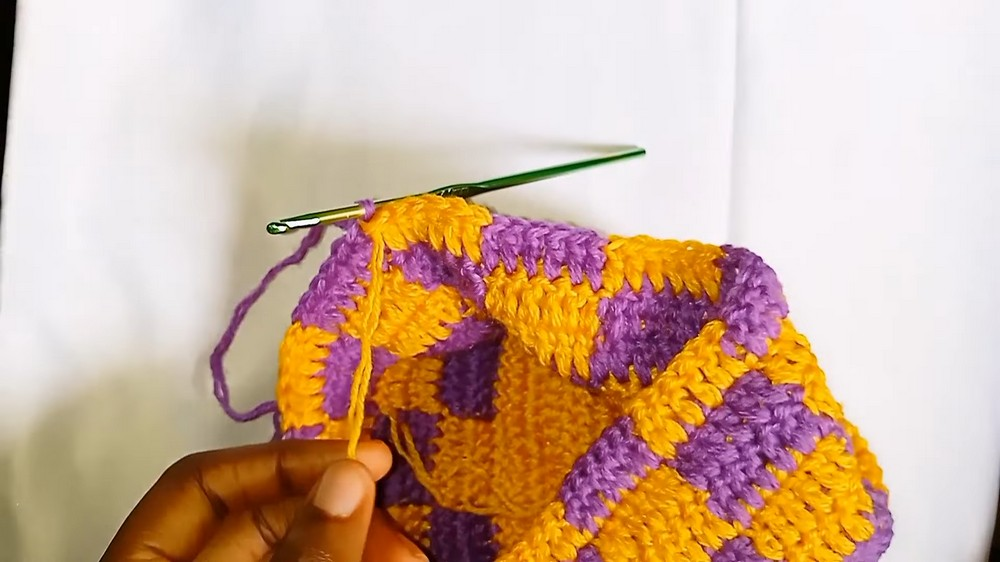
Form the Checkerboard Pattern
The signature design is created by crocheting blocks of six stitches in alternating colors. These color blocks shift from row to row, producing a classic checkerboard appearance.
Unused yarn is carried neatly behind the work so that color changes remain smooth without unnecessary cutting.
Continue the Pattern
Repeat the alternating color sections while building the sides of the hat. The instructor explains how to align each row so the squares remain even and visually balanced.
Work until the checkered section reaches roughly 3½ inches (9 cm) in height.
Step 3: Add the Ruffled Brim
Shape the Edge
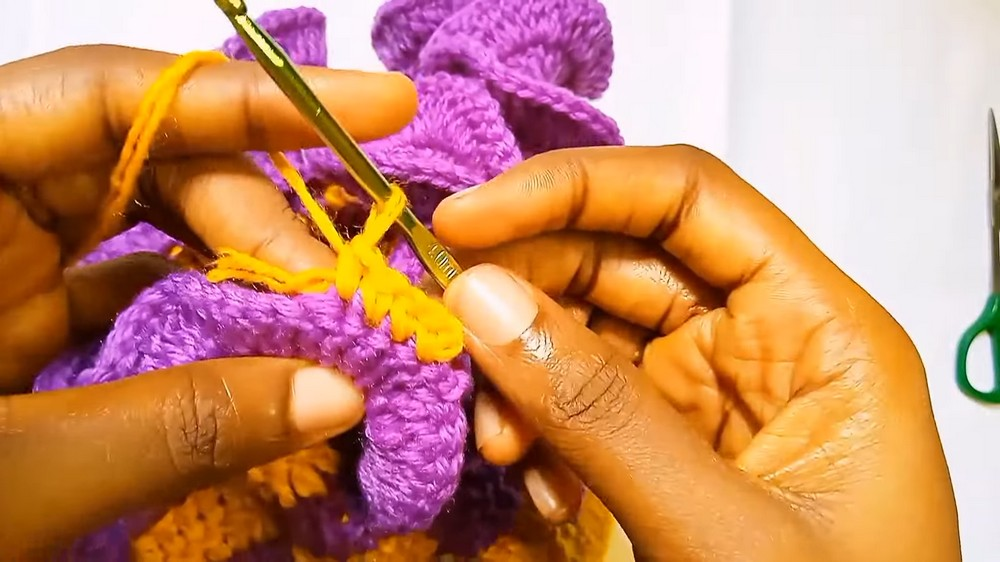
Before creating the ruffles, crochet a round of single crochet with evenly spaced decreases. This helps the brim fit comfortably around the head without requiring elastic.
Crochet the Ruffles
The decorative brim is made over three rounds using increasing stitch patterns.
The first round adds extra stitches to create fullness, while the following rounds use combinations of double and treble crochet to produce soft, layered ruffles. As you work, gently adjust the fabric to keep the ruffles evenly distributed.
Step 4: Finish the Hat
Add a Decorative Border
Complete the brim with a final round of single crochet using the contrasting yarn color for a polished edge.
Secure Loose Ends
Thread all remaining yarn tails through the stitches with a darning needle, making sure they are firmly woven in for durability.
Finally, lightly stretch and shape the hat, arranging the ruffles until they sit evenly around the brim.
Finished Project
The completed hat features a comfortable fitted crown, a striking two-tone checkerboard design, and soft cascading ruffles that add texture and personality. The tutorial also encourages experimenting with different yarn colors and combinations, allowing you to customize the design to match your own style.
With detailed demonstrations and beginner-friendly guidance throughout, this project is an enjoyable way to practice colorwork while creating a fun, fashionable crochet accessory.