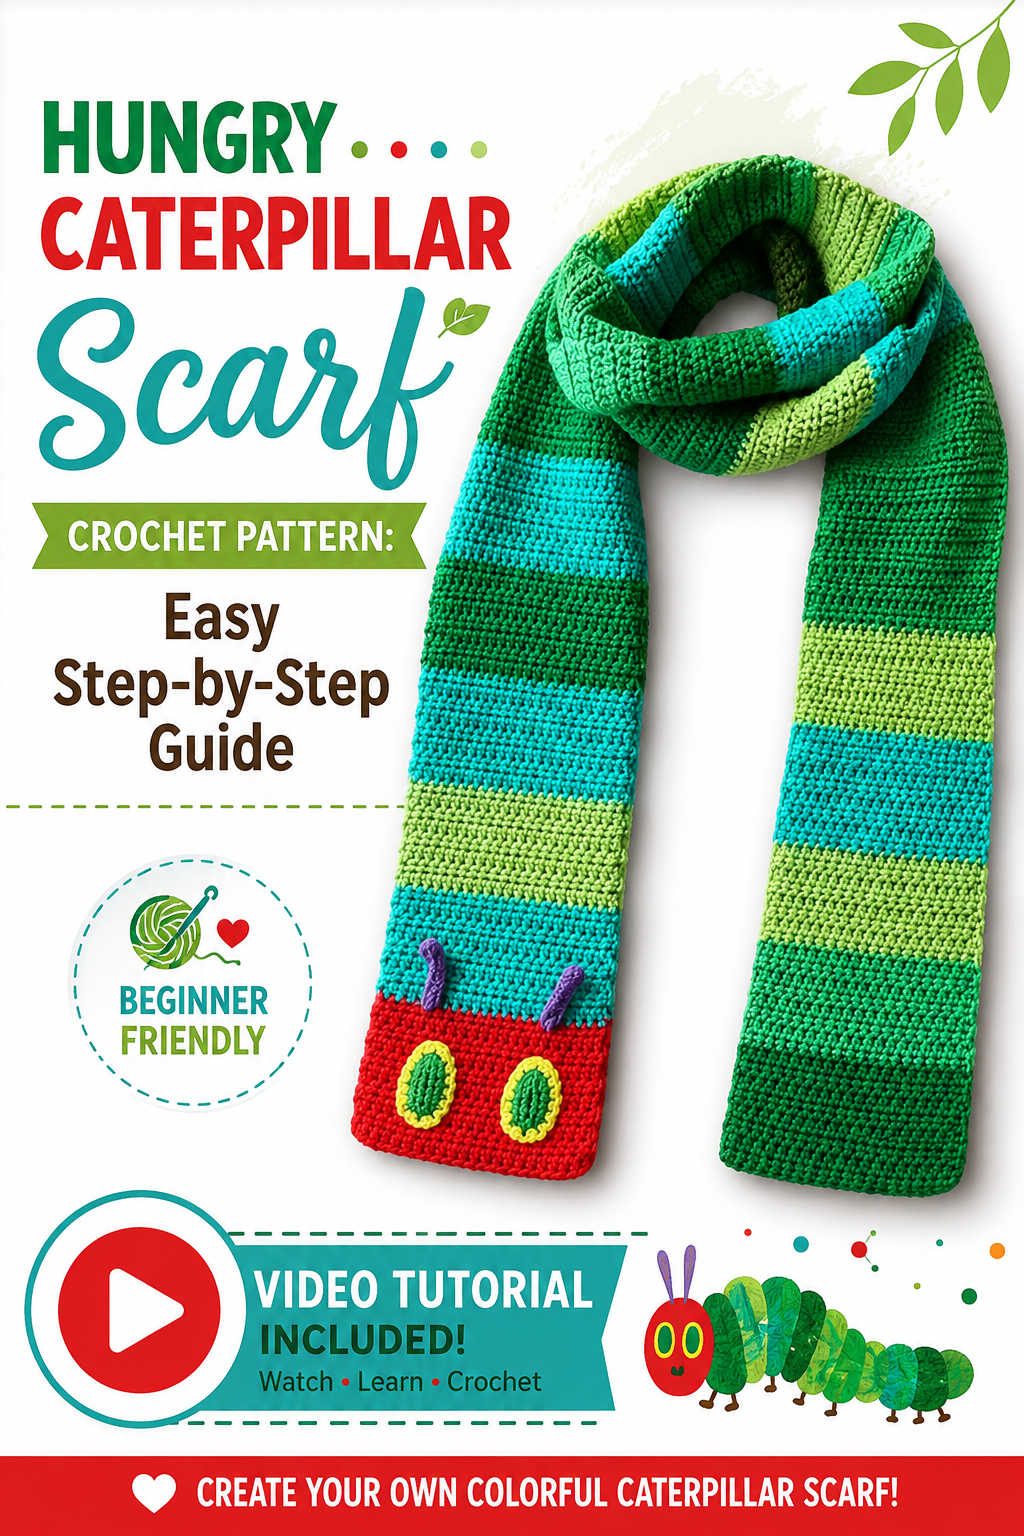
Hungry Caterpillar Scarf Crochet Pattern: Easy Step-by-Step Guide
If you love colorful crochet projects, this Hungry Caterpillar scarf is a fun project to add to your handmade collection. Inspired by The Very Hungry Caterpillar, this playful scarf combines bright colors with cute caterpillar details to create a unique accessory that children and adults can enjoy.
The design is beginner-friendly if you already know the basic crochet stitches. The original video tutorial by Bowerbird Collected demonstrates the project in three main parts: the scarf, the eyes, and the antennas. The creator also provides the crochet abbreviations needed to follow along.
Materials
You will need:
- Yarn in the colors required for your caterpillar design
- Crochet hook suitable for your yarn
- Scissors
- Tapestry or yarn needle
- Yarn for sewing the finished pieces together
Choose bright, contrasting colors to achieve the cheerful look of the caterpillar-inspired design.
Crochet Abbreviations
The original tutorial uses these abbreviations:
- ch – chain
- ss – slip stitch
- sk – skip
- sc – single crochet
- hdc – half double crochet
- inc – increase, meaning two stitches worked into the same stitch
- fo – fasten off
If you are new to crochet abbreviations, keep this list beside you while following the video.
Hungry Caterpillar Scarf Pattern
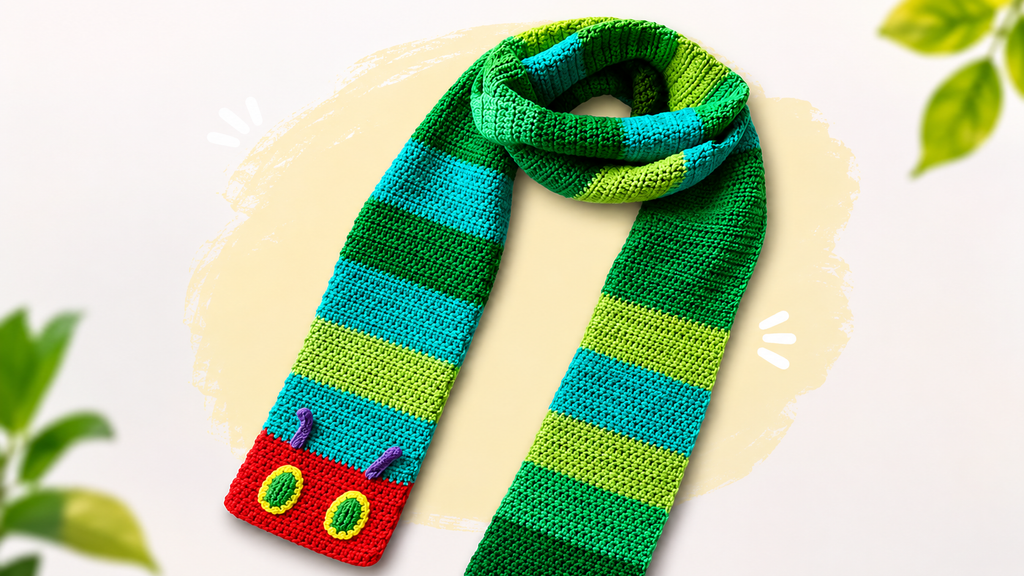
Part 1: Crochet the Main Scarf
The main scarf is the largest part of the project and is the first section demonstrated in the video.
Start by creating your foundation chain as shown in the tutorial. Make sure your chain is not too tight because a tight foundation can cause the scarf to curl or become narrower than intended.
Once your foundation is ready, begin working the stitches shown in the video.
The main section uses basic crochet techniques, making it a good project for someone who is comfortable with chain stitches, single crochet, and half double crochet.
Keep Your Stitches Even
As you work across the scarf, try to keep your tension consistent. Even stitches will give the finished scarf a cleaner shape and make the color sections look more uniform.
When the tutorial changes colors, follow the same color placement shown in the video. The colorful sections are what give the scarf its recognizable caterpillar-inspired appearance.
Continue working the scarf until you reach the length demonstrated in the tutorial.
Helpful tip: If you want to make your scarf longer or shorter, you can adjust the length while keeping the basic construction the same. Just remember that changing the dimensions may change how much yarn you need.
Part 2: Crochet the Eyes
After completing the main scarf, the tutorial moves on to the caterpillar’s eyes at approximately 06:10.
The eyes are made separately and then attached to the finished scarf.
Follow the video carefully for the shape and construction of the eye pieces. Because these small pieces add the character’s face, keeping both eyes similar in size will give your finished scarf a more balanced appearance.
Once the eye pieces are complete, fasten off as demonstrated and leave enough yarn for attaching them.
Attaching the Eyes
Place the eyes in the position shown in the tutorial. Before sewing them permanently, check that they are sitting evenly.
Use a yarn needle to sew the pieces securely to the scarf.
Take your time with this step. Correct positioning can make a big difference in the finished look.
Part 3: Make the Antennas
The final part of the tutorial demonstrates the caterpillar’s antennas and begins at approximately 17:24.
The antennas are small but important details because they complete the caterpillar’s face.
Follow the construction shown in the video and make the required antenna pieces. After fastening off, position them carefully at the top of the caterpillar’s head.
Sew them securely into place using a yarn needle.
Finishing the Scarf
Once the scarf, eyes, and antennas are finished, check the entire project for loose yarn ends.
Use your tapestry needle to weave the ends into the back of the work. Trim any remaining excess yarn carefully.
Before wearing the scarf, make sure the eyes and antennas are firmly attached.
If the scarf is intended for a young child, pay particular attention to the security of all decorative pieces.
Helpful Tips for Beginners
1. Watch Before You Crochet
Because this project is demonstrated visually, watching a section before starting it can make the instructions much easier to understand.
2. Don’t Crochet Too Tightly
Keeping your tension relaxed will make your stitches easier to work into and help the scarf maintain its shape.
3. Count Your Stitches
If your edges begin getting wider or narrower unexpectedly, stop and check your stitches. Finding a mistake early is much easier than correcting several completed rows.
4. Keep Your Colors Organized
Place each yarn color where you can easily reach it. This makes color changes smoother and keeps the project organized.
5. Take Your Time With the Face
The eyes and antennas give the scarf its personality. Before sewing them down, arrange them first and make sure you are happy with their position.
Why Make a Hungry Caterpillar Scarf?
This scarf is more than a simple crochet accessory. Its bright colors and playful character-inspired design make it a fun handmade gift.
It can be made for a child who loves the classic caterpillar story, used as a colorful winter accessory, or simply added to your collection of creative crochet projects.
The construction is also divided into easy-to-manage sections. You first complete the main scarf, then make the eyes, and finally finish with the antennas. This makes the project less overwhelming for beginners.
Final Thoughts
The Hungry Caterpillar scarf is a cheerful crochet project that combines simple stitches with colorful character details. If you know the basic crochet stitches listed in the tutorial, you can work through the project one section at a time.
For the most accurate demonstration of the stitch sequence, color changes, shaping, and finishing, follow the original Bowerbird Collected video while using this article as a quick written guide.
Original YouTube Tutorial:
The video remains the best source for the exact visual instructions because the creator demonstrates the scarf, eyes, and antennas directly.