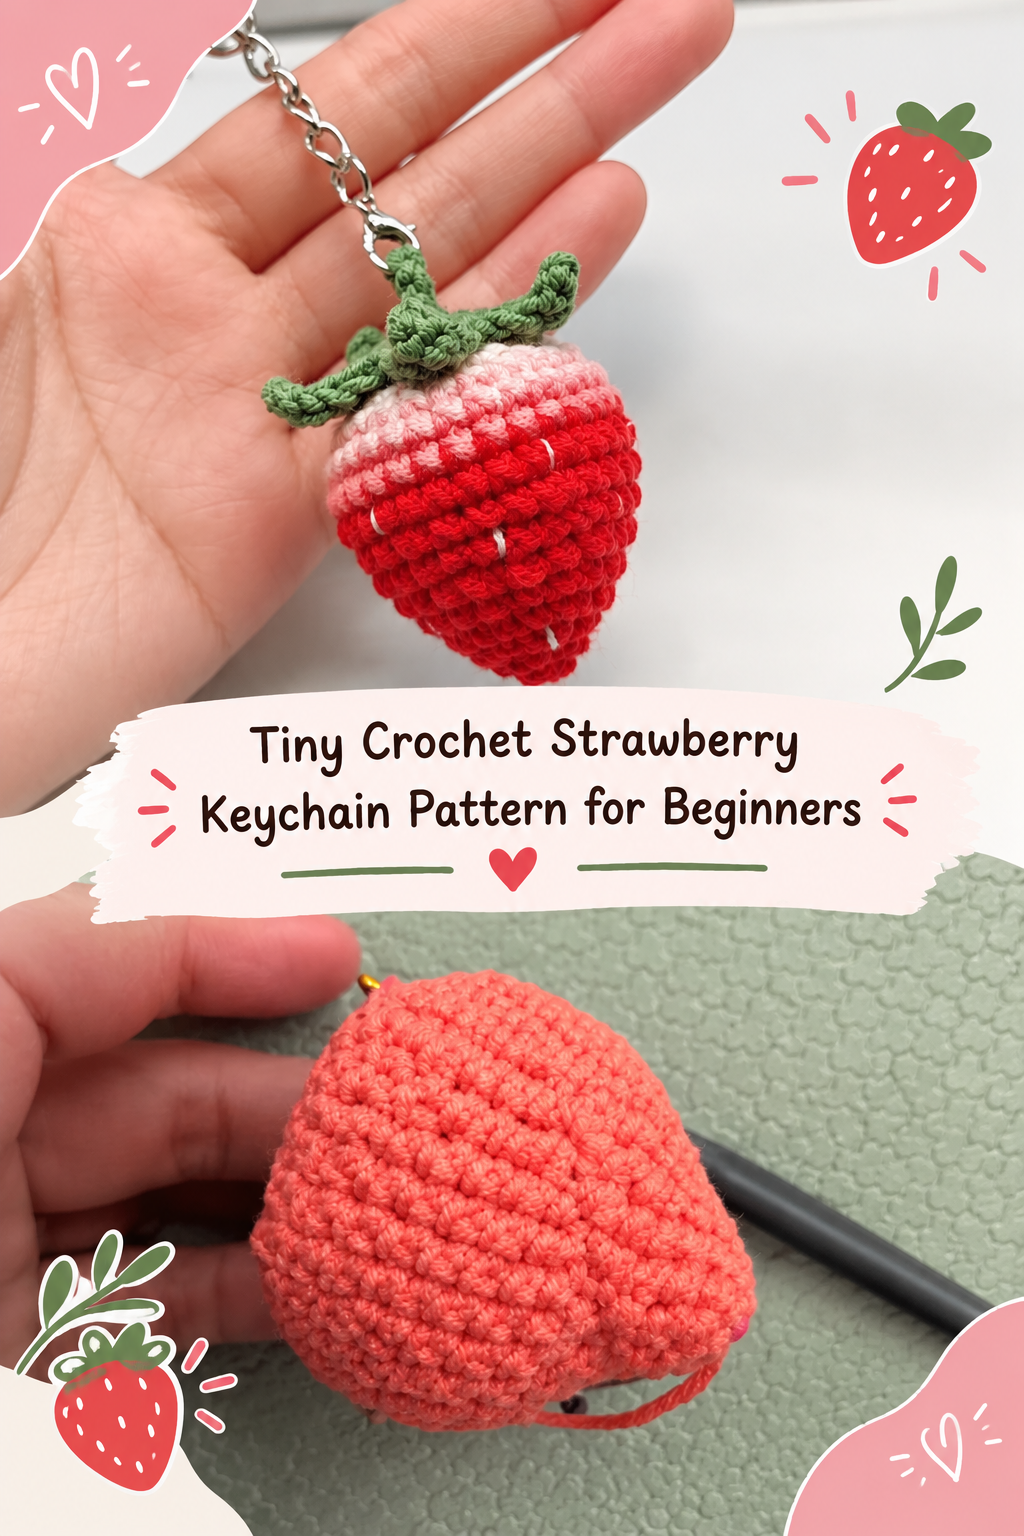
Tiny Crochet Strawberry Keychain Pattern for Beginners
Have you ever found yourself with a small collection of yarn scraps that are too little for a full project but too lovely to waste? That’s exactly what makes this mini crochet strawberry such a fun little project.
This adorable amigurumi fruit is tiny, beginner-friendly, and can be completed in roughly 30–45 minutes. It’s a great way to practice crochet in the round while creating something you can actually use.
Once finished, you can turn your strawberry into a cute keychain, bag charm, or small handmade gift. It adds a cheerful touch to your everyday accessories without taking up much space.
If you enjoy quick crochet projects that use very little yarn, this strawberry is definitely worth trying. 🍓
On This Page
- Watch the Video Tutorial
- Pattern Details
- Materials You’ll Need
- Crochet Abbreviations
- Helpful Tips Before Crocheting
- Mini Crochet Strawberry Pattern
- How to Assemble the Strawberry
- Troubleshooting Common Problems
- More Small Crochet Projects
🎥 Watch the Video Tutorial
If you prefer learning by watching, take a moment to view the video tutorial before beginning the written pattern.
Mini Crochet Strawberry Keychain 🍓 Beginner Amigurumi Step-by-Step (Easy & Fast)
The tutorial demonstrates the project slowly, making it easier to follow each round and understand how the strawberry takes shape. You’ll also be able to see how the increases, decreases, and continuous spiral rounds are worked.
This project is especially suitable for crocheters who already know single crochet but are still becoming familiar with amigurumi. You can pause the video whenever you need extra time to complete a round.
The written instructions below are useful for checking stitch counts and keeping your place as you crochet.
Pattern Details
Here’s a quick look at what to expect from this tiny crochet fruit.
| Detail | Information |
|---|---|
| Skill level | Beginner |
| Estimated time | 30–45 minutes |
| Finished height | Approximately 5 cm (2 inches) |
| Crochet method | Continuous spiral rounds |
| Main stitches | Single crochet, increases, and decreases |
You’ll begin with a magic ring and gradually shape the strawberry by increasing and decreasing stitches. The project is small enough to finish in one sitting, making it a nice choice for a quiet evening of crocheting.
If you know how to make single crochet and are comfortable following a stitch count, you can give this pattern a try.
🧶 Materials You’ll Need
Gather the following supplies before getting started:
- Fingering weight cotton yarn: Red for the strawberry, green for the leaves, and a small amount of white for the top section.
- 2.0 mm crochet hook
- Polyester fiberfill: A small amount for stuffing.
- Yarn needle: For sewing the pieces together and hiding yarn tails.
- Stitch marker: Helpful for keeping track of continuous rounds.
- Keychain ring: Optional, if you want to turn your strawberry into a keychain or bag accessory.
This is an excellent scrap-yarn project. You only need a little of each color, so it’s a practical way to use up small leftovers from previous crochet makes.
Crochet Abbreviations
The pattern uses the following common crochet terms:
| Abbreviation | Meaning |
|---|---|
| sc | Single crochet |
| inc | Increase — 2 single crochet in one stitch |
| dec | Decrease — single crochet 2 stitches together |
| sl st | Slip stitch |
| hdc | Half double crochet |
| dc | Double crochet |
If crochet abbreviations are still new to you, keep this list nearby while working. After a few rounds, the instructions will become easier to follow.
Helpful Tips Before Crocheting
A few simple tips will make this project easier to manage.
1. Work in continuous rounds
The strawberry body is crocheted in a spiral rather than joined at the end of every round. This creates a smooth amigurumi shape.
2. Mark the first stitch
Mark the beginning of every round by inserting a stitch marker into the first stitch. Move it upward as you go so you don’t lose track of where a round begins.
3. Stuff before the opening becomes tiny
Begin adding stuffing around Rounds 10–12. Trying to fill the strawberry through a very small opening can be frustrating, so it’s easier to add the fiberfill while you still have room.
4. Keep your tension even
Use firm, consistent stitches to help prevent the stuffing from showing through the fabric. Avoid crocheting so tightly that your hook becomes difficult to insert.
5. Don’t worry about the shape halfway through
The strawberry may look a little unusual during the middle rounds. That’s normal. The final decreases will bring the piece together and create the fruit shape.
🍓 Mini Crochet Strawberry Pattern
Strawberry Body
Yarn: Red
Begin with a magic ring.
- R1: 6 sc in magic ring (6)
- R2: (sc, inc) × 3 (9)
- R3: (2 sc, inc) × 3 (12)
- R4: (sc, inc) × 6 (18)
- R5: sc in each stitch around (18)
- R6: (2 sc, inc) × 6 (24)
- R7: sc in each stitch around (24)
- R8: (3 sc, inc) × 6 (30)
- R9: sc in each stitch around (30)
- R10: sc in each stitch around (30)
- R11: sc in each stitch around (30)
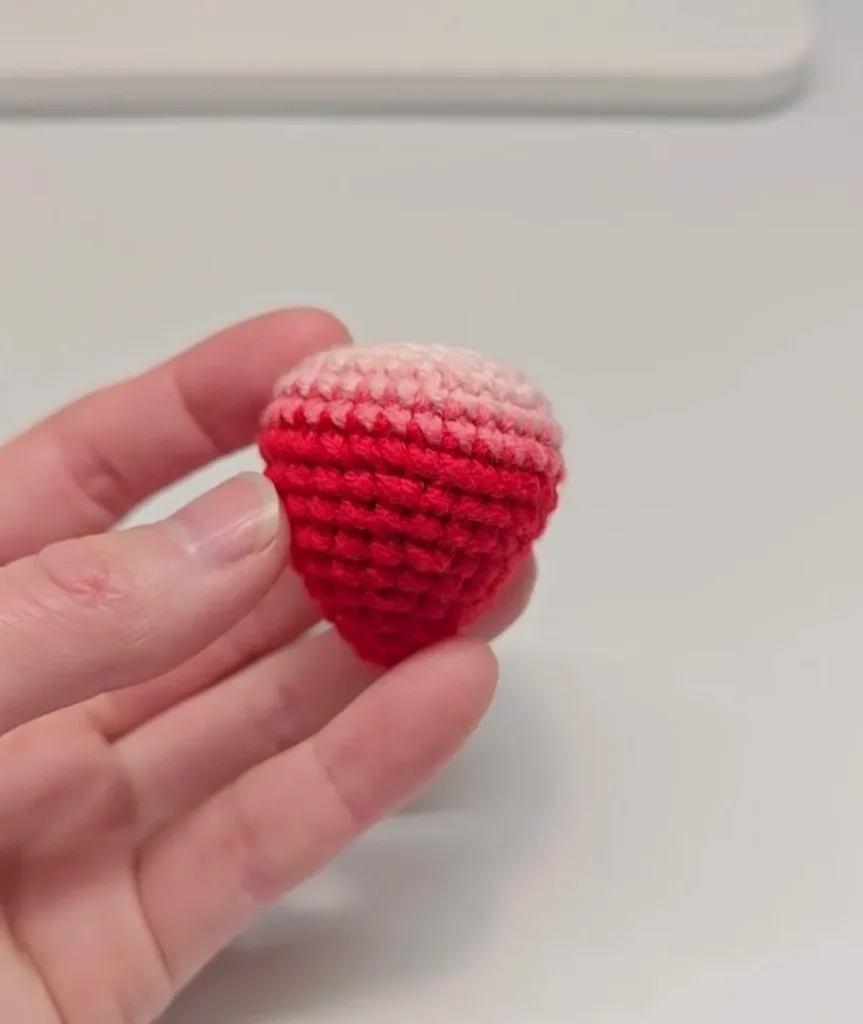
Add a small amount of stuffing to the strawberry.
Change to White Yarn
- R12: (3 sc, dec) × 6 (24)
- R13: (2 sc, dec) × 6 (18)
- R14: (sc, dec) × 6 (12)
- R15: dec × 6 (6)
Fasten off, leaving a yarn tail if needed. Close the remaining opening securely with a yarn needle.
The strawberry body is worked in continuous rounds and stuffed before the final opening is closed.
🌿 Crochet Strawberry Leaves
Yarn: Green
Start with a magic ring.
- R1: 5 sc in magic ring (5)
- R2: 2 sc in each stitch around (10)
Next, form the five pointed leaves.
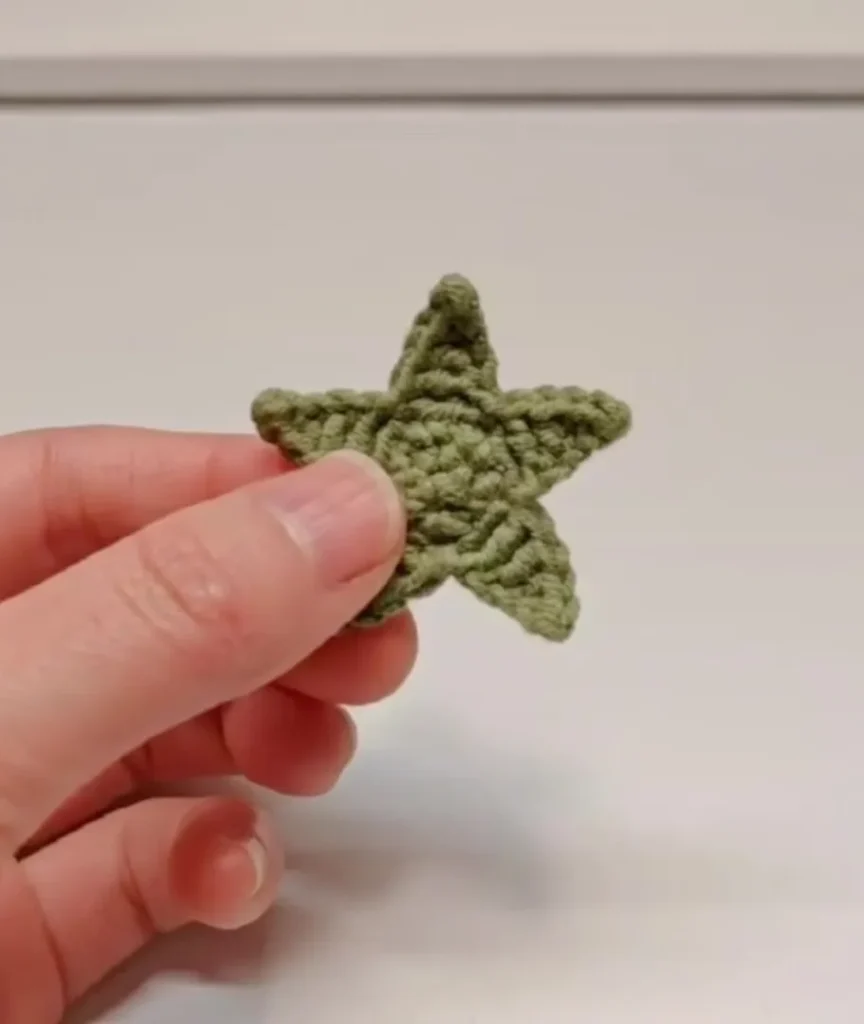
Create Each Leaf Point
- Chain 5.
- Starting in the second chain from the hook, work: sl st, sc, hdc, dc.
- Skip 1 stitch on the base round.
- Slip stitch into the next stitch.
Repeat these steps around the entire piece until you have 5 leaf points.
Fasten off and leave a long enough yarn tail for attaching the leaves to the strawberry.
The completed green leaf piece has five pointed sections that sit on top of the strawberry.
How to Assemble the Strawberry
Once both pieces are finished, it’s time to put your little fruit together.
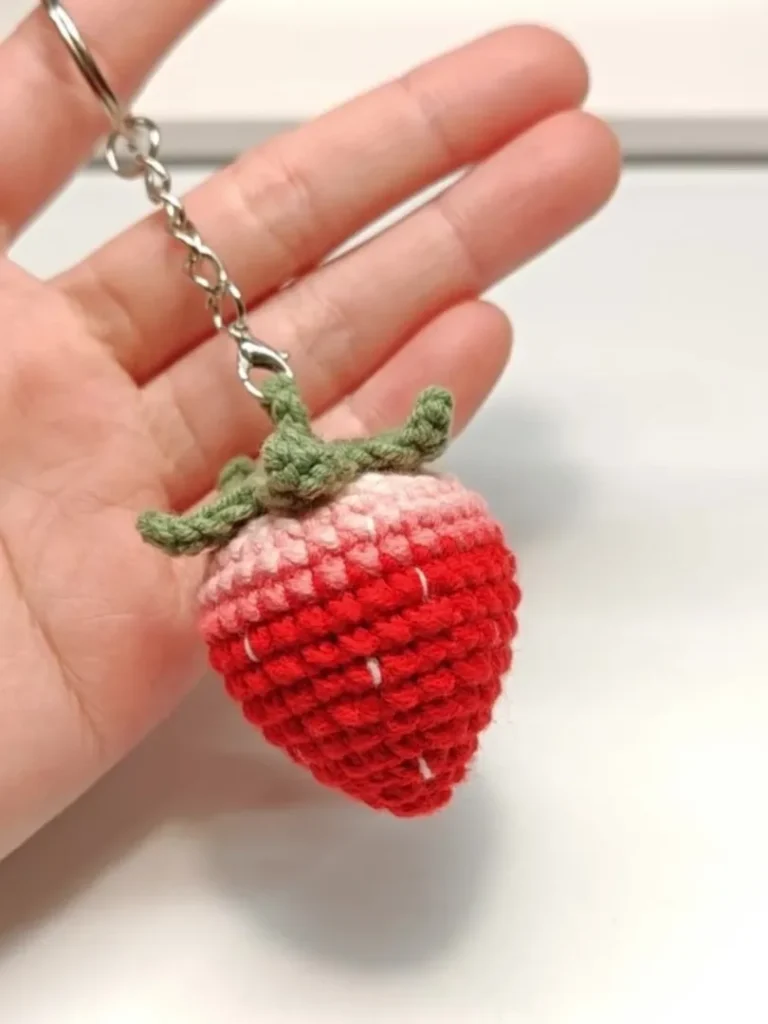
Step 1: Position the Leaves
Place the green leaf piece over the top of the red strawberry. Arrange the points evenly so they sit naturally around the center.
Step 2: Sew the Pieces Together
Using the yarn tail and a yarn needle, stitch the leaves securely to the top of the strawberry. Make sure the attachment is firm enough to withstand gentle handling.
Step 3: Add the Keychain Ring
If you’re making a keychain or bag charm, attach the ring through the center of the leaves before finishing the sewing.
Step 4: Finish the Ends
Weave in all loose yarn tails and trim away any excess yarn.
Your mini crochet strawberry is now ready to use! 🍓
Your finished strawberry makes a sweet handmade keychain or a colorful bag accessory.
🍓 Troubleshooting Common Problems
Even simple amigurumi projects can have a few tricky moments. Here are some common issues you may encounter while making this strawberry.
Why Don’t My Leaves Have Five Clear Points?
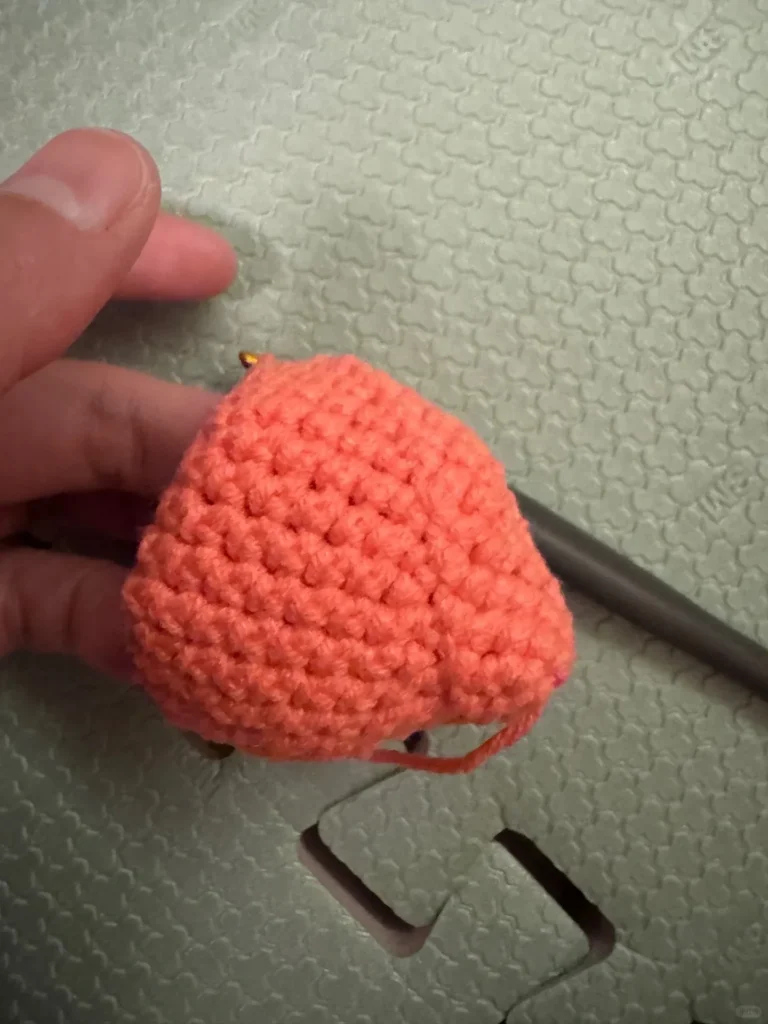
If your leaf piece doesn’t resemble a five-pointed star, check the following:
Check the stitch count. After Round 2, you should have 10 stitches. This number is important because the leaf points need to be spaced evenly around the base.
Review your tension. Very loose or very tight chains can change how the points look. Try to keep your chain stitches even so the leaves form a cleaner shape.
Count your leaf points. Make sure you repeat the leaf sequence five times around the base and follow the skip-one-stitch instruction each time.
Small differences in tension can affect the final appearance, so don’t worry if your leaves aren’t perfectly identical.
Why Is There a Line Down the Back of My Strawberry?
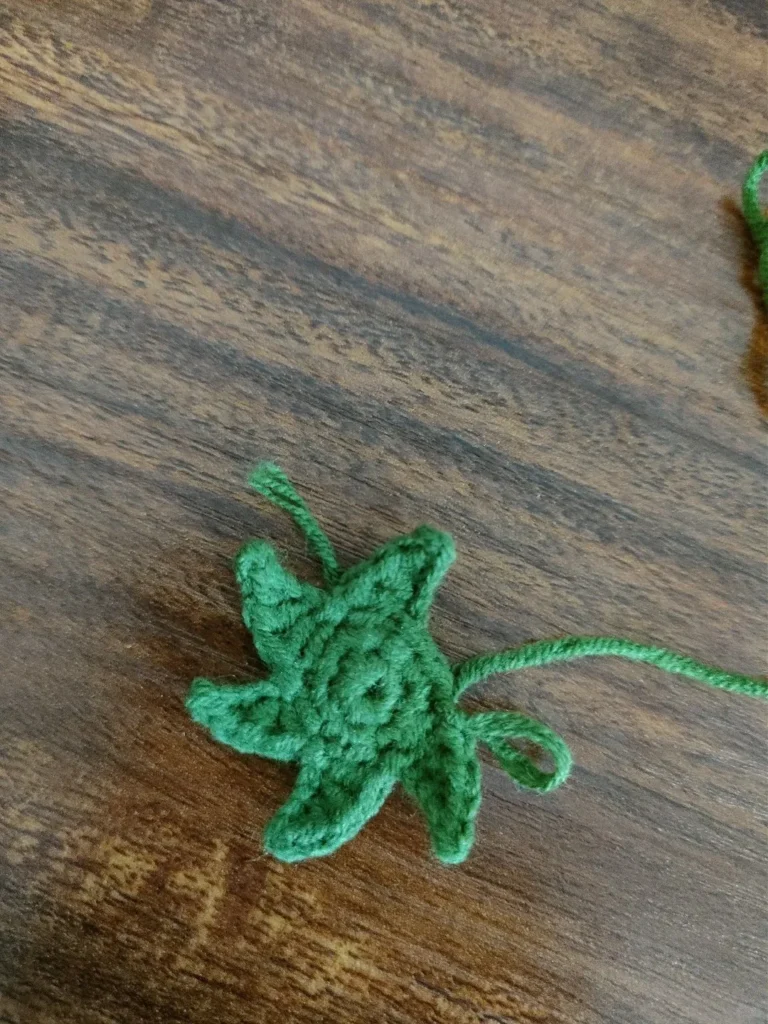
A noticeable vertical line can appear when working in continuous rounds. This is often related to where each new round begins.
When starting a new round, make sure your first stitch goes into the correct stitch of the previous round. Avoid accidentally crocheting into a slip stitch or an incorrect space.
Using a stitch marker is one of the easiest ways to prevent this problem. Move the marker into the first stitch of every round so you always know where to begin.
Remember that a small seam can be a normal feature of amigurumi worked in spirals. The important thing is to keep your stitch counts accurate and your round starts consistent.
🍎🍊 More Small Crochet Projects to Try
Finished your first strawberry? You might find yourself wanting to make a whole collection of tiny crochet fruits.
Here are two fun projects to try next:
Mini Crochet Apple
This small apple uses a similar amigurumi shaping technique but creates a rounder fruit. It’s a great next project if you enjoyed crocheting the strawberry body.
Crochet Orange Drawstring Pouch
If you’d like to make something a little more practical, try an orange-inspired drawstring pouch. It combines fruit-themed crochet with a useful everyday design.
Before long, you could have your own collection of tiny handmade fruits to display, gift, or attach to your favorite bags.
Happy crocheting, and enjoy making your little strawberry! 🍓